The Plan
It had been about six months since our last update, and a lot happened in that time. We wrapped the truck, added chase lights and new rear lights, installed Starlink, and finally started building out the inside of the ModCAP. Late summer and early fall were super busy, so we worked on small odds and ends until we could really sit with the truck for a couple of months and focus on the interior.
The Wrap
After our month-long trip to Colorado that summer, we left the truck there, and that's when we got it wrapped. Show Car Auto Spa in Colorado Springs wrapped the whole truck in gloss pearl white. With Indy about to spend a lot of time on trails in West Virginia and Colorado, we wanted to protect the paint.
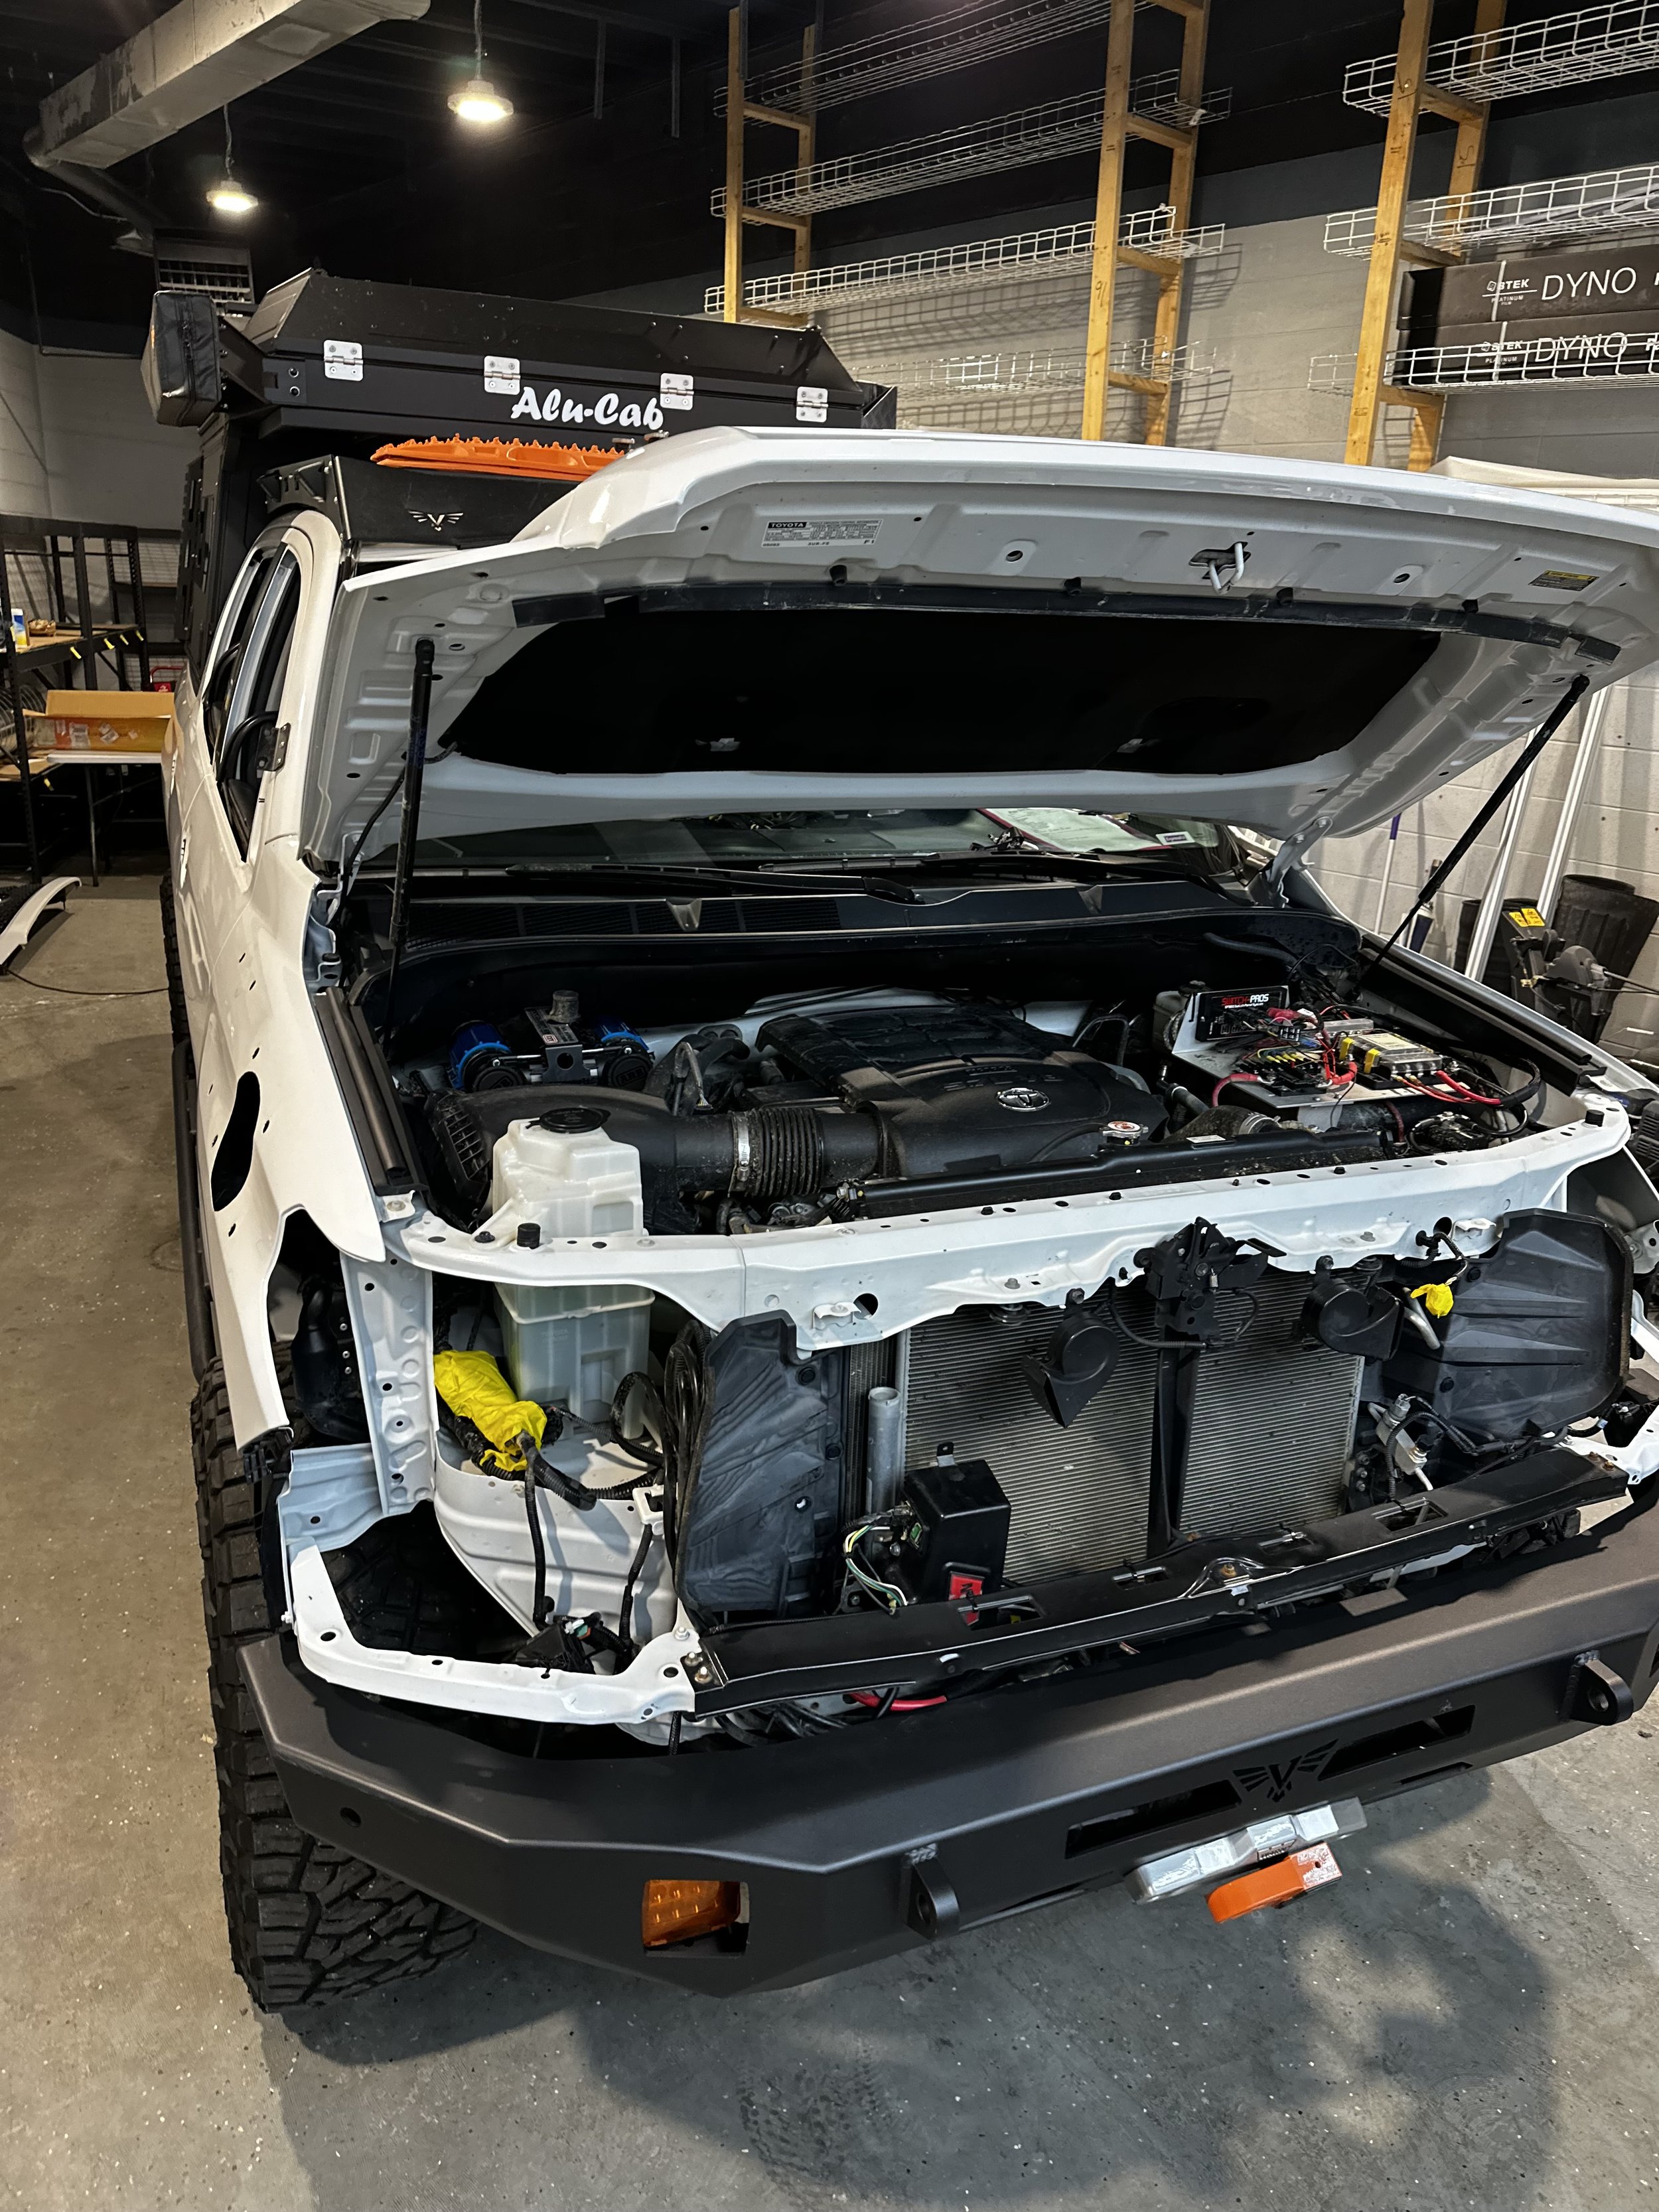
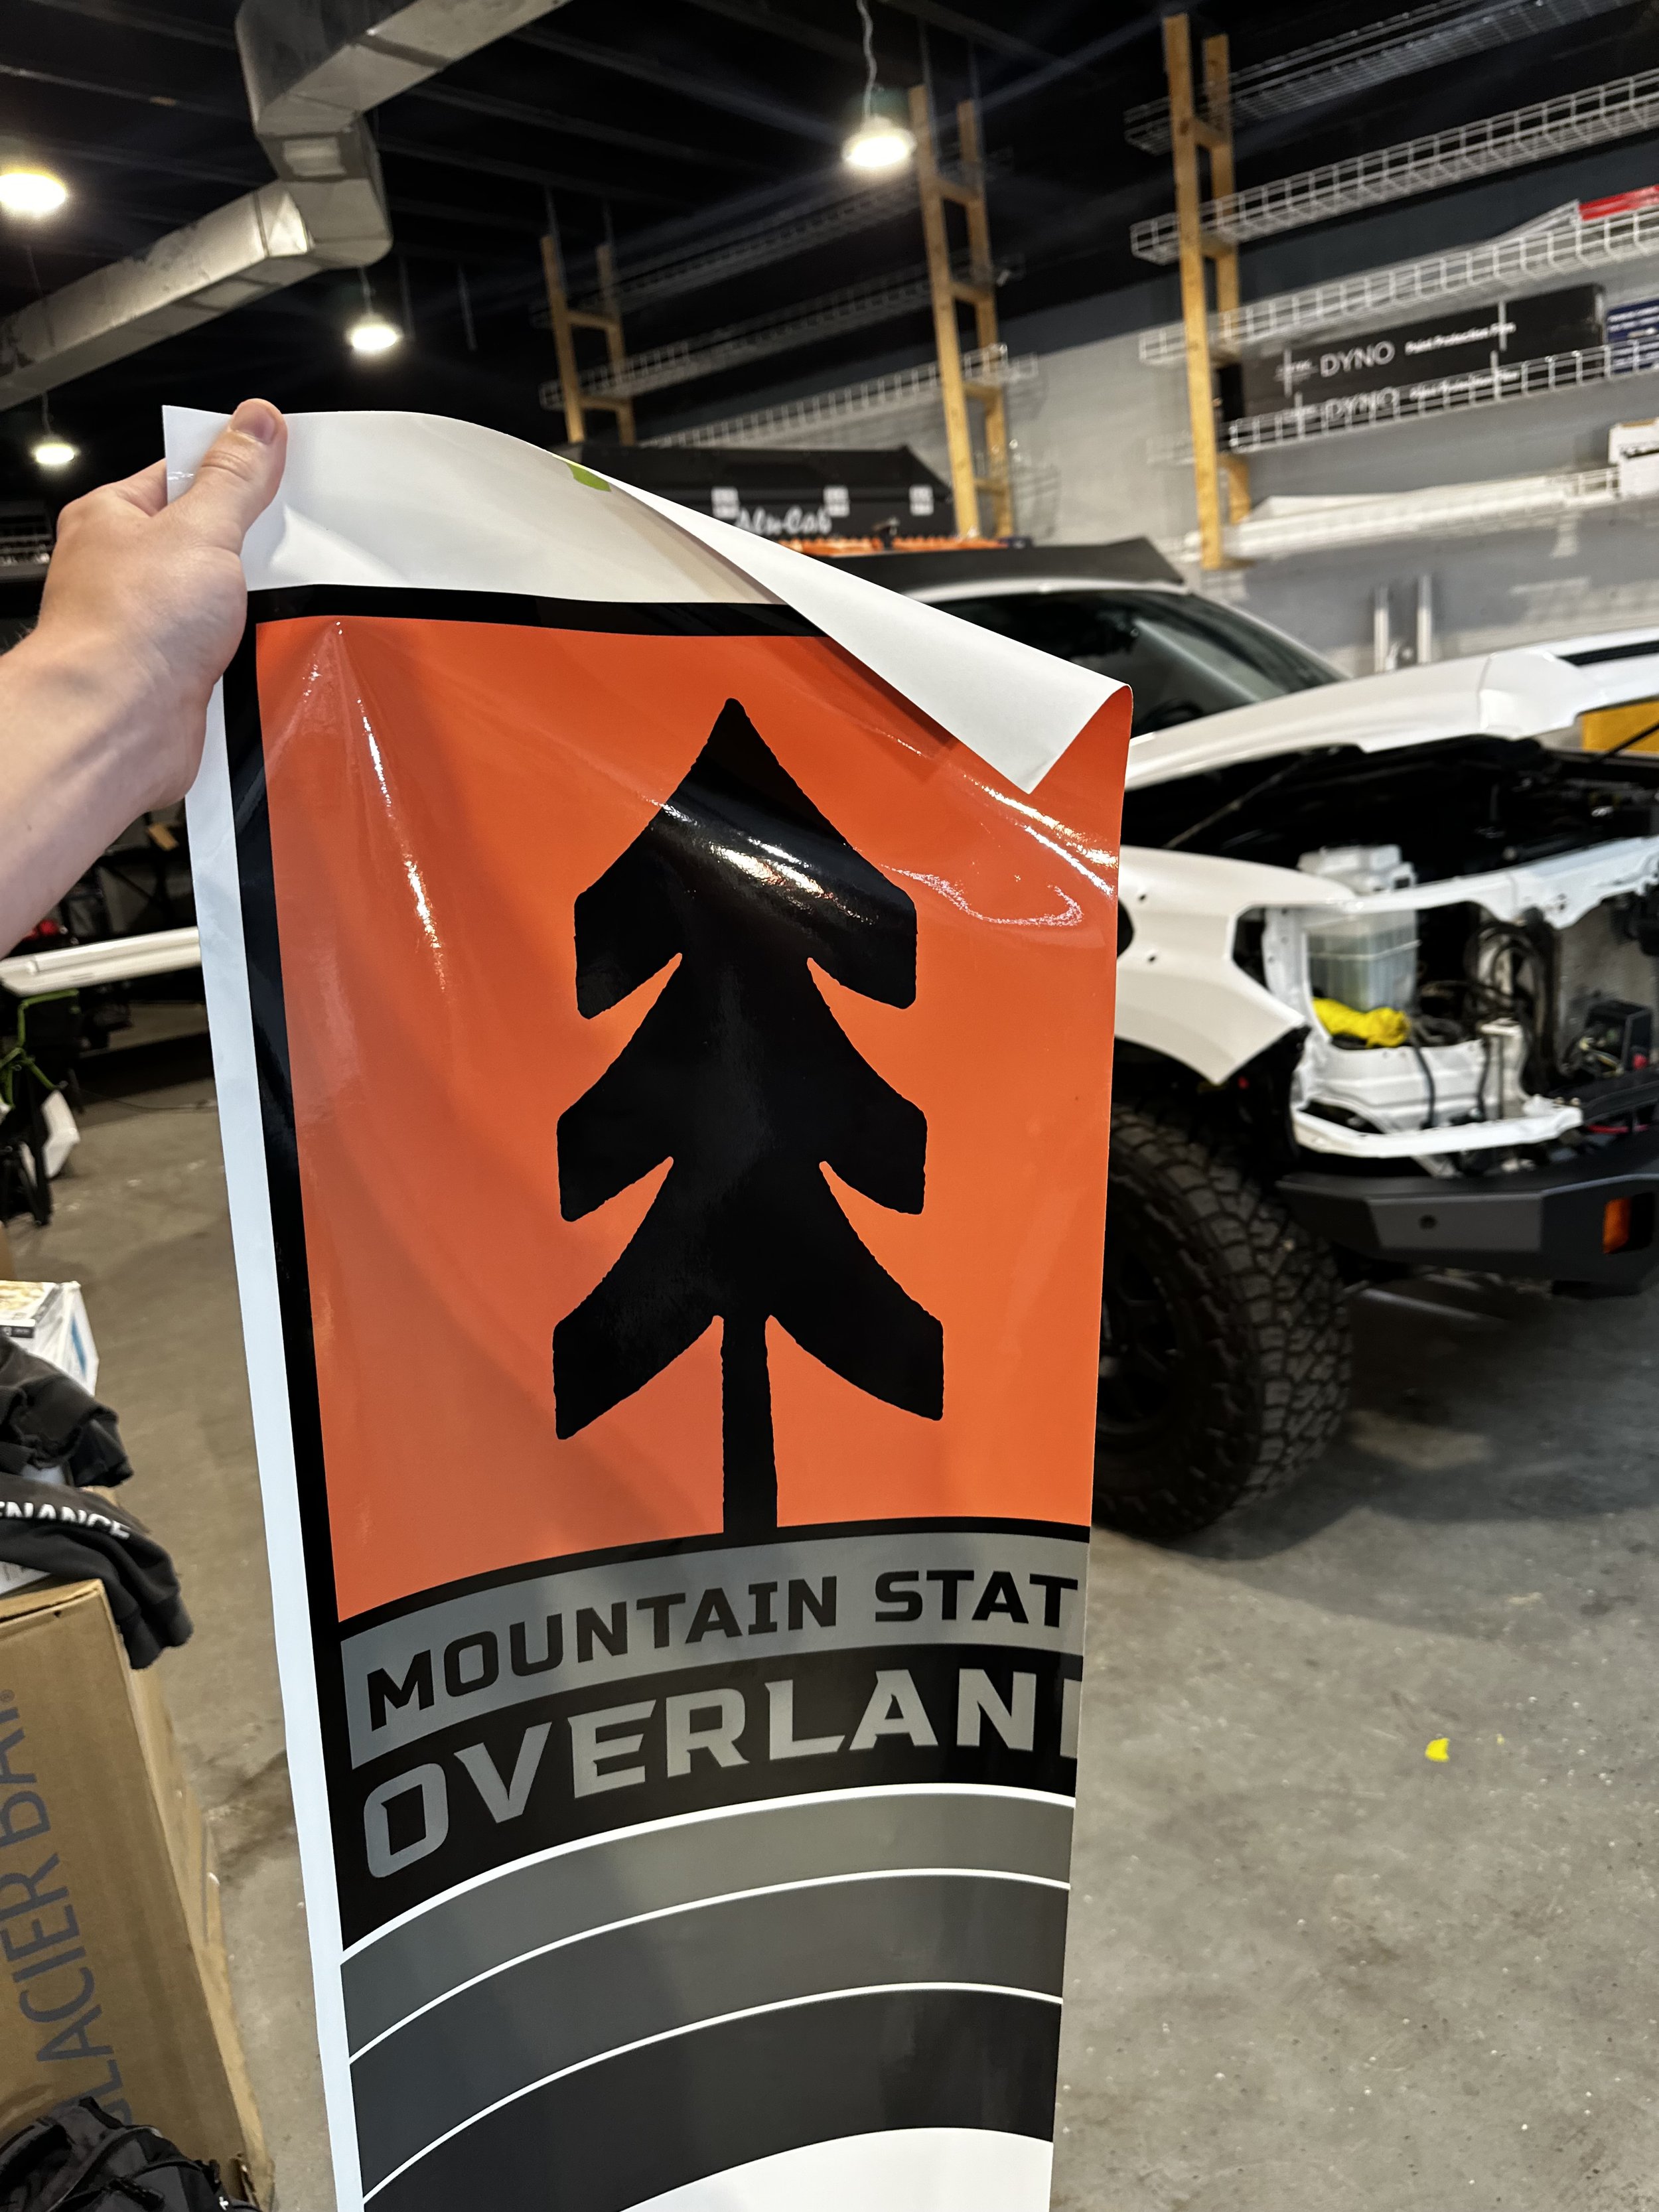
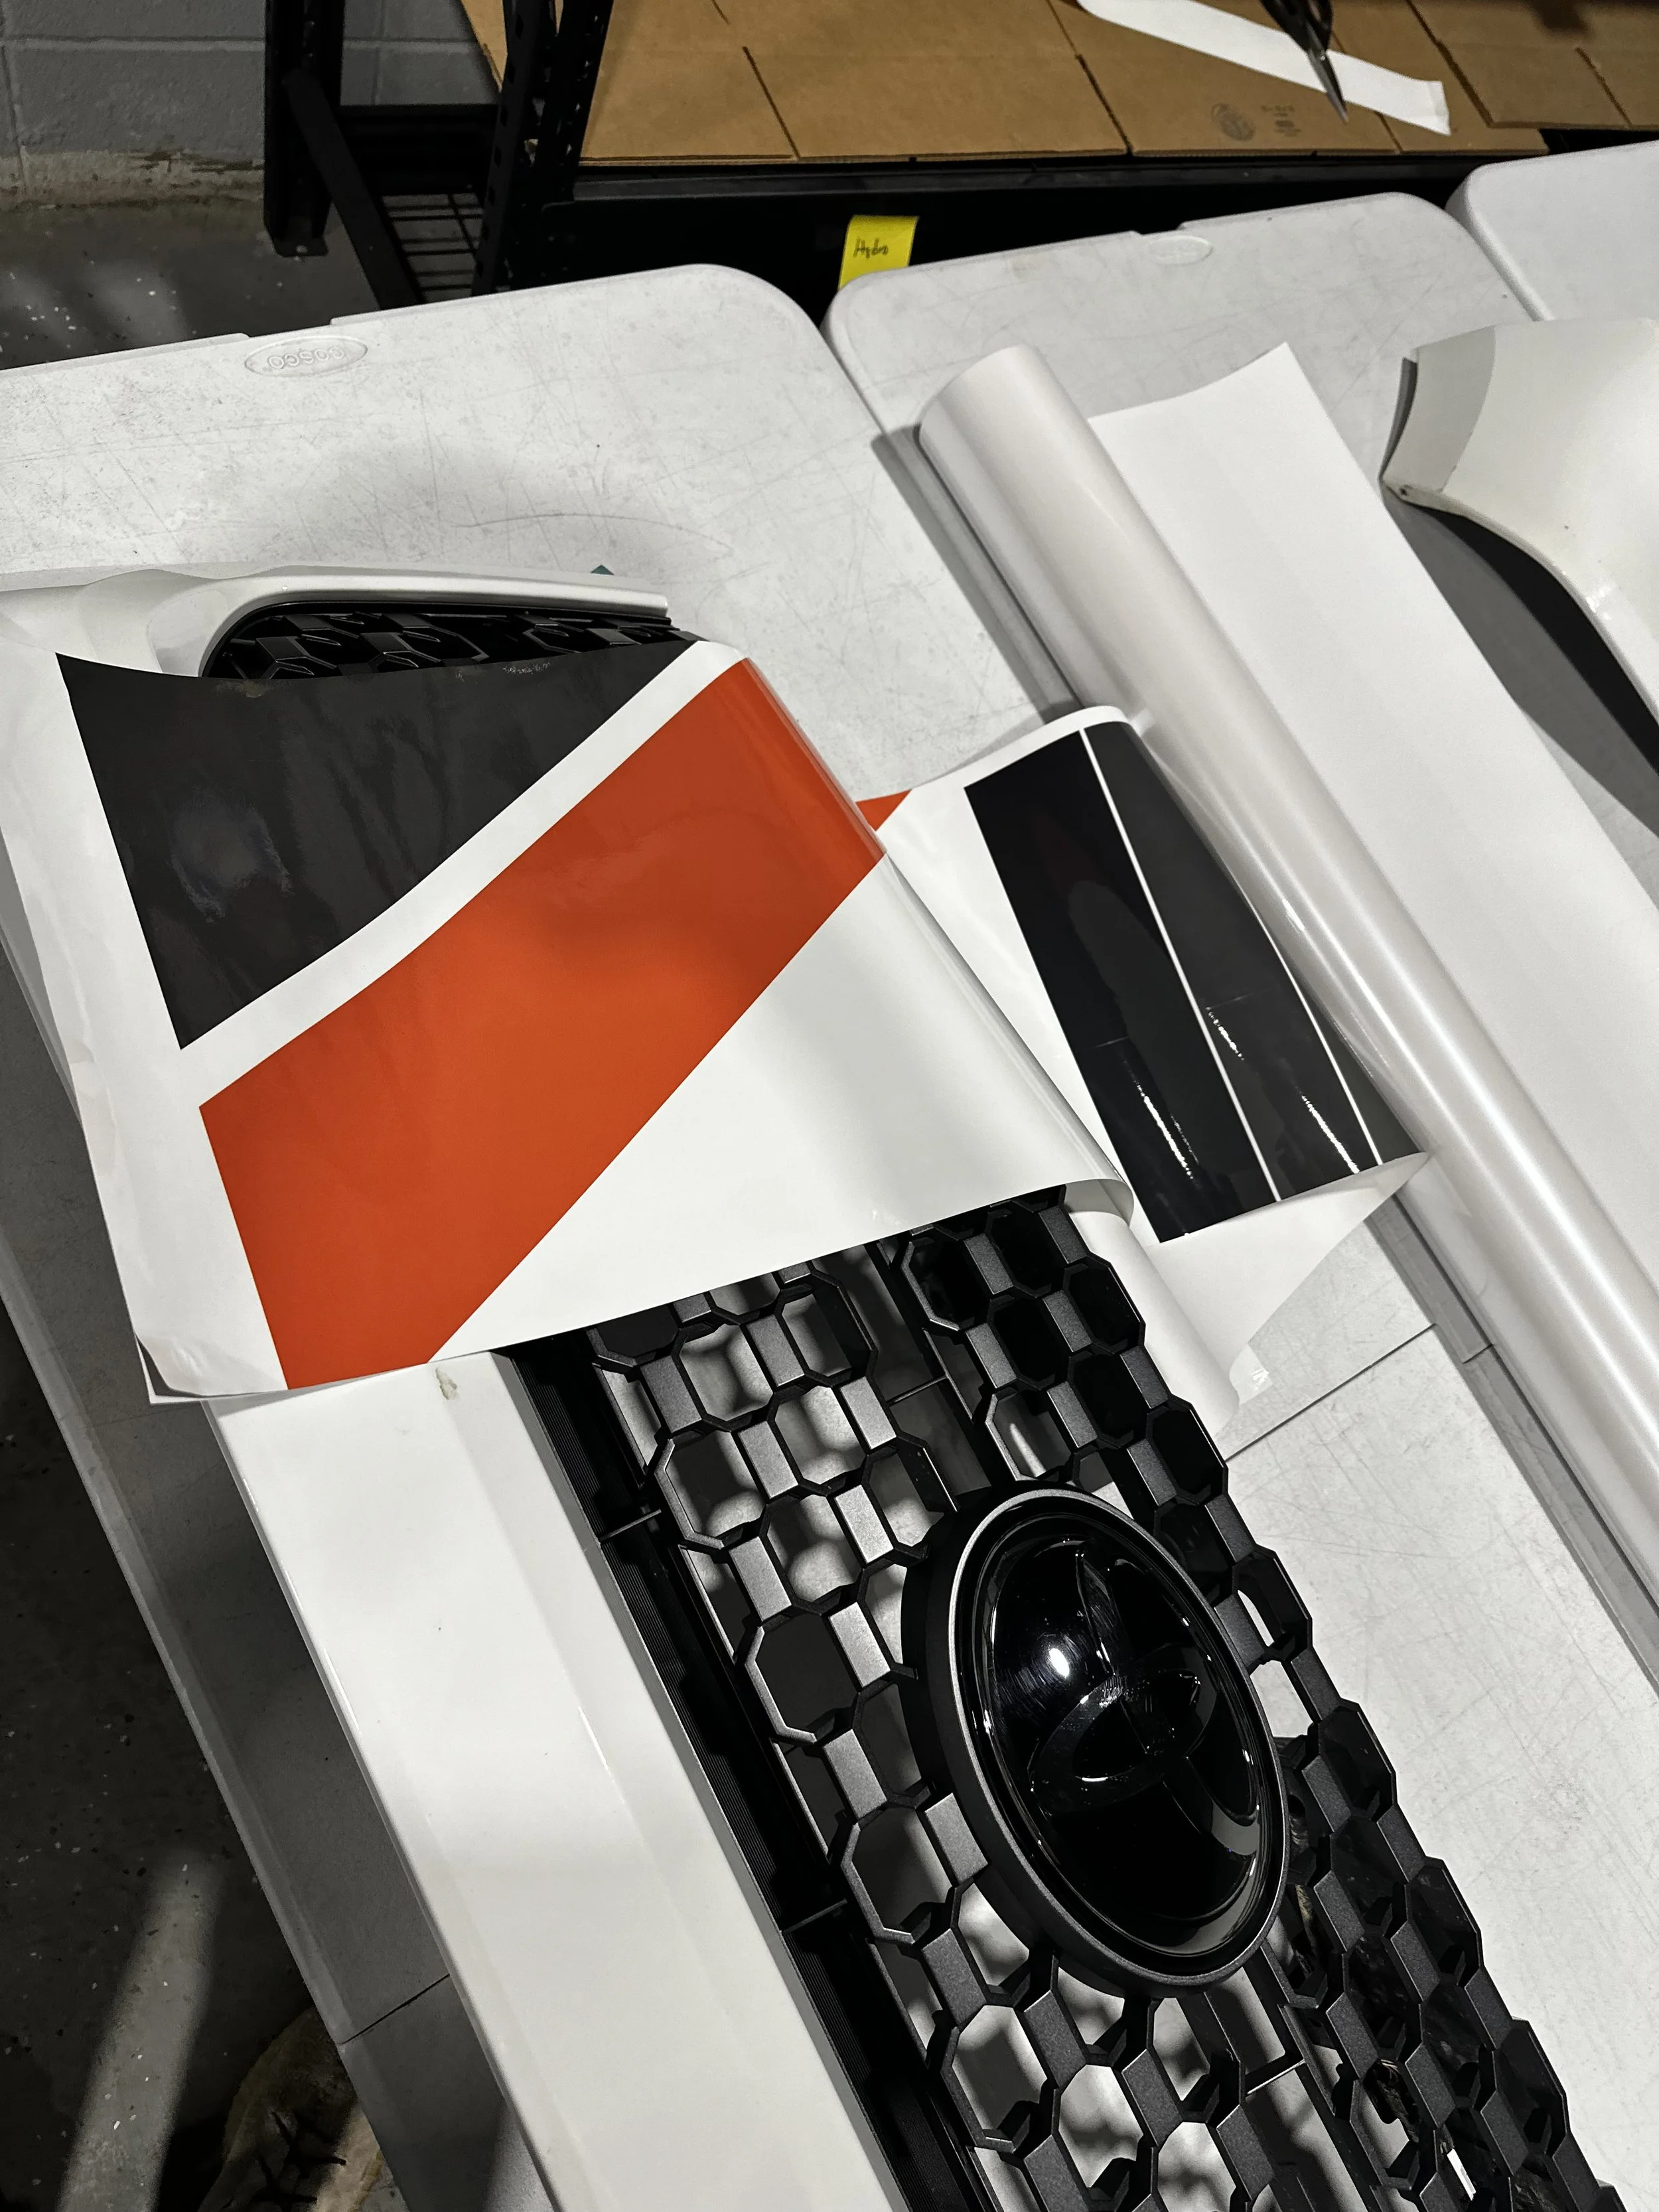
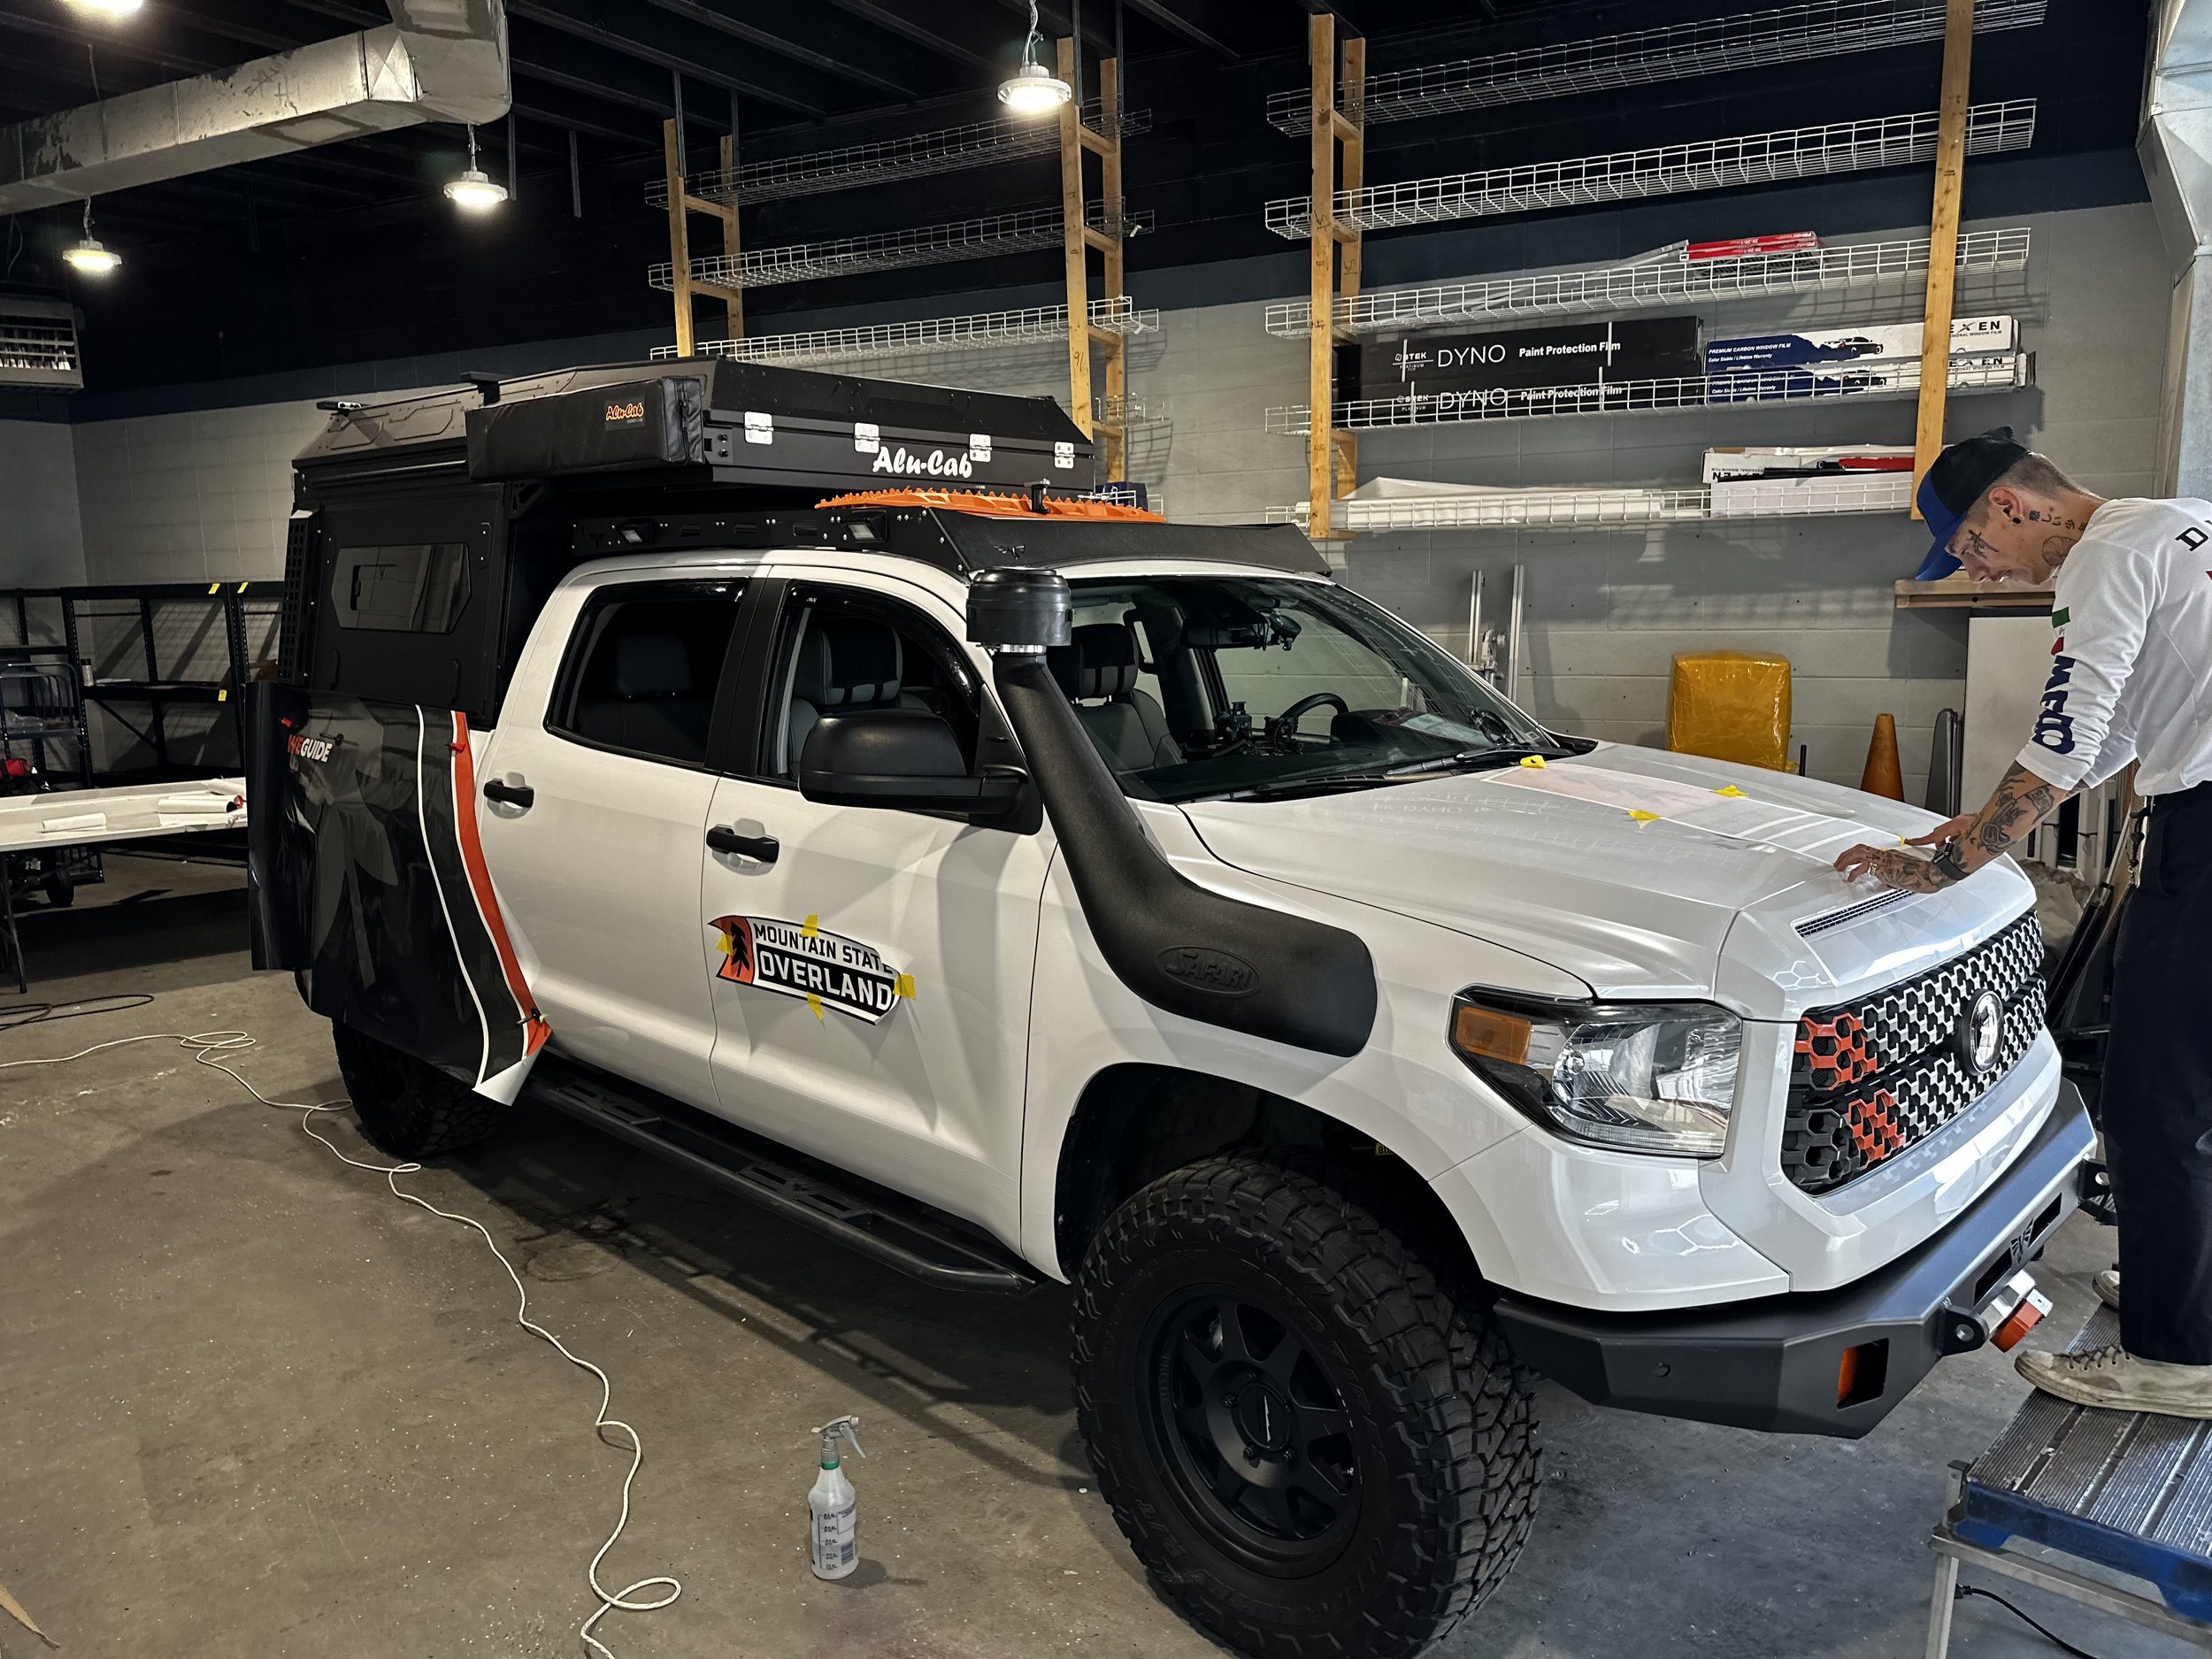
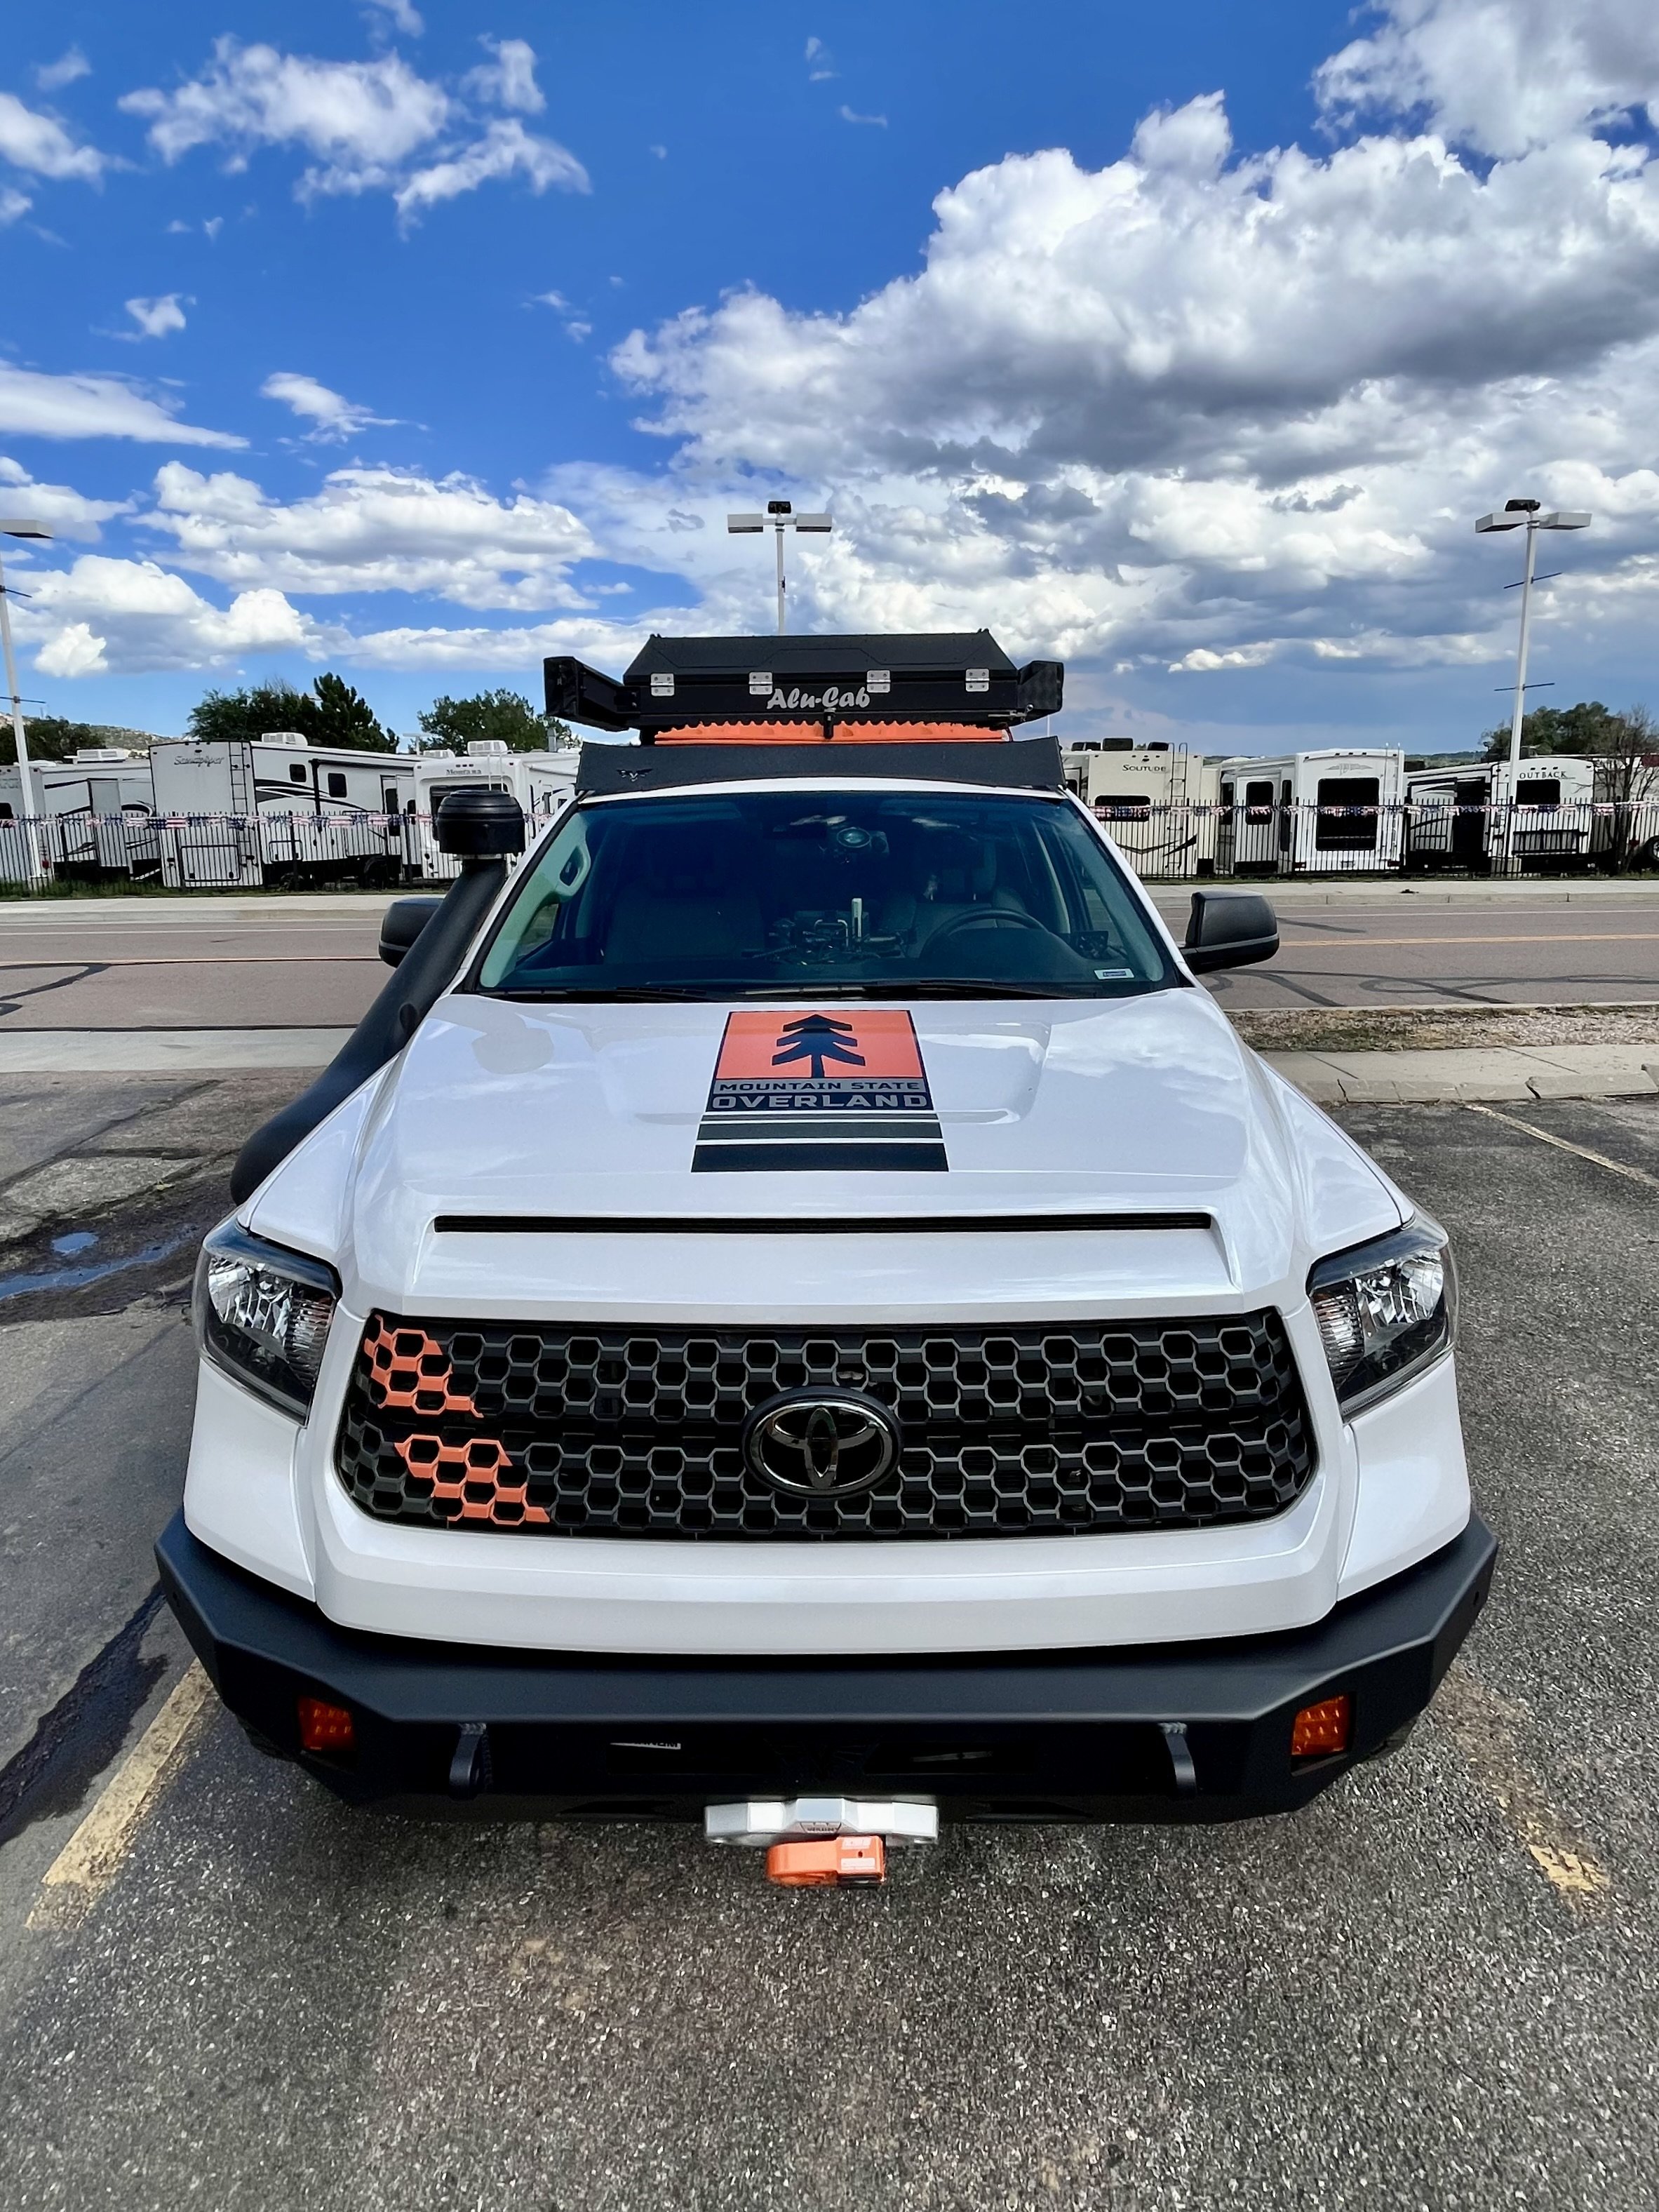
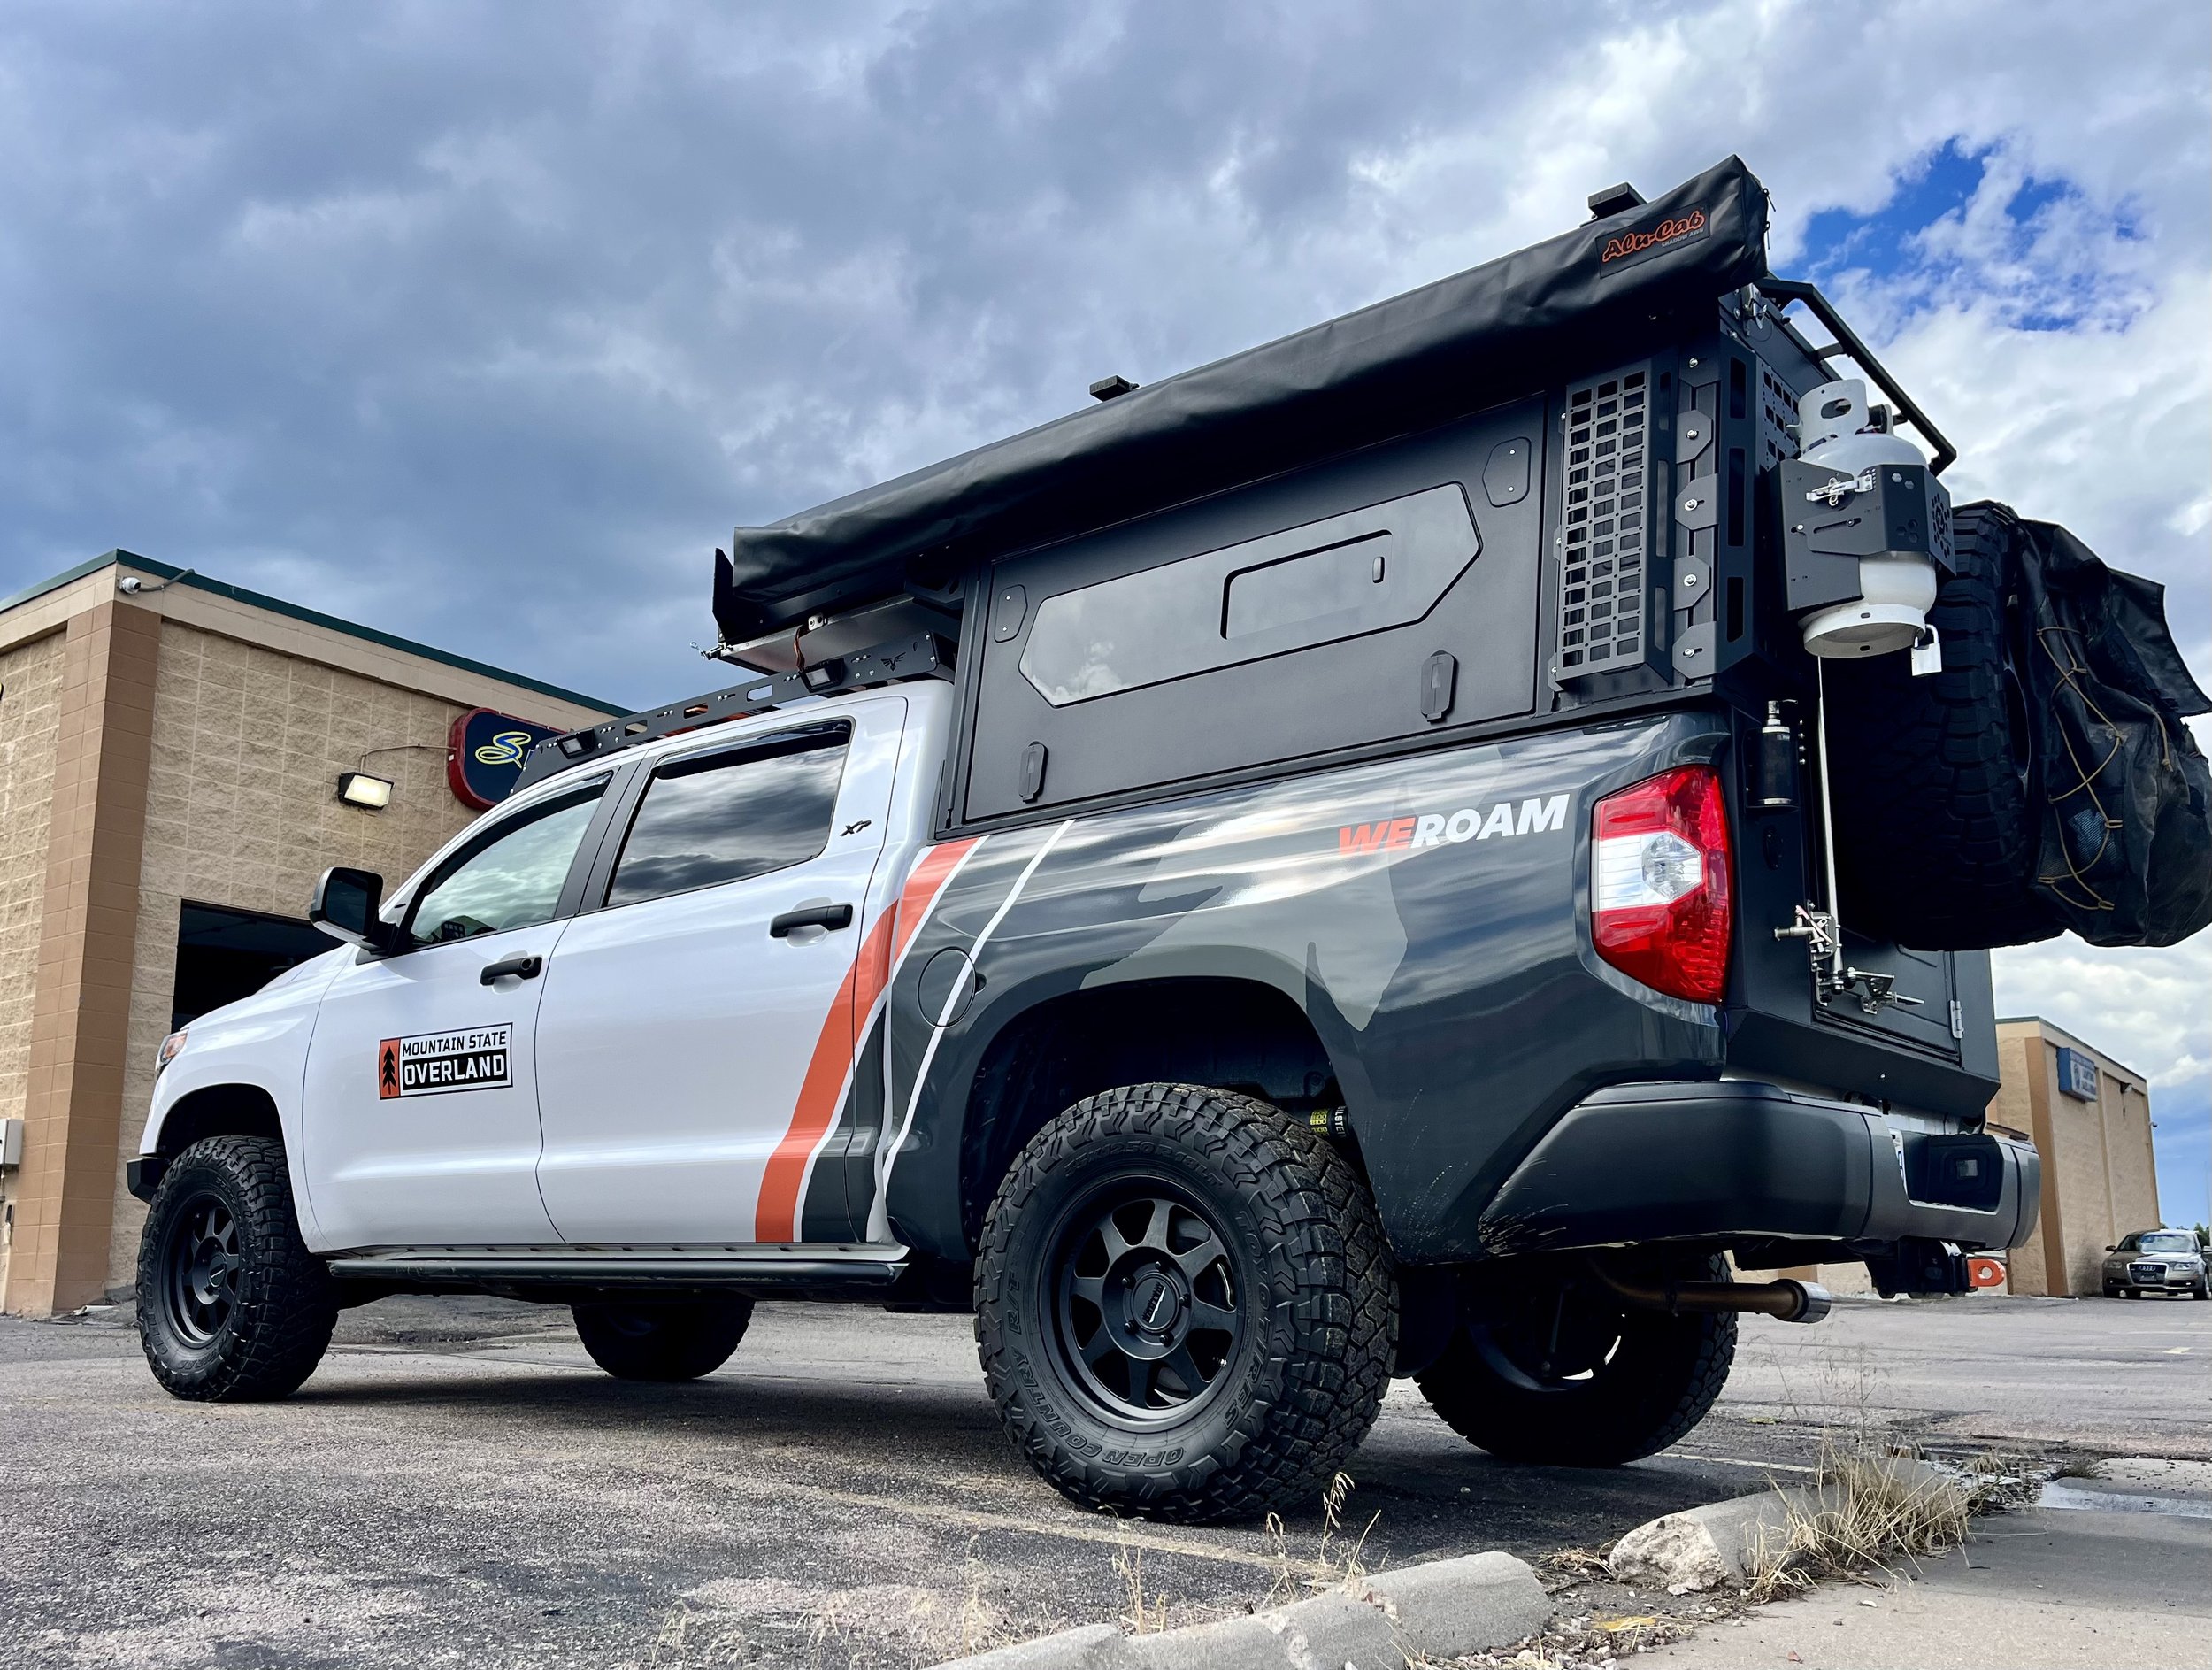
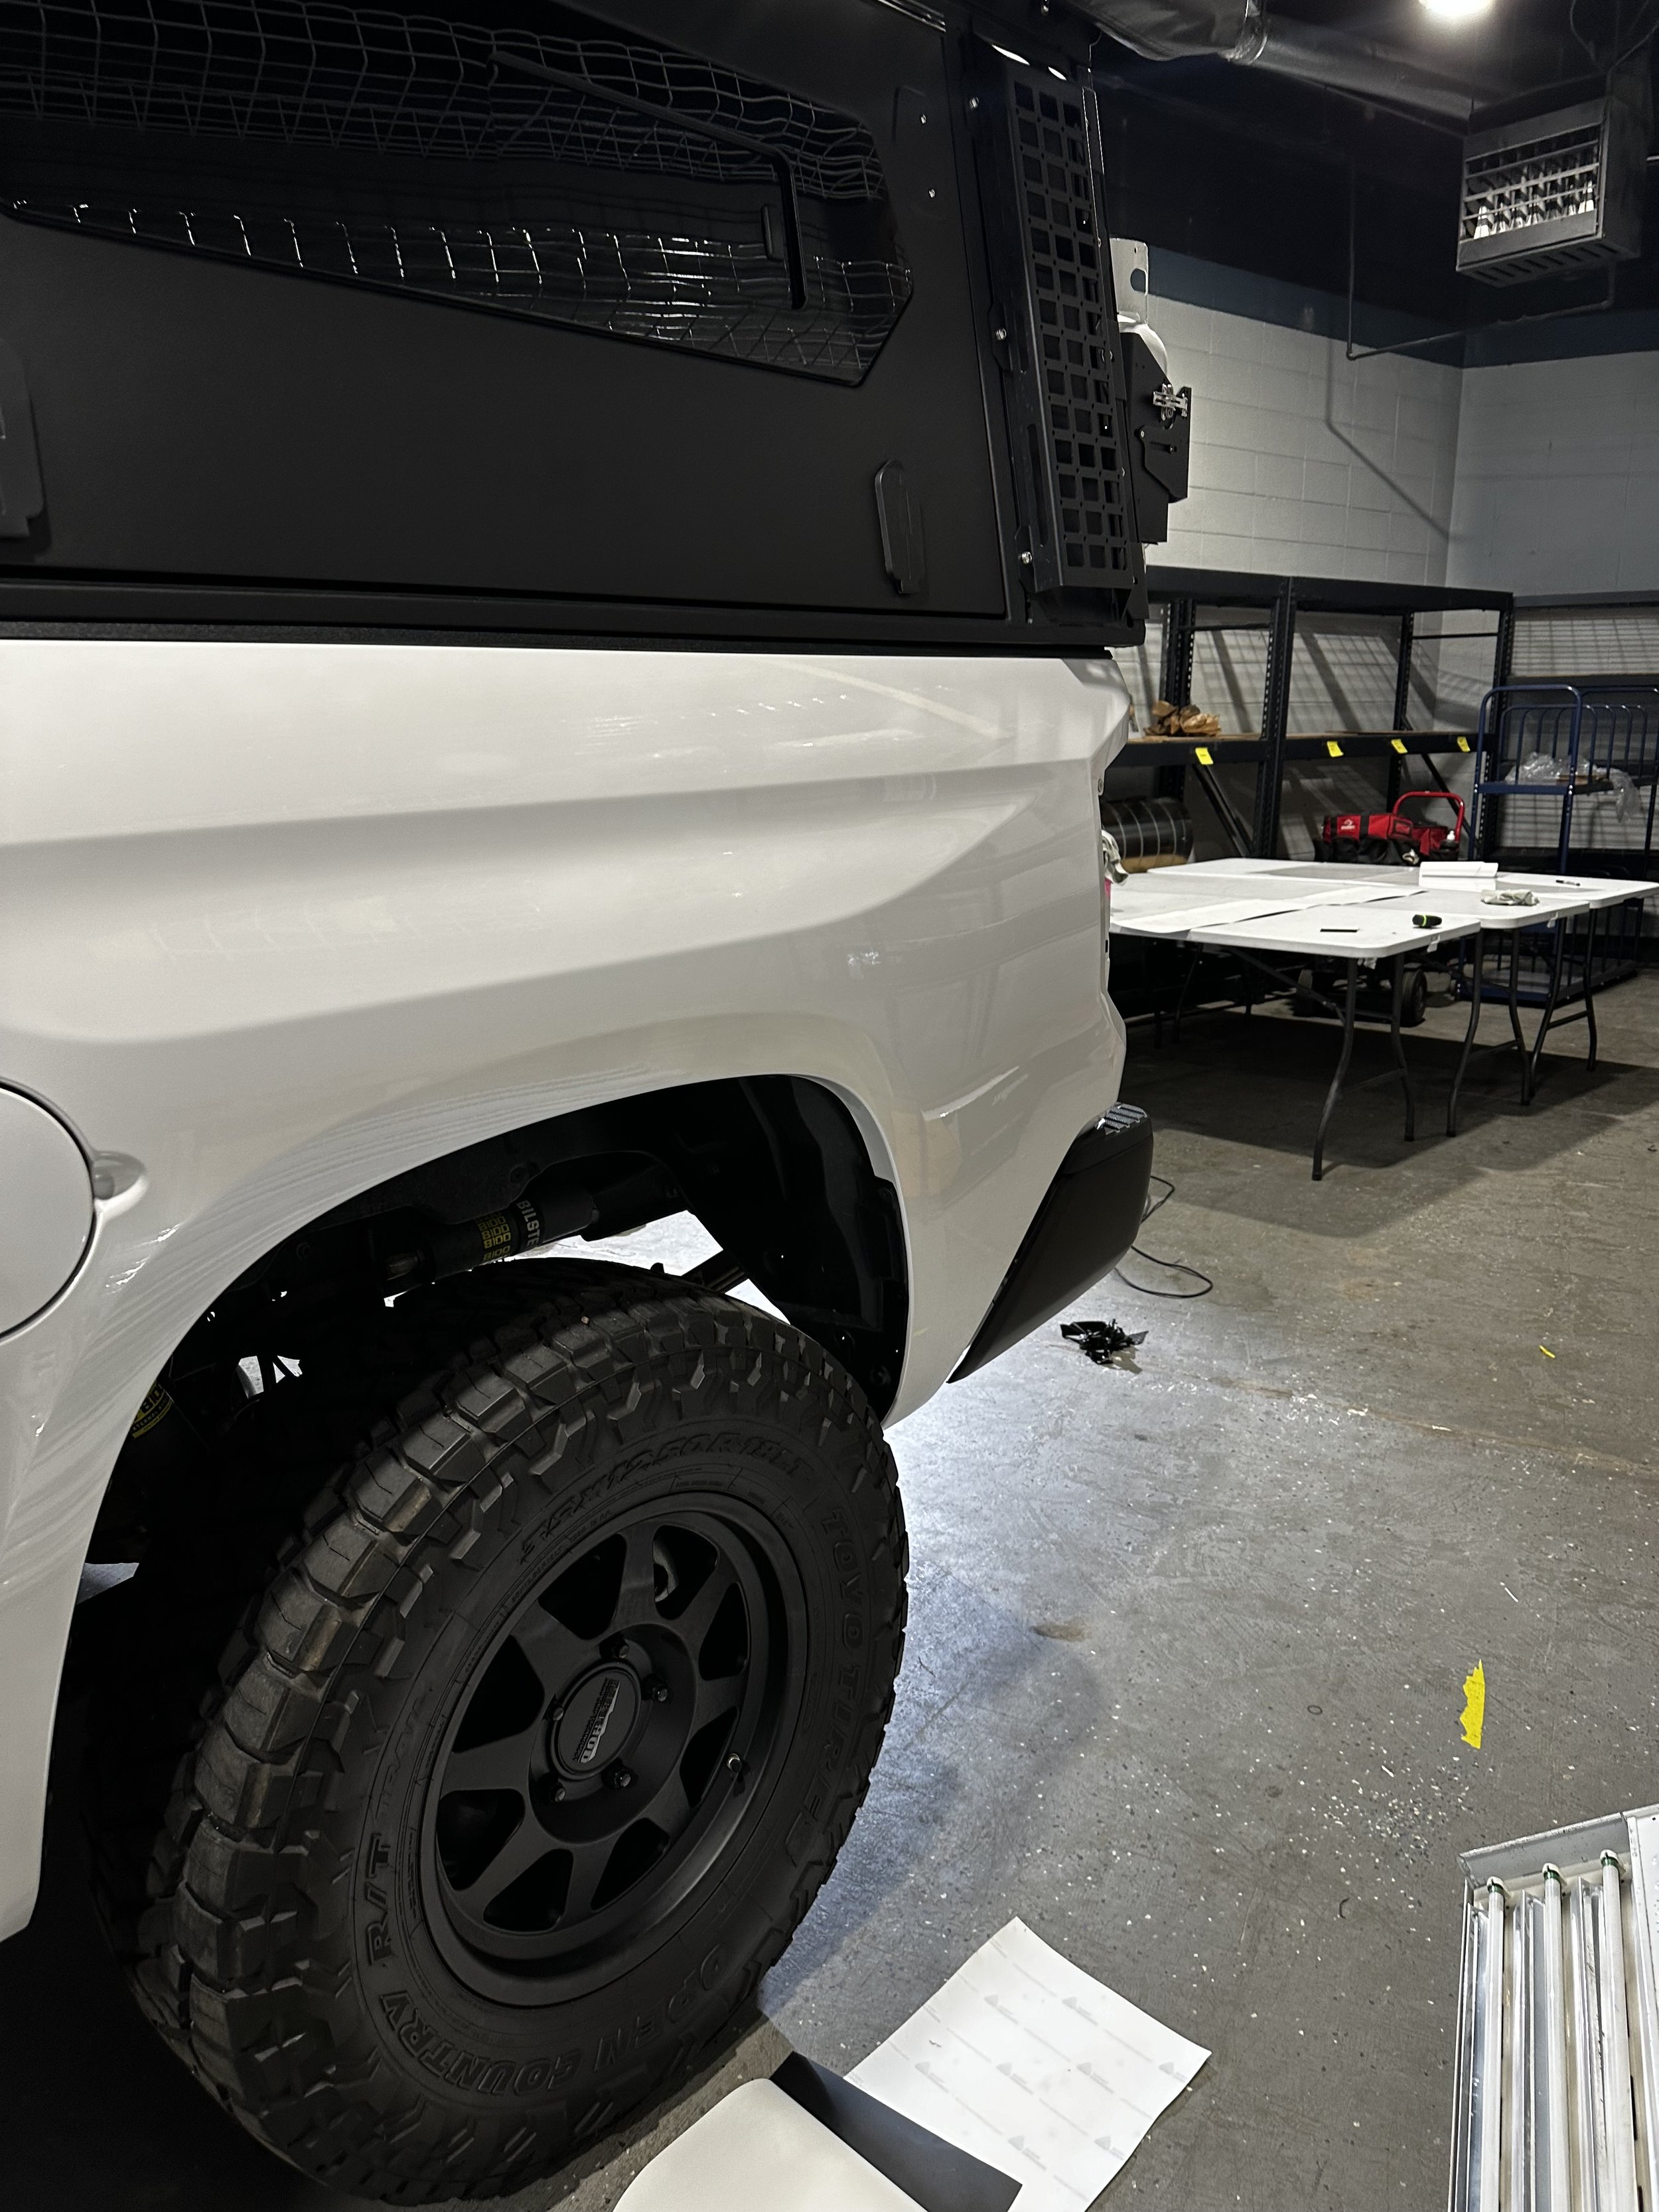
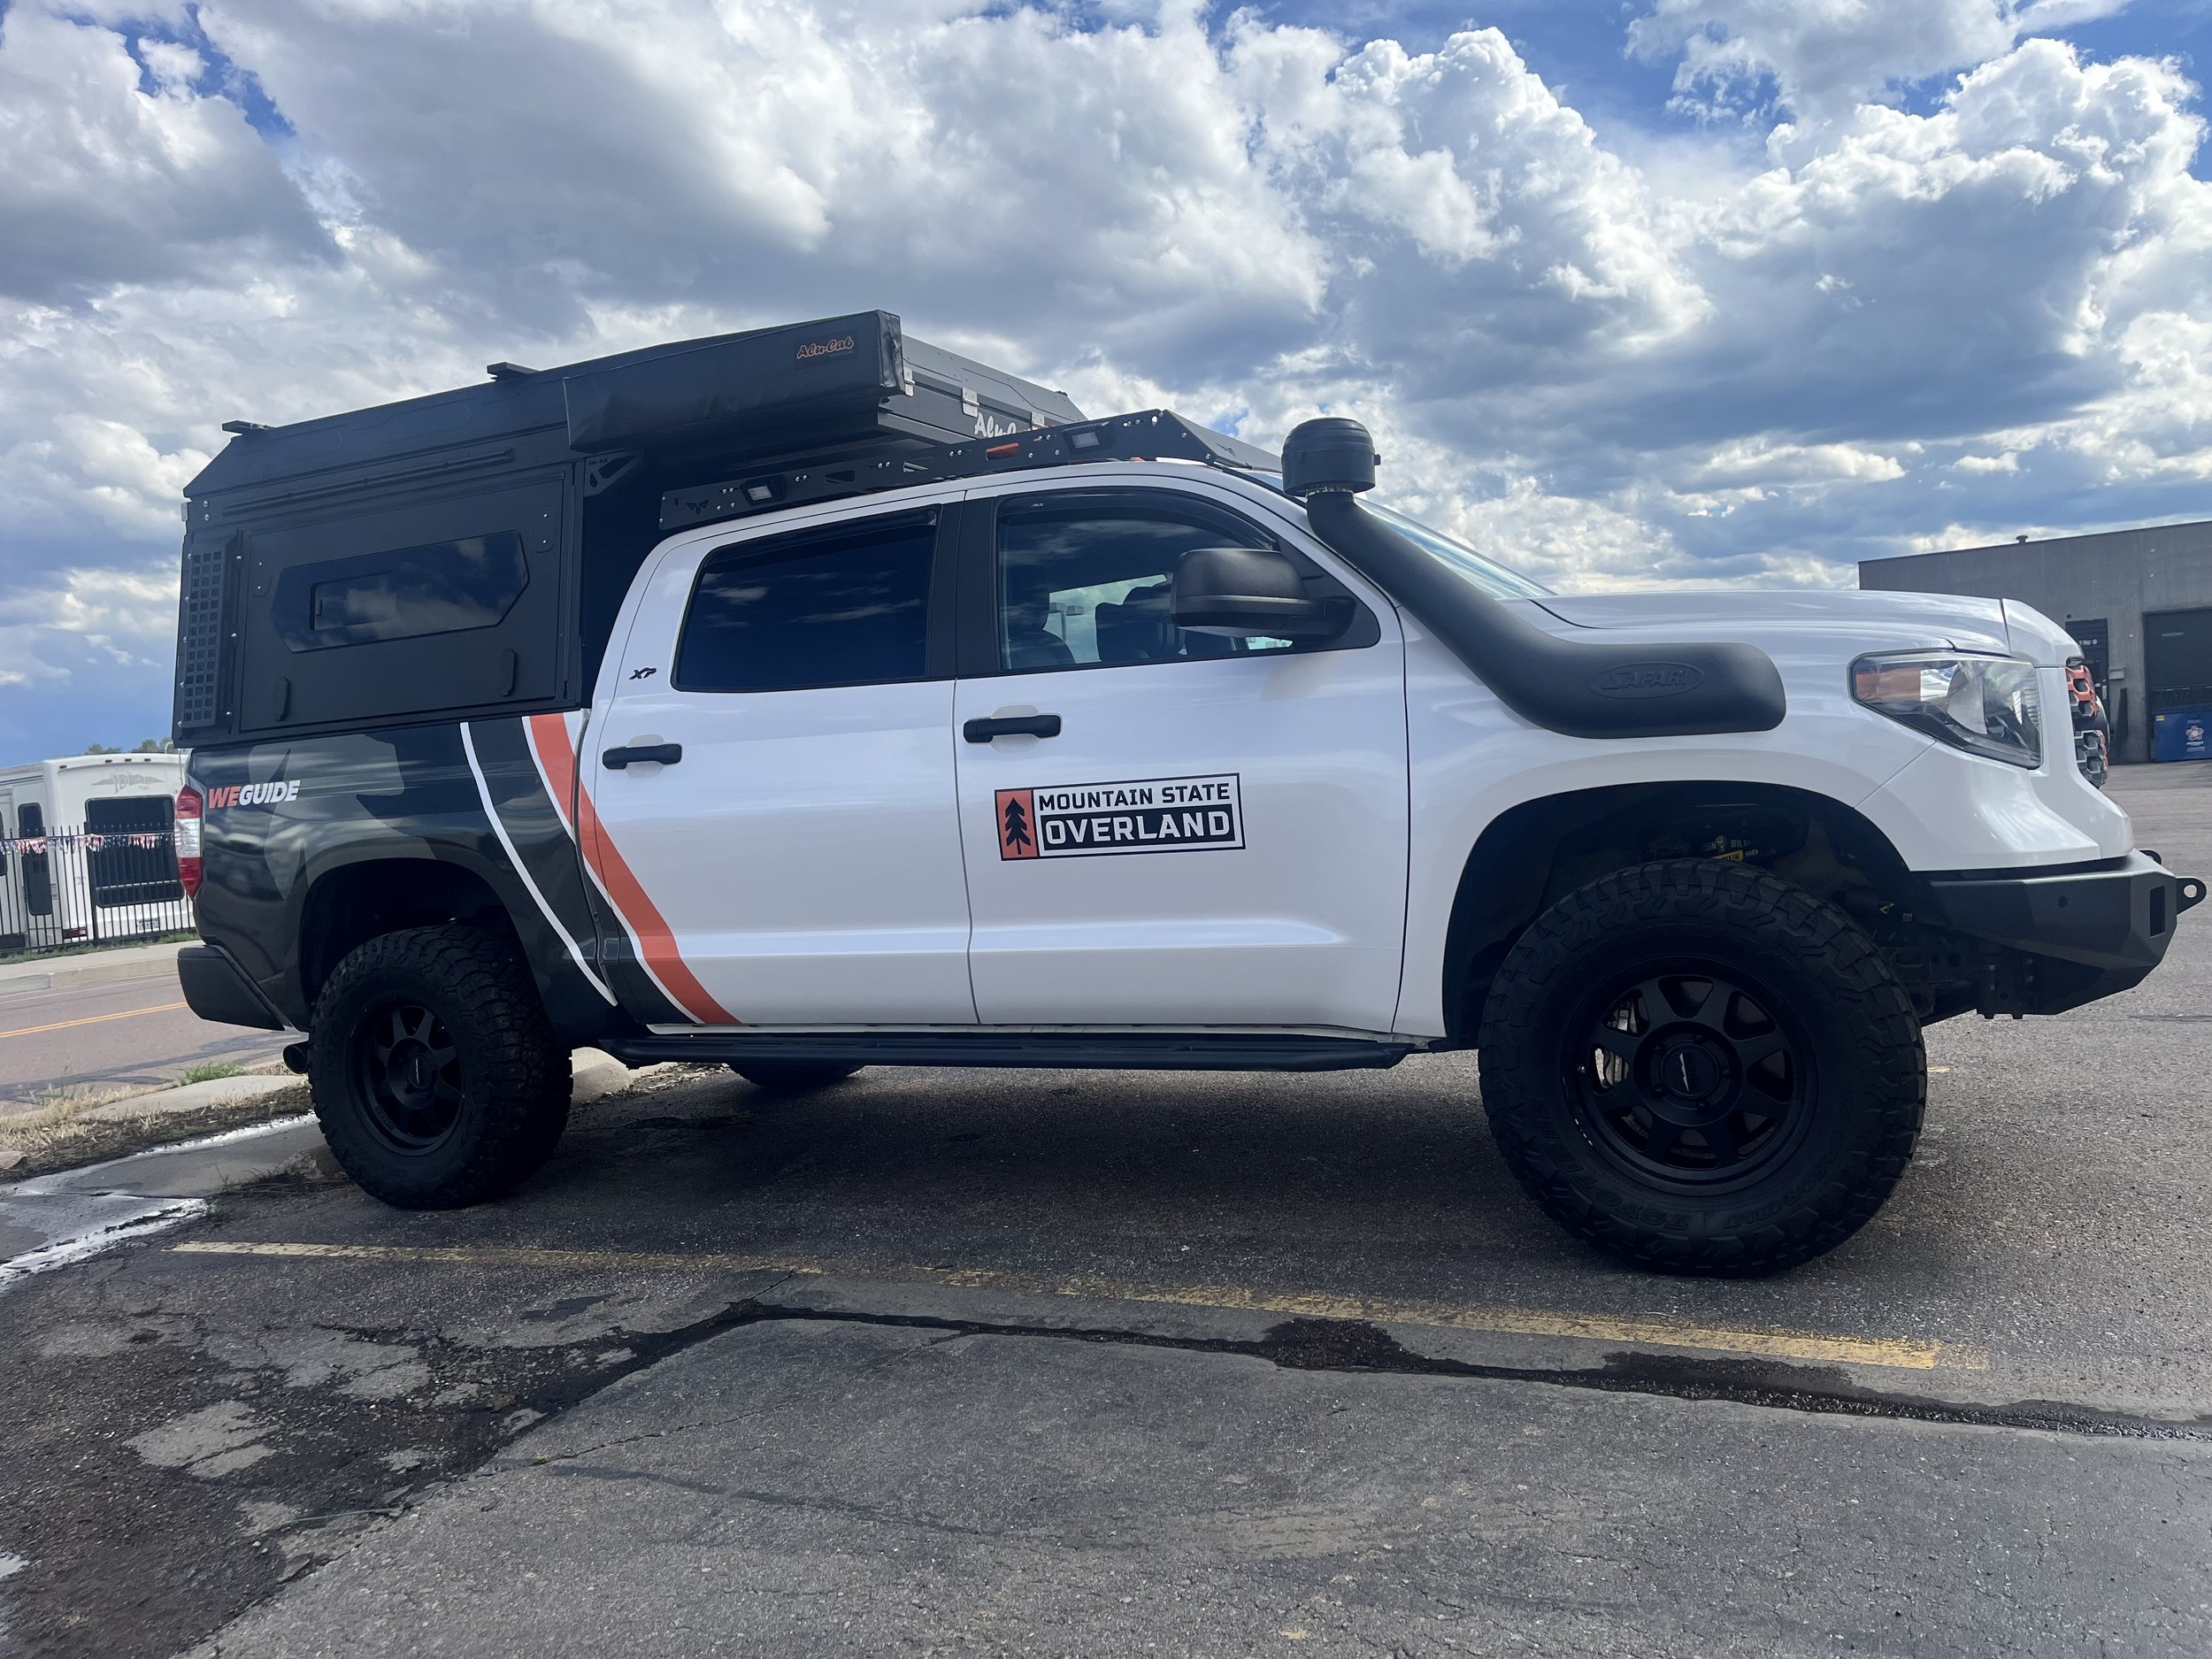
We also did the same decals Jason had on his truck: on the back, on both front doors, and on the hood. They wrapped the rear bumper in black and did a little bit of wrap on the front grille to tie everything together. We shopped around at a couple of other shops, but we could really tell that Carson and the guys at Show Car would take ownership of the project and make sure they were proud of it. They did such a great job.
I picked the truck up from the wrap shop the day before Hammer Down 5 and drove straight to the Colorado Springs airport to pick up Ben and Casper. That trip was the truck's first real shakedown. We got it stuck a couple of times and hung it up on the rear diff a couple more. (Those videos came out later.)
Lights and Starlink
Before heading back to West Virginia for Adventure X Fest, I wanted to get the Starlink mounted and install some chase lights and new rear lights.
Wiring
Both sets of lights ran off the Switch Pros under the hood. Starlink was a little different: it was powered from the house battery in the camper, but the dish was mounted on the front of the truck. So I had to run a cable in the opposite direction, from the back of the truck all the way to the front.
I ran the light wiring from the Switch Pros and the Starlink power cable, then cleaned it all up with a wire hider. I also set up the Starlink switch so it wasn't affected by the master switch. That way, I could shut everything else off and Starlink would stay on.
The Lights
Rear lights: These aren't tied to the truck's reverse gear. We switched them from the Switch Pros. They also worked as auxiliary brake lights: they had a red backlight wired to the brakes, so it turned on when you hit the brake pedal.
Chase lights: Amber single pods from Diode Dynamics, on the Switch Pros. We really needed these when we were in Utah. I lined them up perfectly with the MOLLE panels. (I nicked the paint a little on one side, so I had some cleanup to do.)
That was a hot, dirty day of work, but everything was wired up and tested, and it all worked.
Designing the Interior
We went through a lot of iterations on the layout, because we weren't totally sure what we wanted. Ren at OK4WD gave us some really great inspiration with what he was doing in the back of his truck.
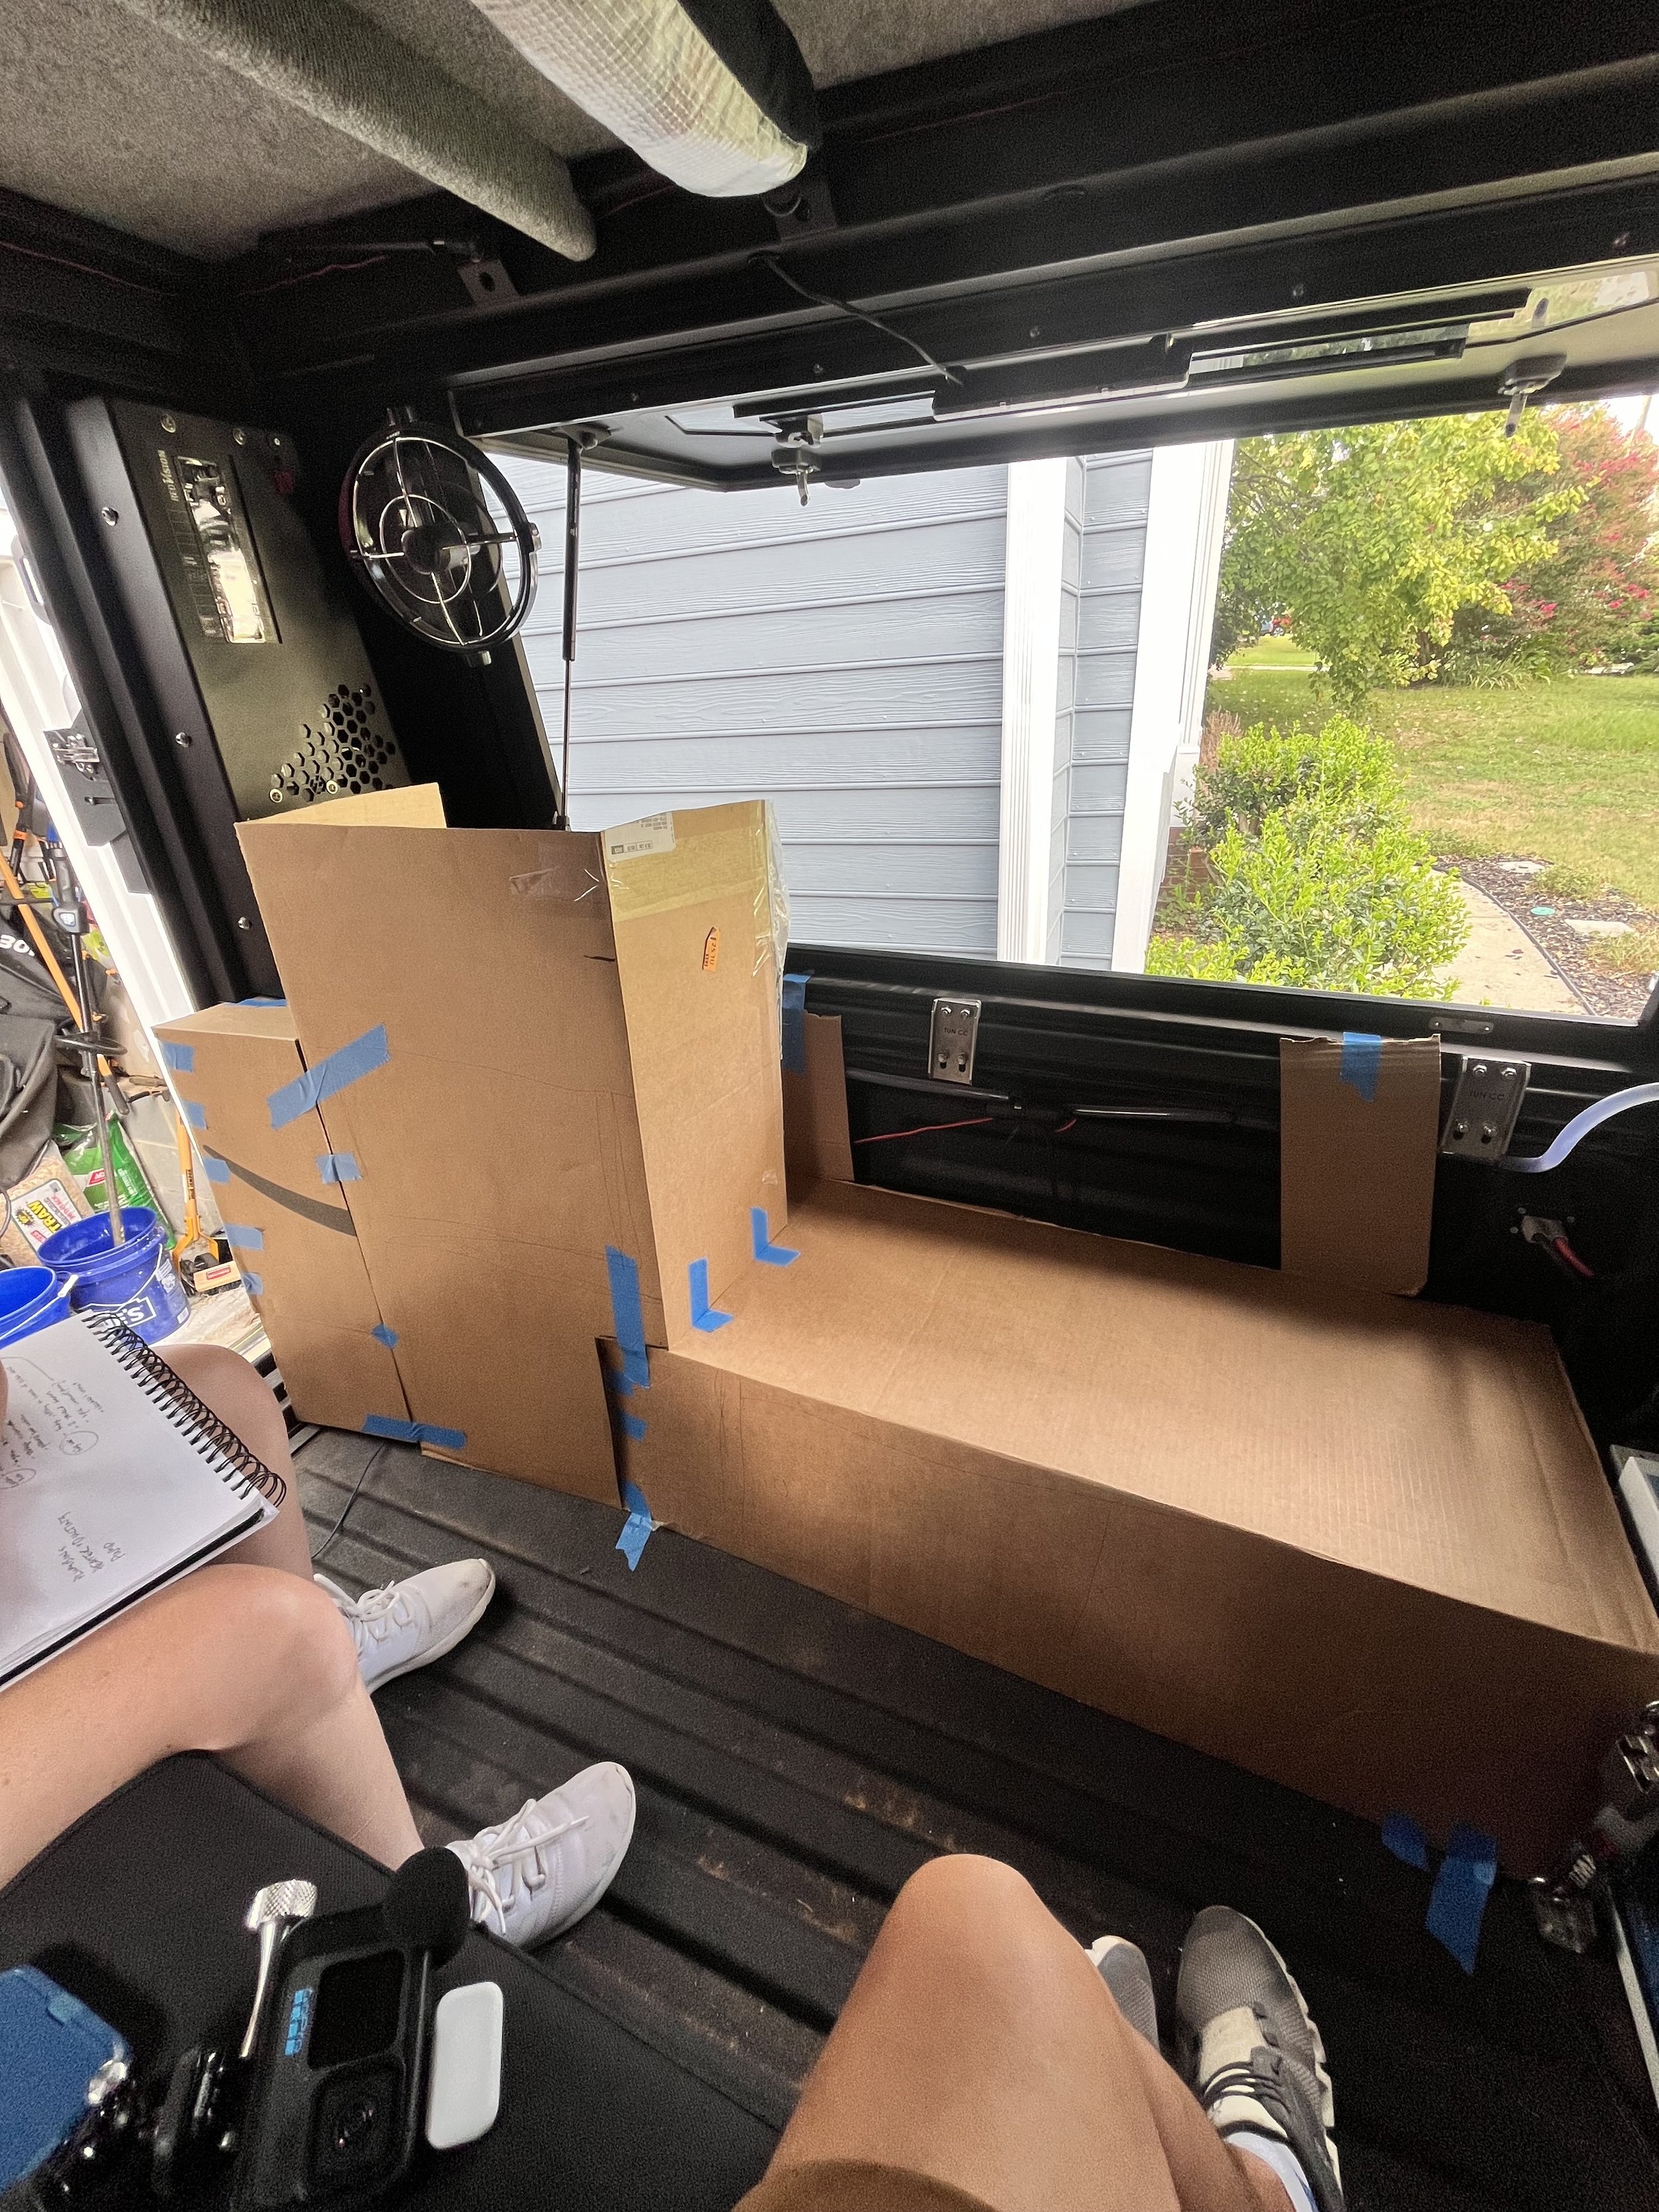
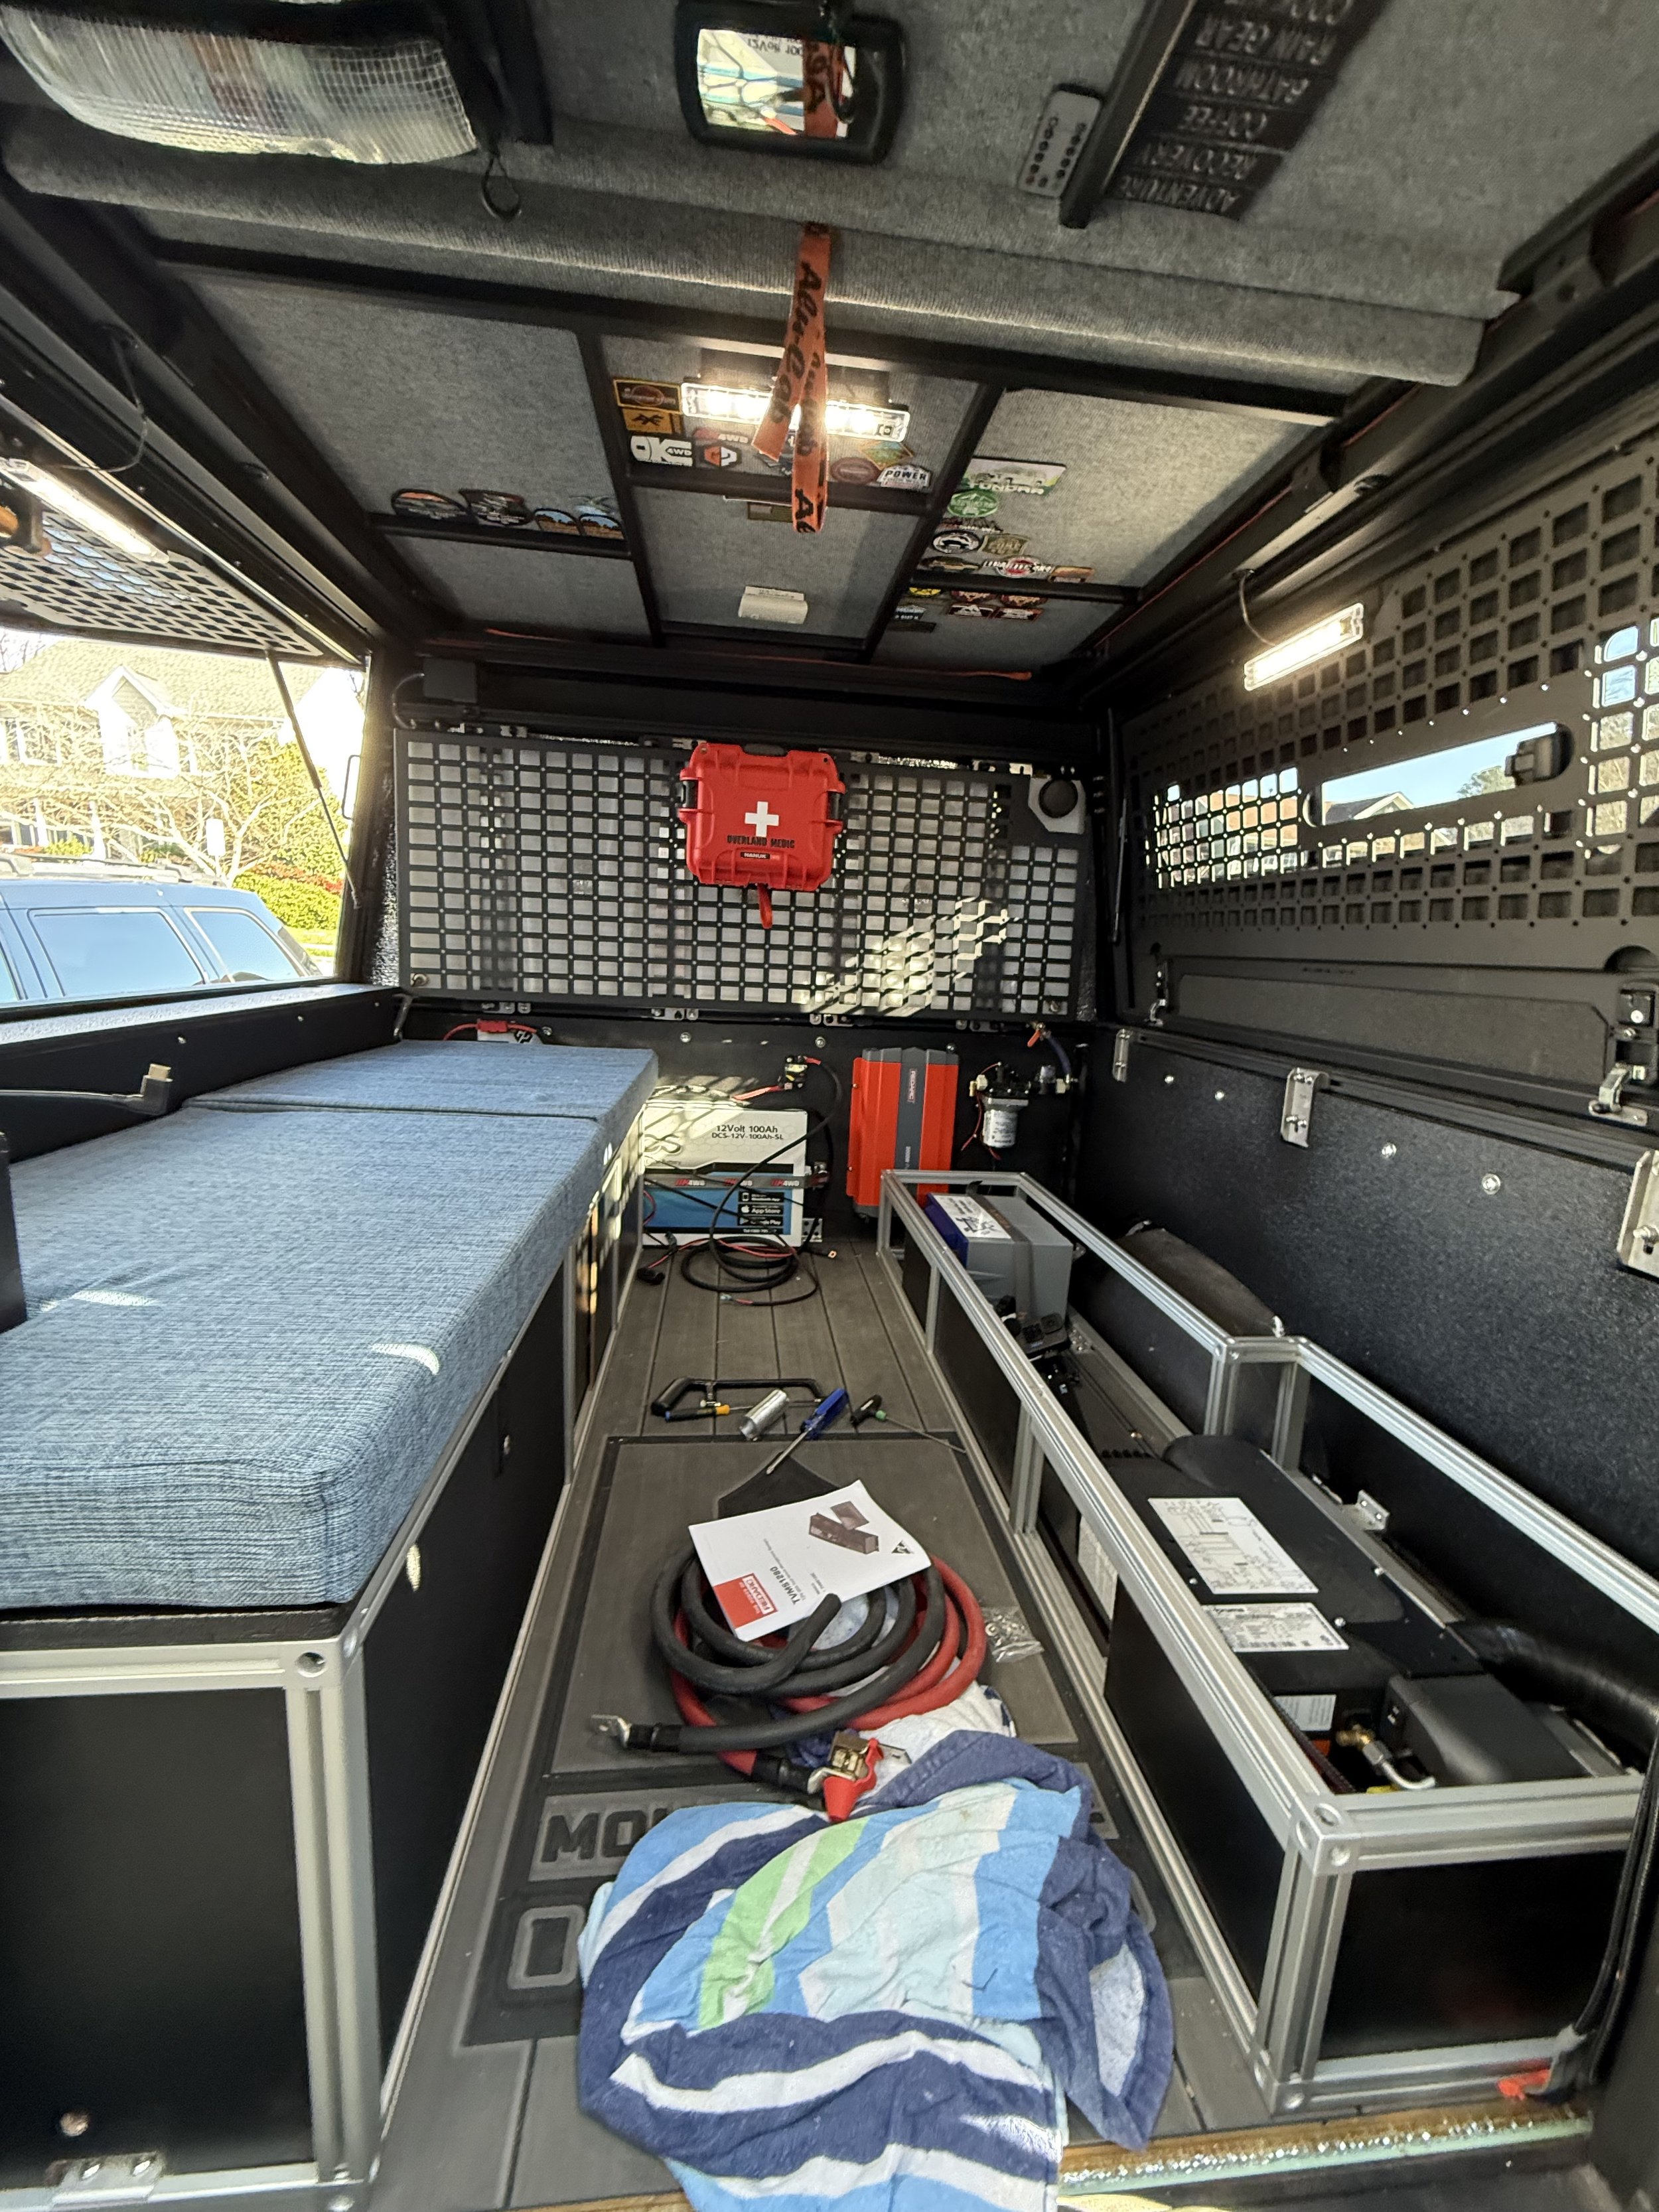
Our first plan had the fridge behind the driver's side. Then, once we started thinking about where the heater and ducting would go, and about balancing the weight between the driver and passenger sides, we flip-flopped everything. Here's where we landed, looking into the back of the truck:
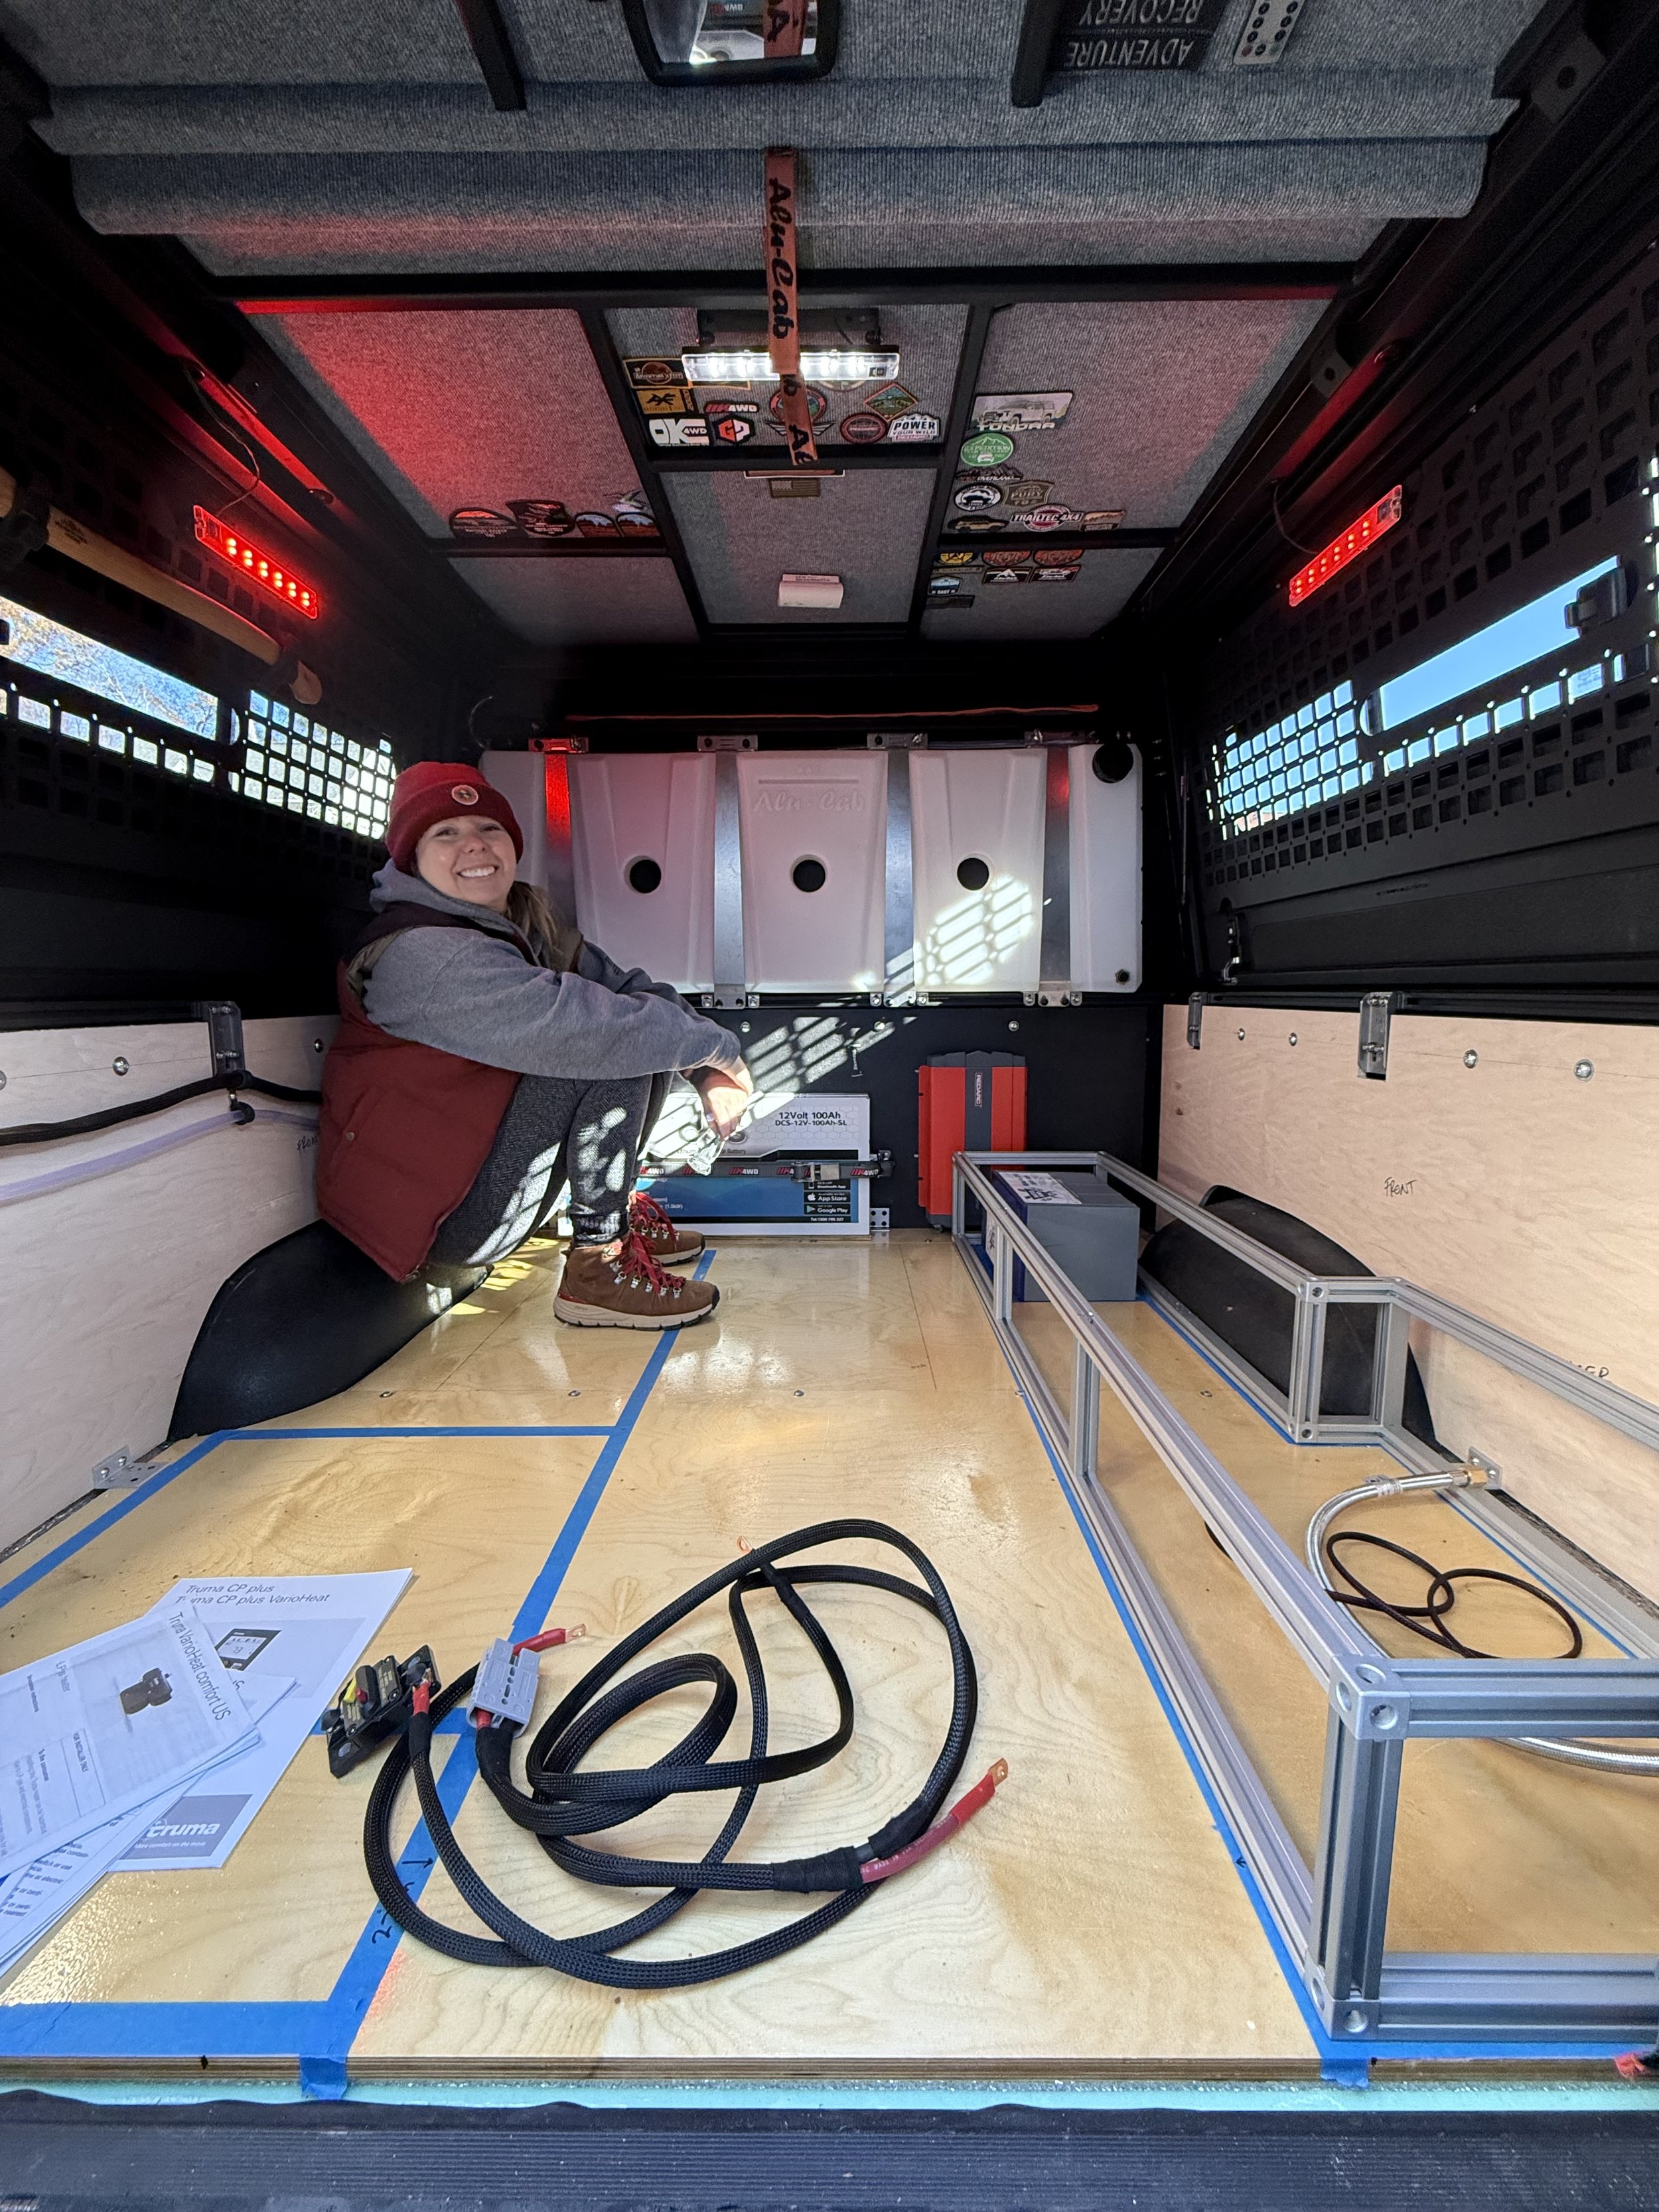
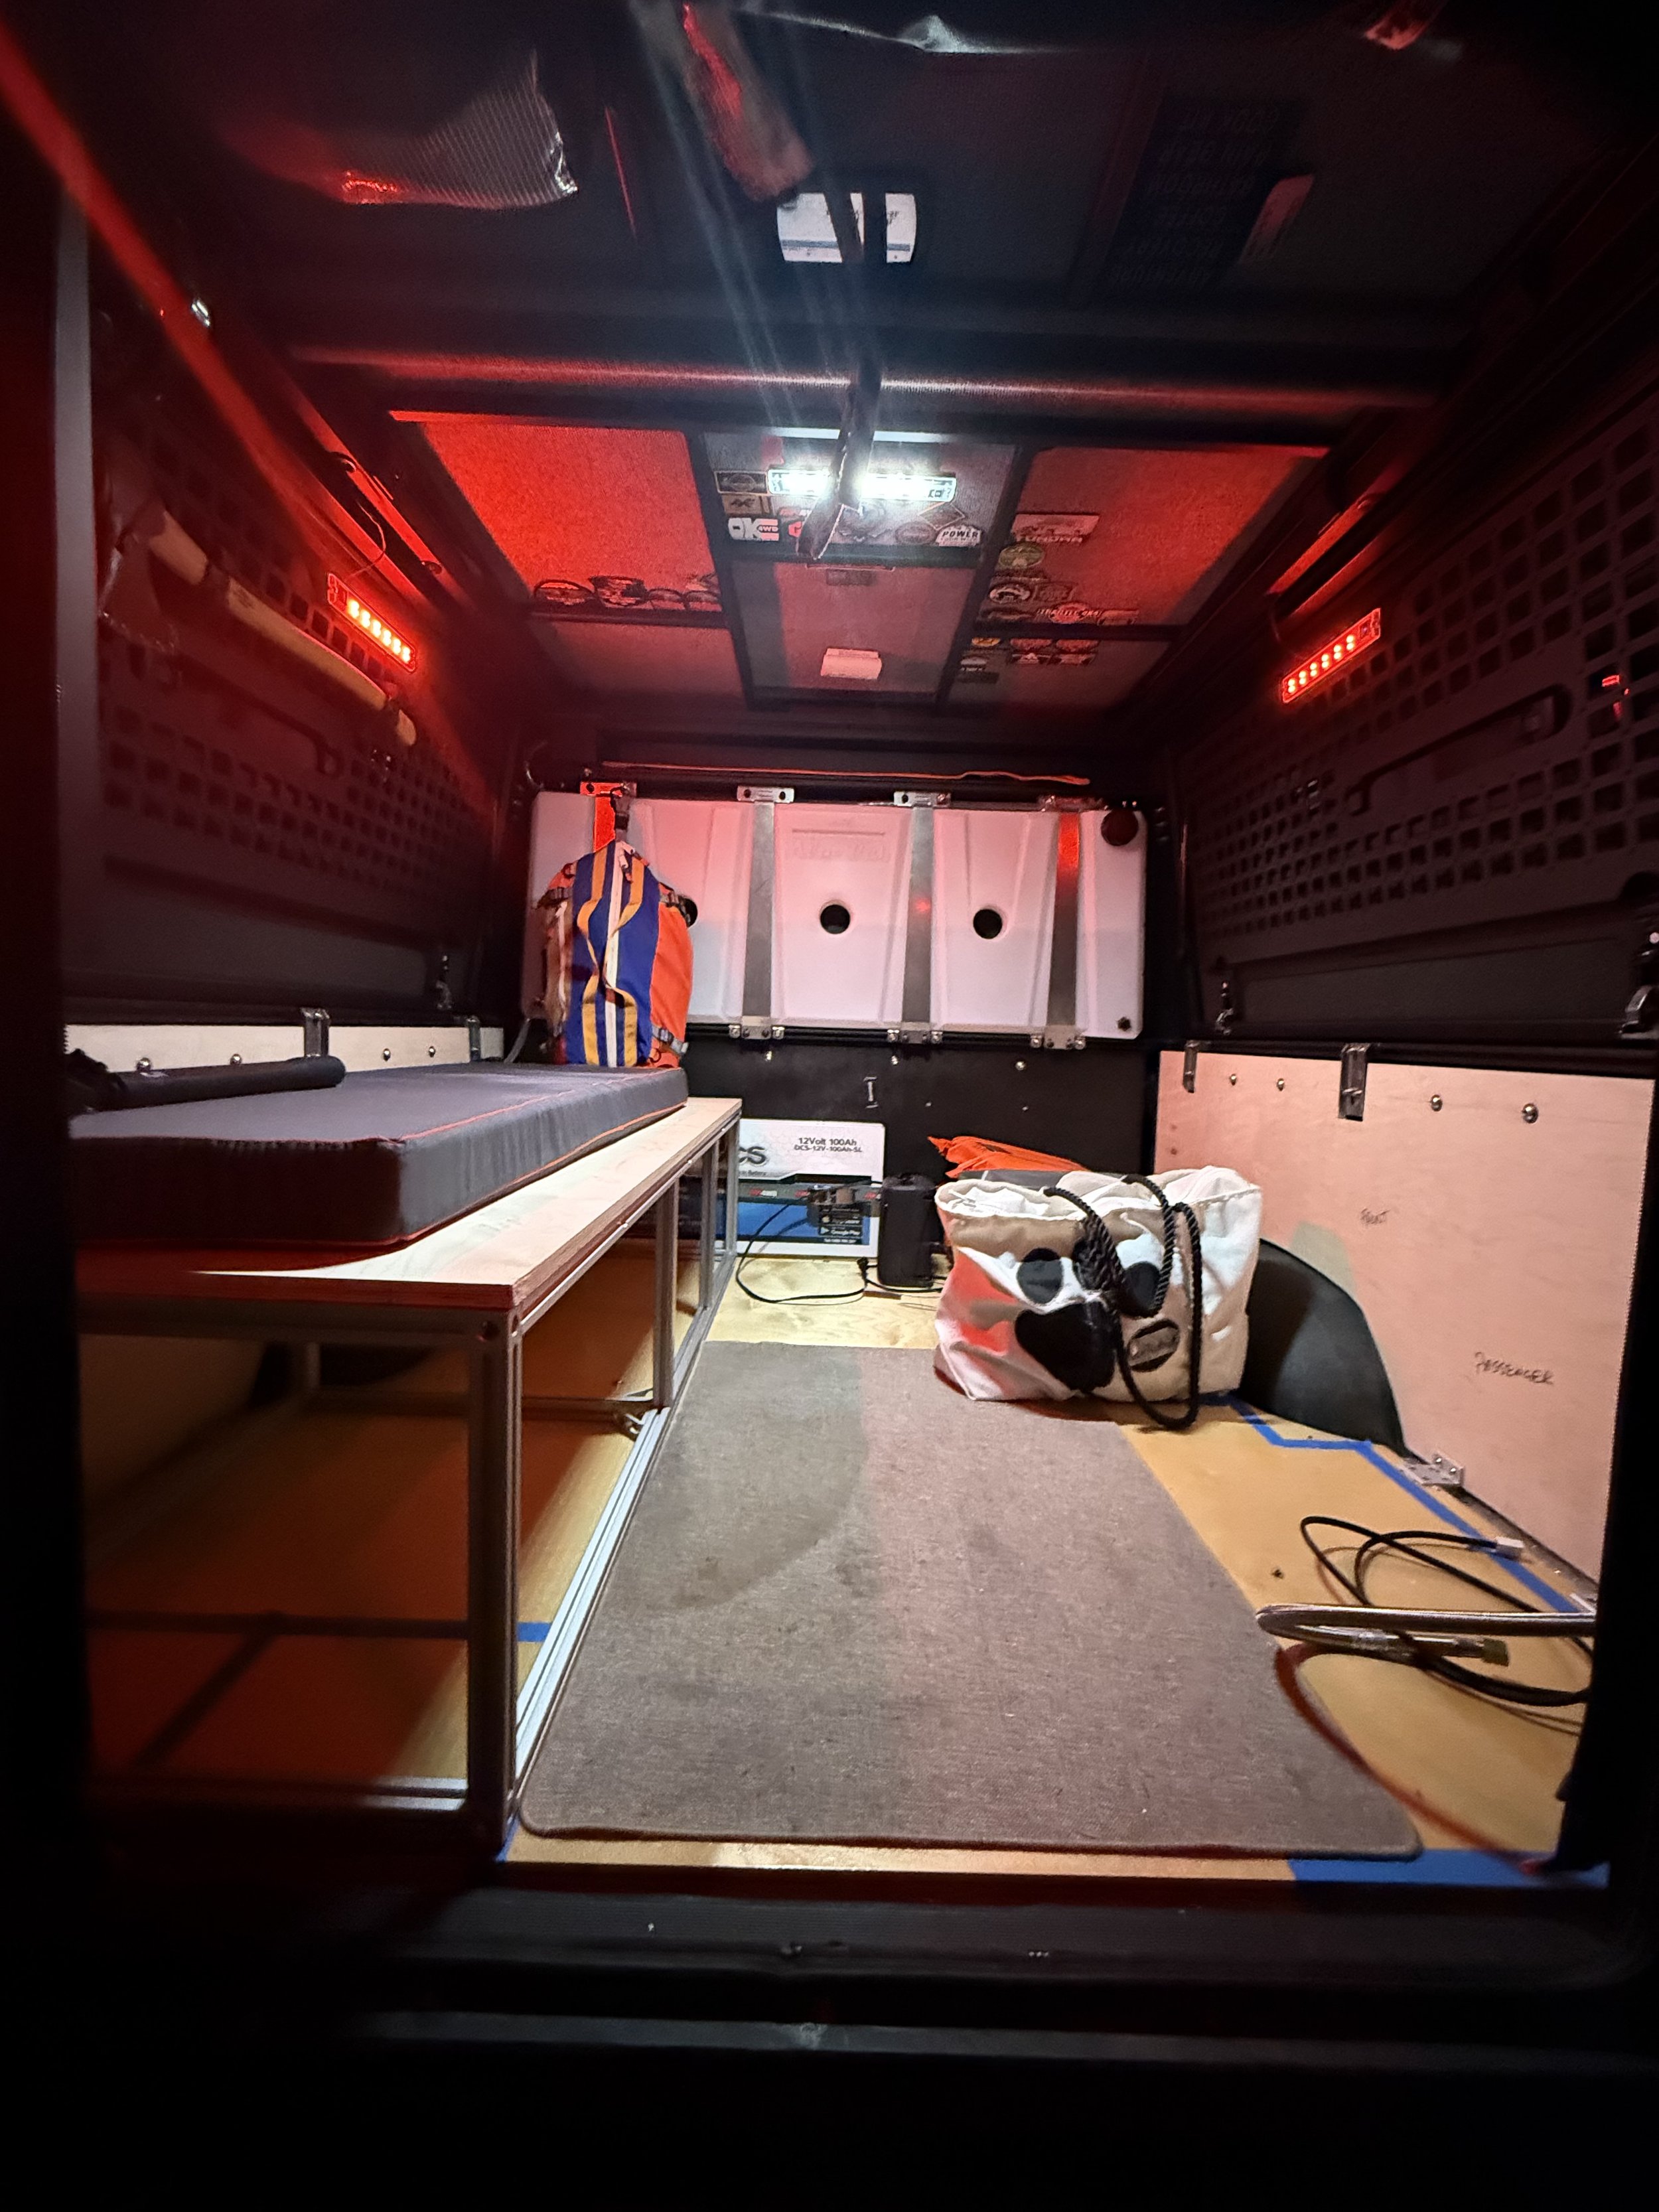
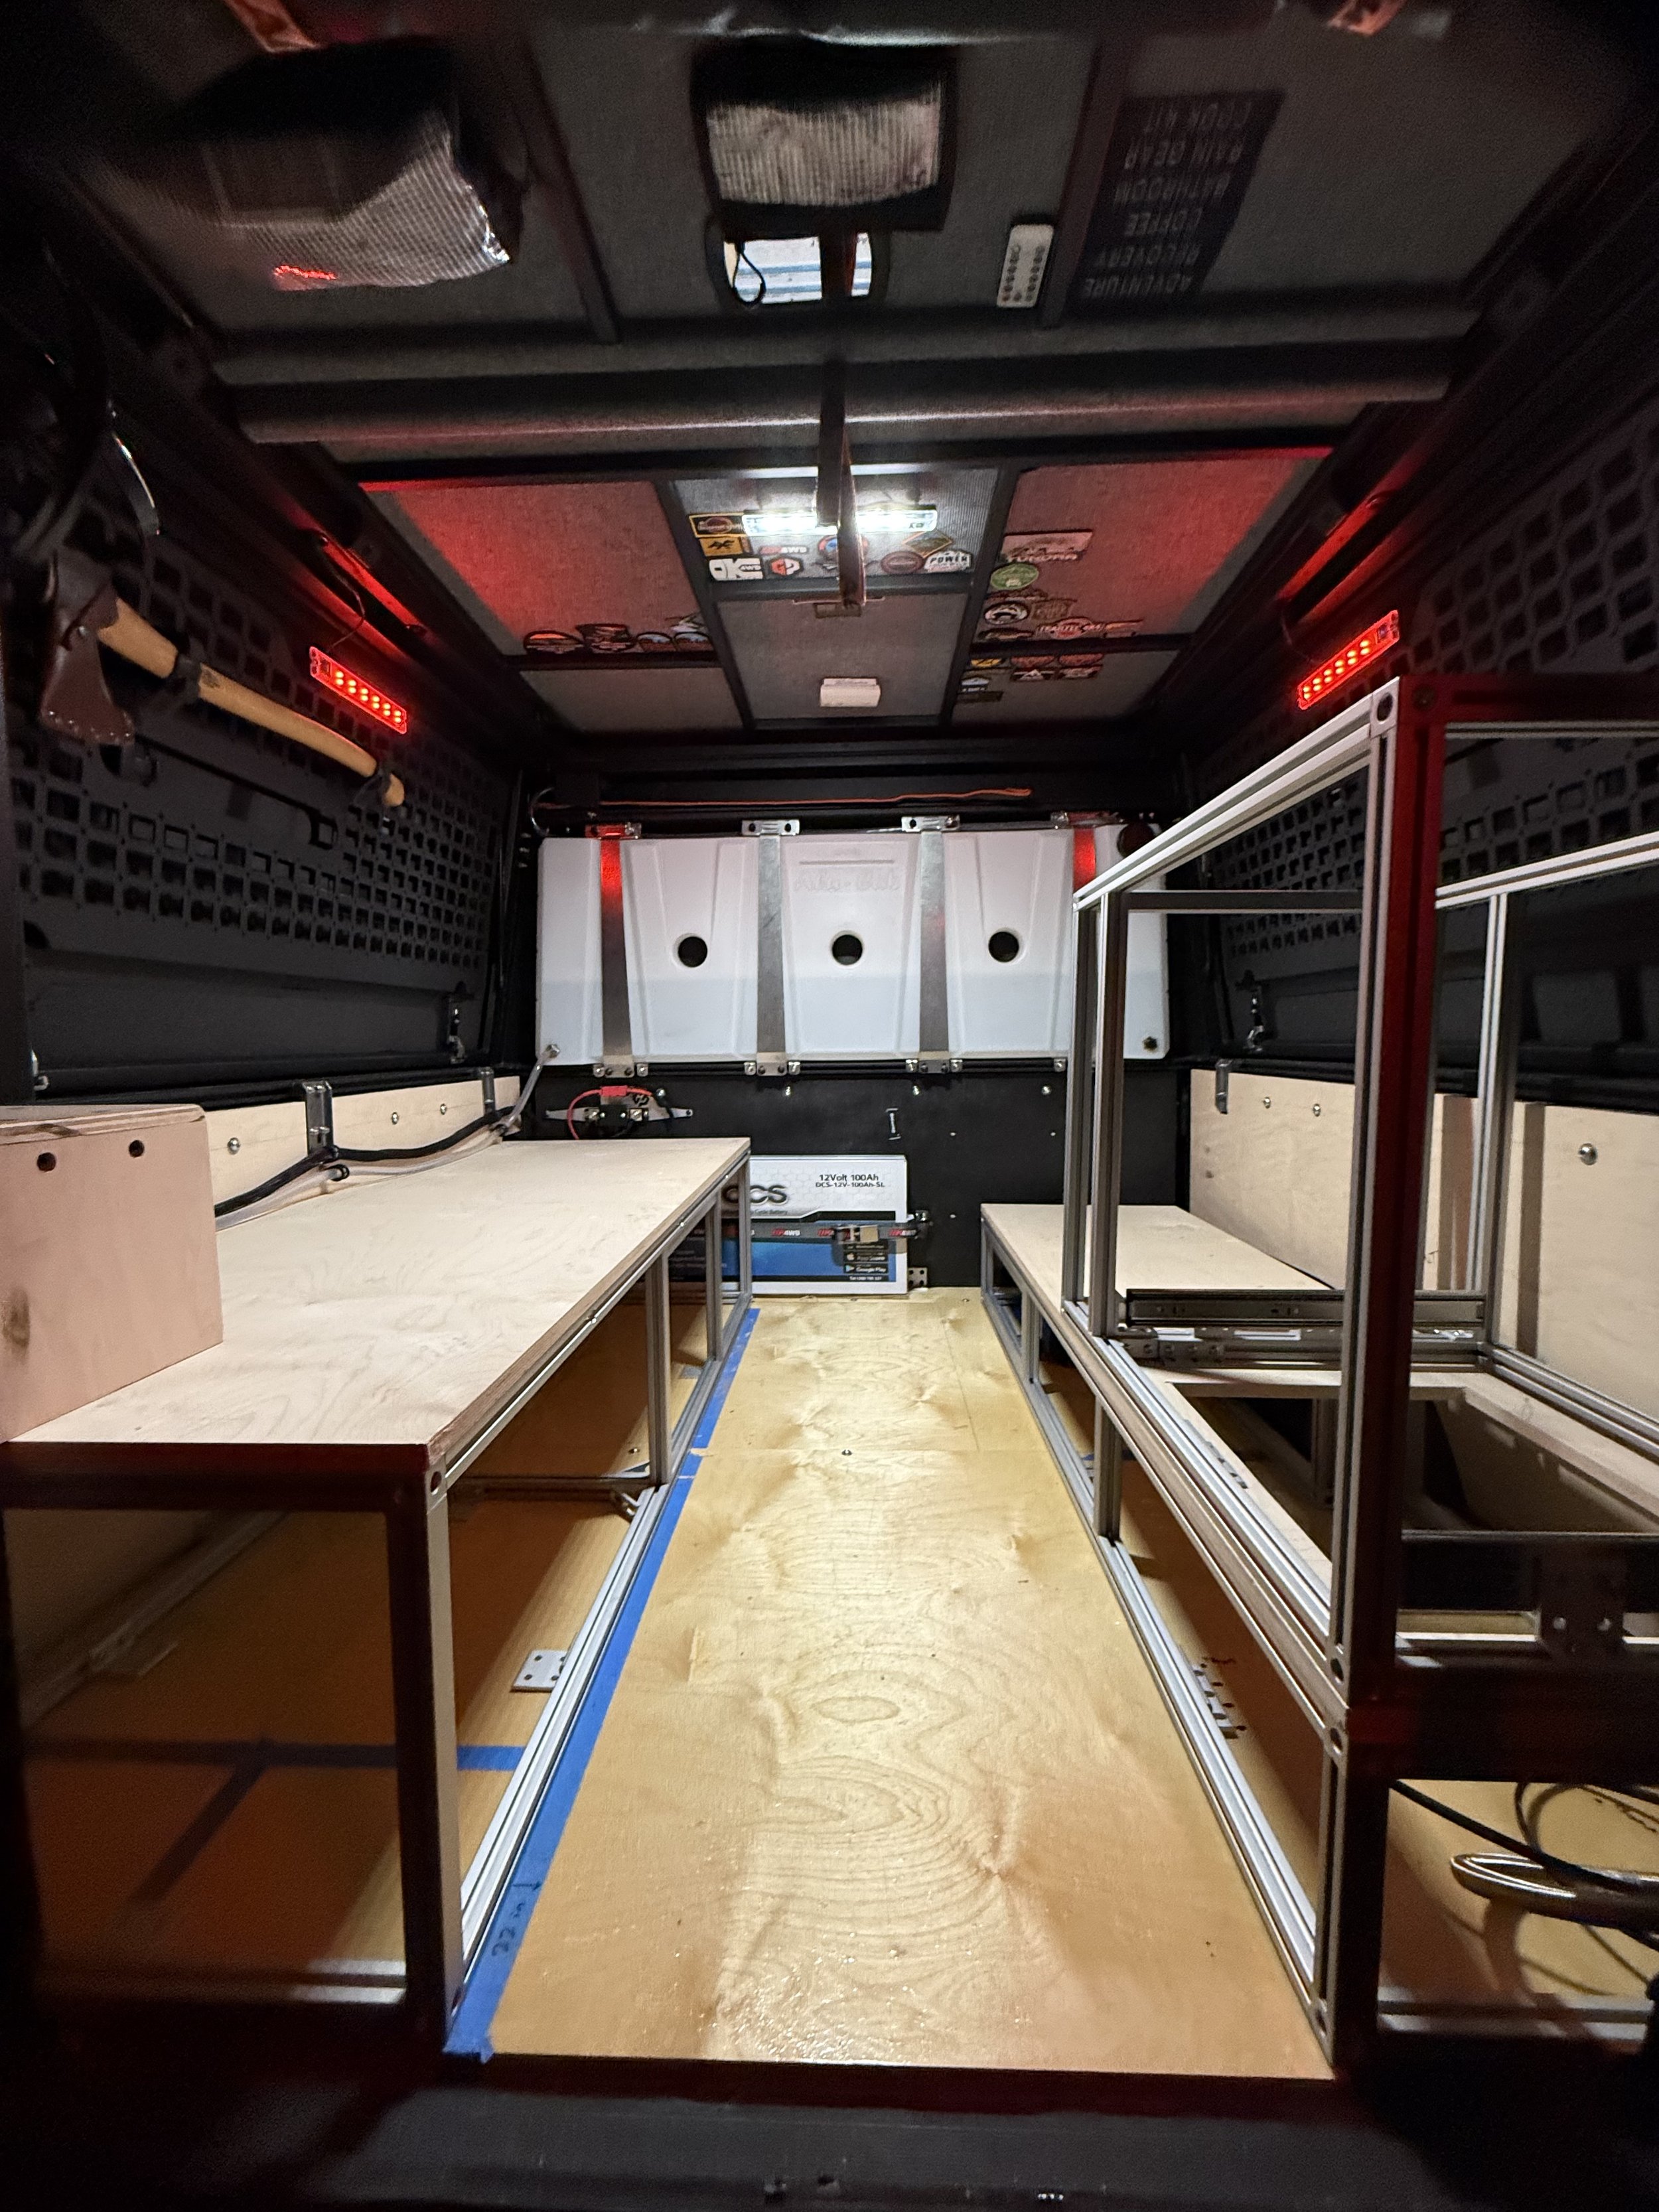
Driver's side (left):
A couch with a flip-up seat and lots of storage underneath. Rachael planned to make cushions and pillows for it.
An armrest/nightstand with chargers built in, so our phones could charge right there. It would double as an easy step up into the sleeping area.
Maybe a Lagun table that swings out, so we could work on our laptops or play cards.
It was comfortable for the two of us, with room for probably three people (or two dogs).
Passenger side (right):
The fridge, up top on a single platform built across the wheel well, so it would have a clean, sturdy base.
Two drawers under the fridge.
The Truma heater in the lower section, with the warm air vents coming out through the front and the exhaust going out the side.
Up front by the bulkhead:
The house battery was already there, so the inverter needed to sit close by.
The water tank was up front too, so the water pump needed to be close to that.
The other big goal from day one was to add storage anywhere we could. That gave us so much breathing room back there.
The Truma VarioHeat
We ended up swapping a fireplace for a Truma VarioHeat. Shout out to Dan and the team at TinyRig in California for helping us get one. The heater came in two boxes: the unit itself, and all the exhaust tubing plus the cowl that goes on the outside for air in and out. We had to order a ducting kit separately from a supplier in the UK (about 20 feet of ducting).
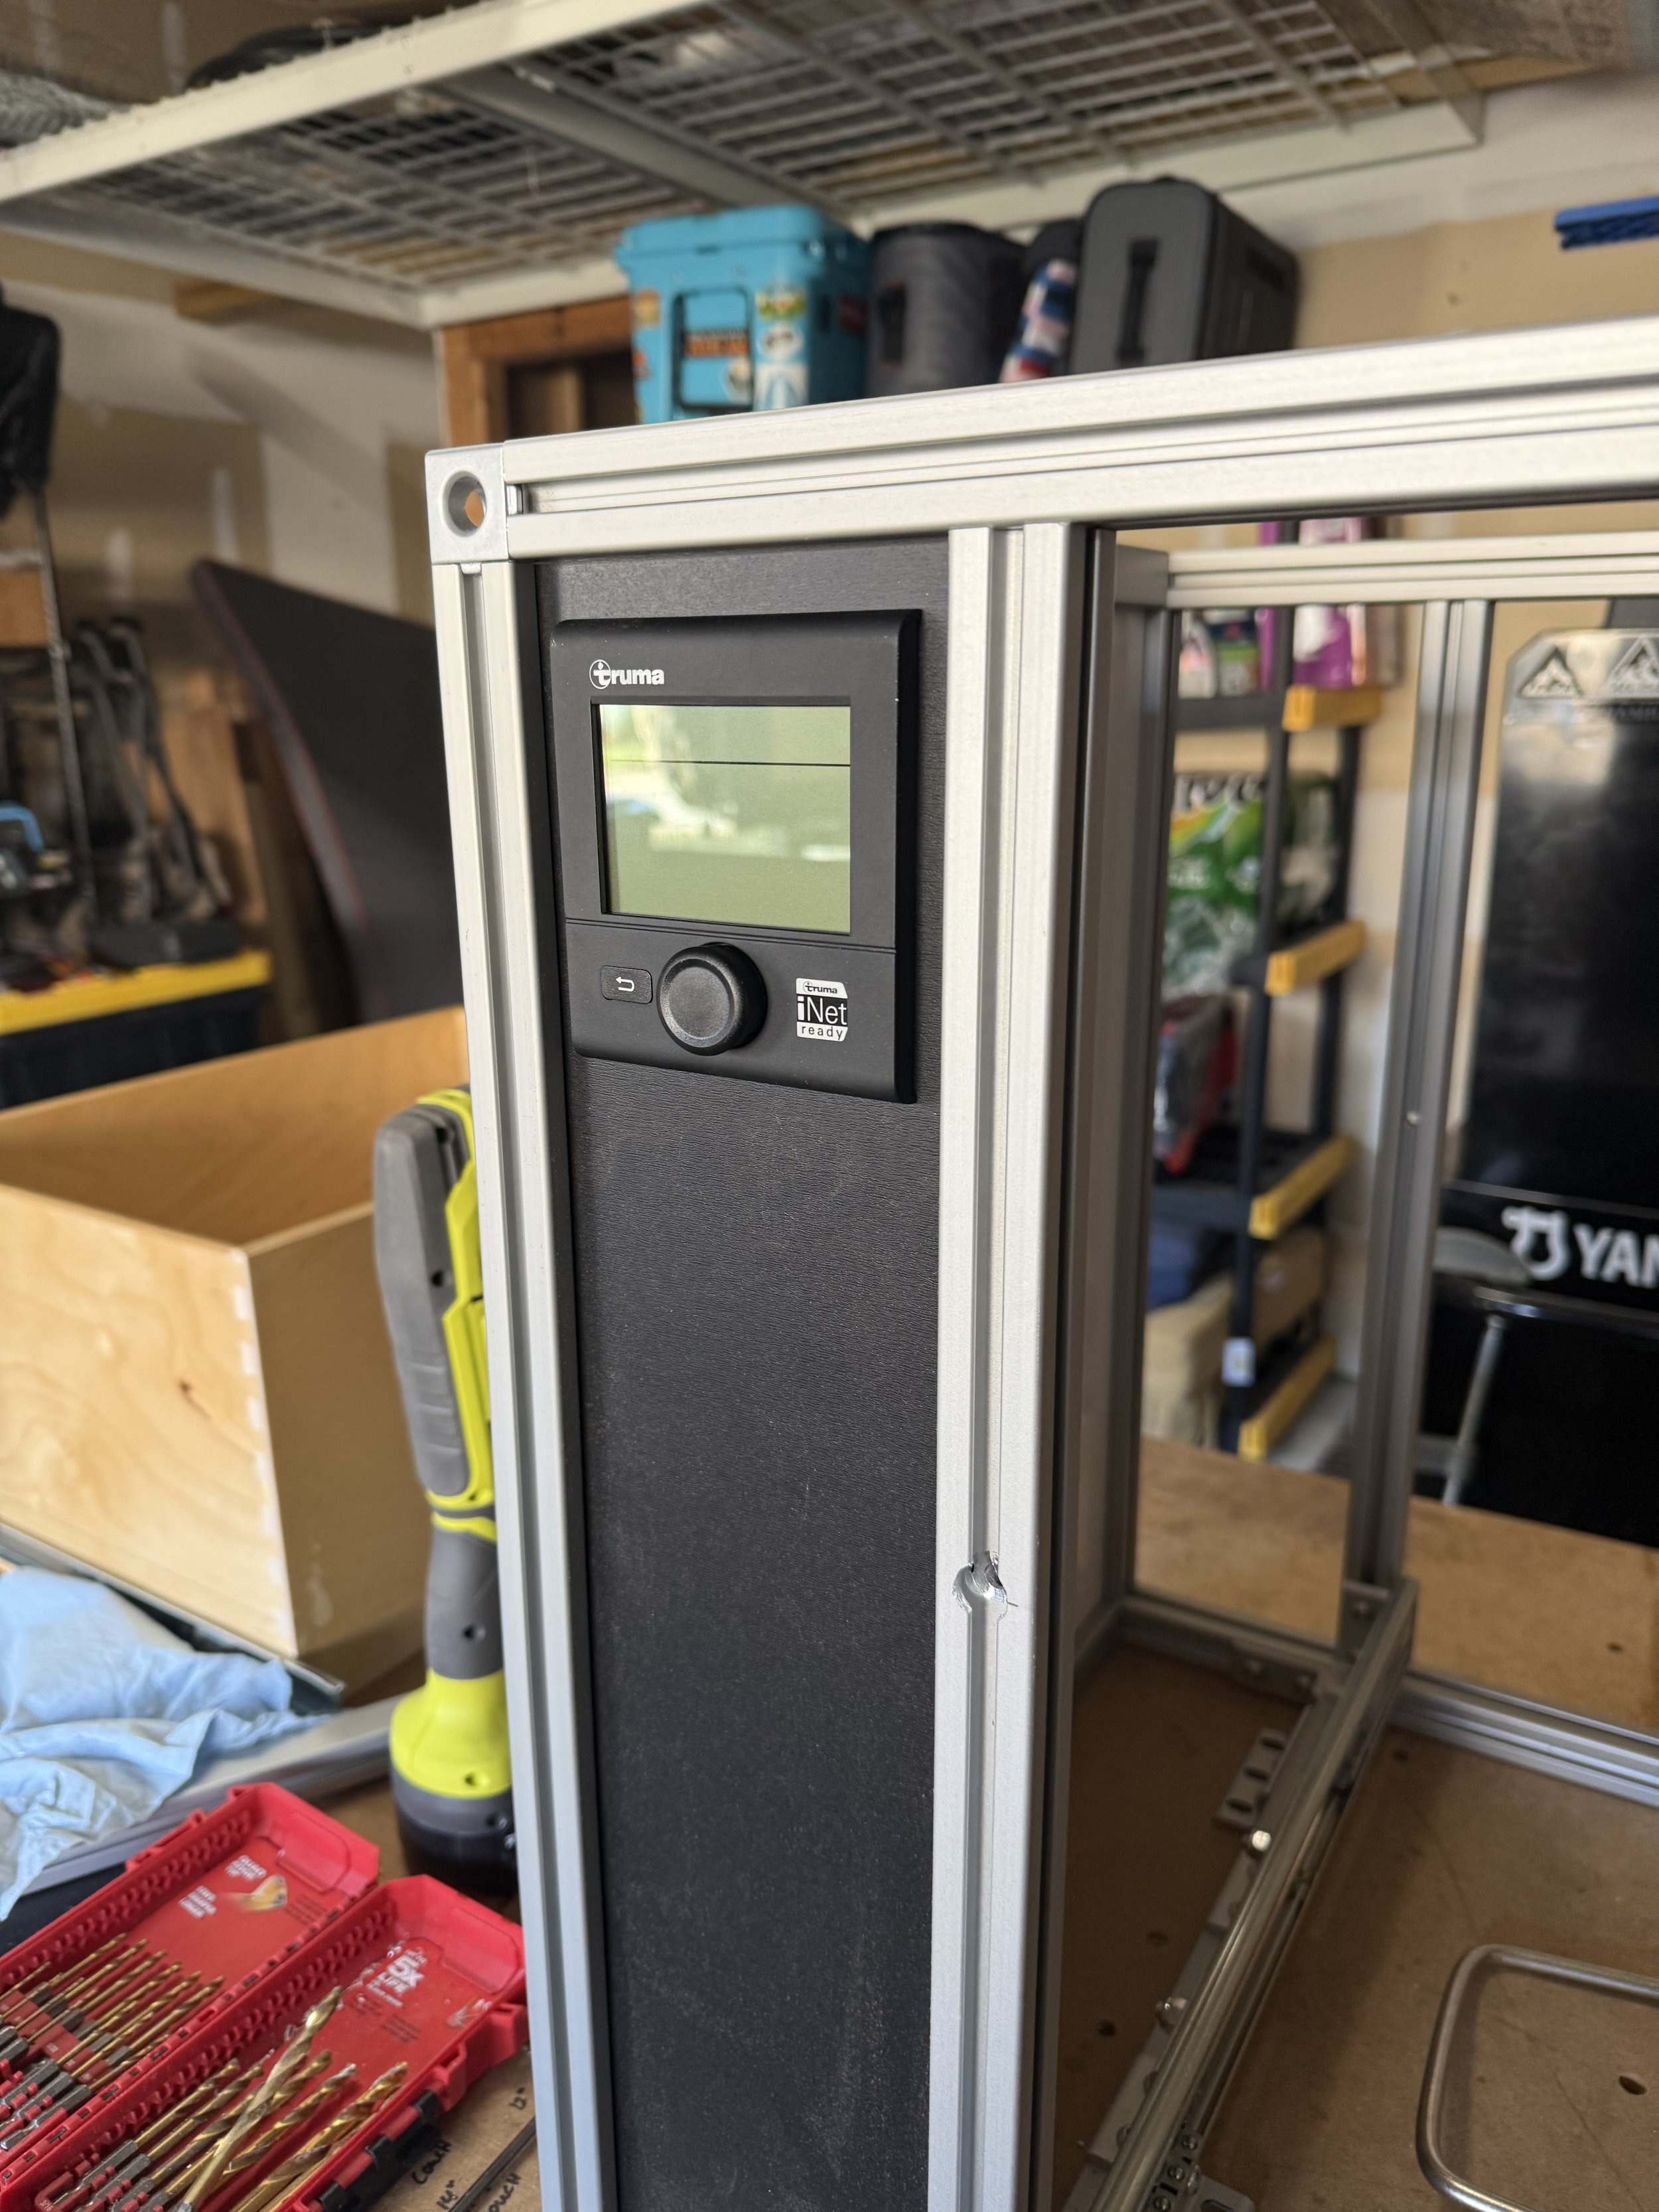
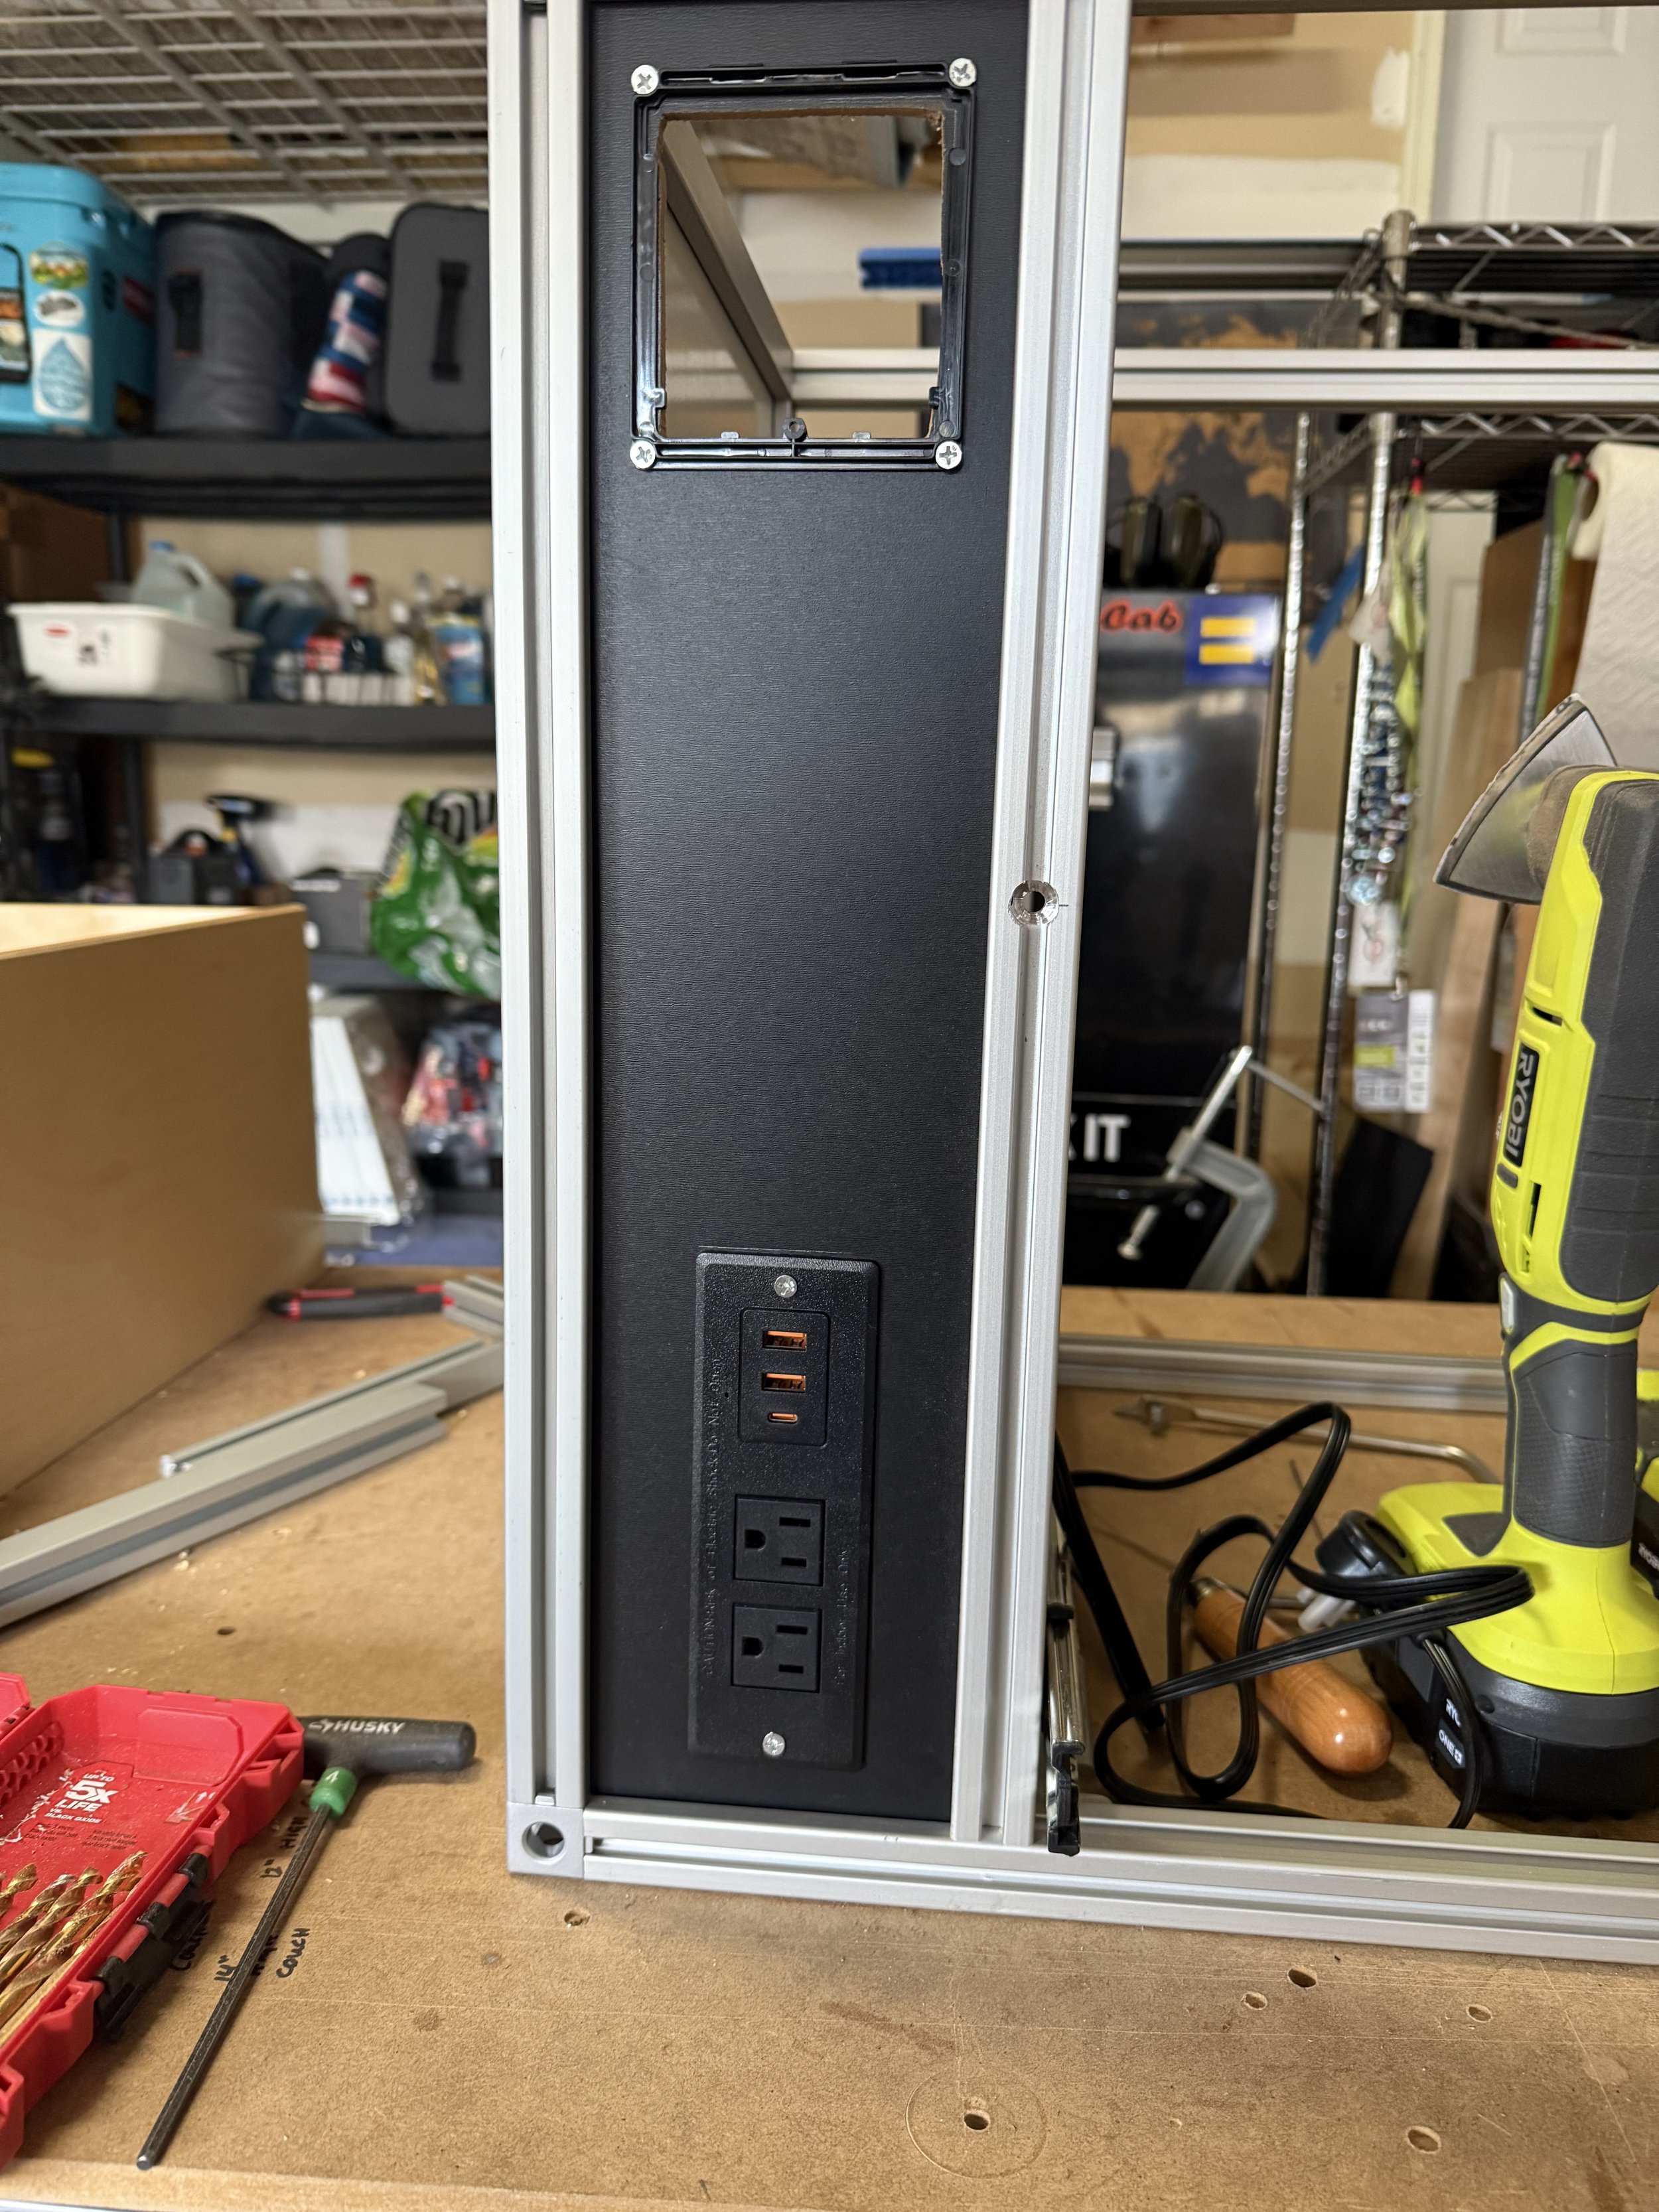
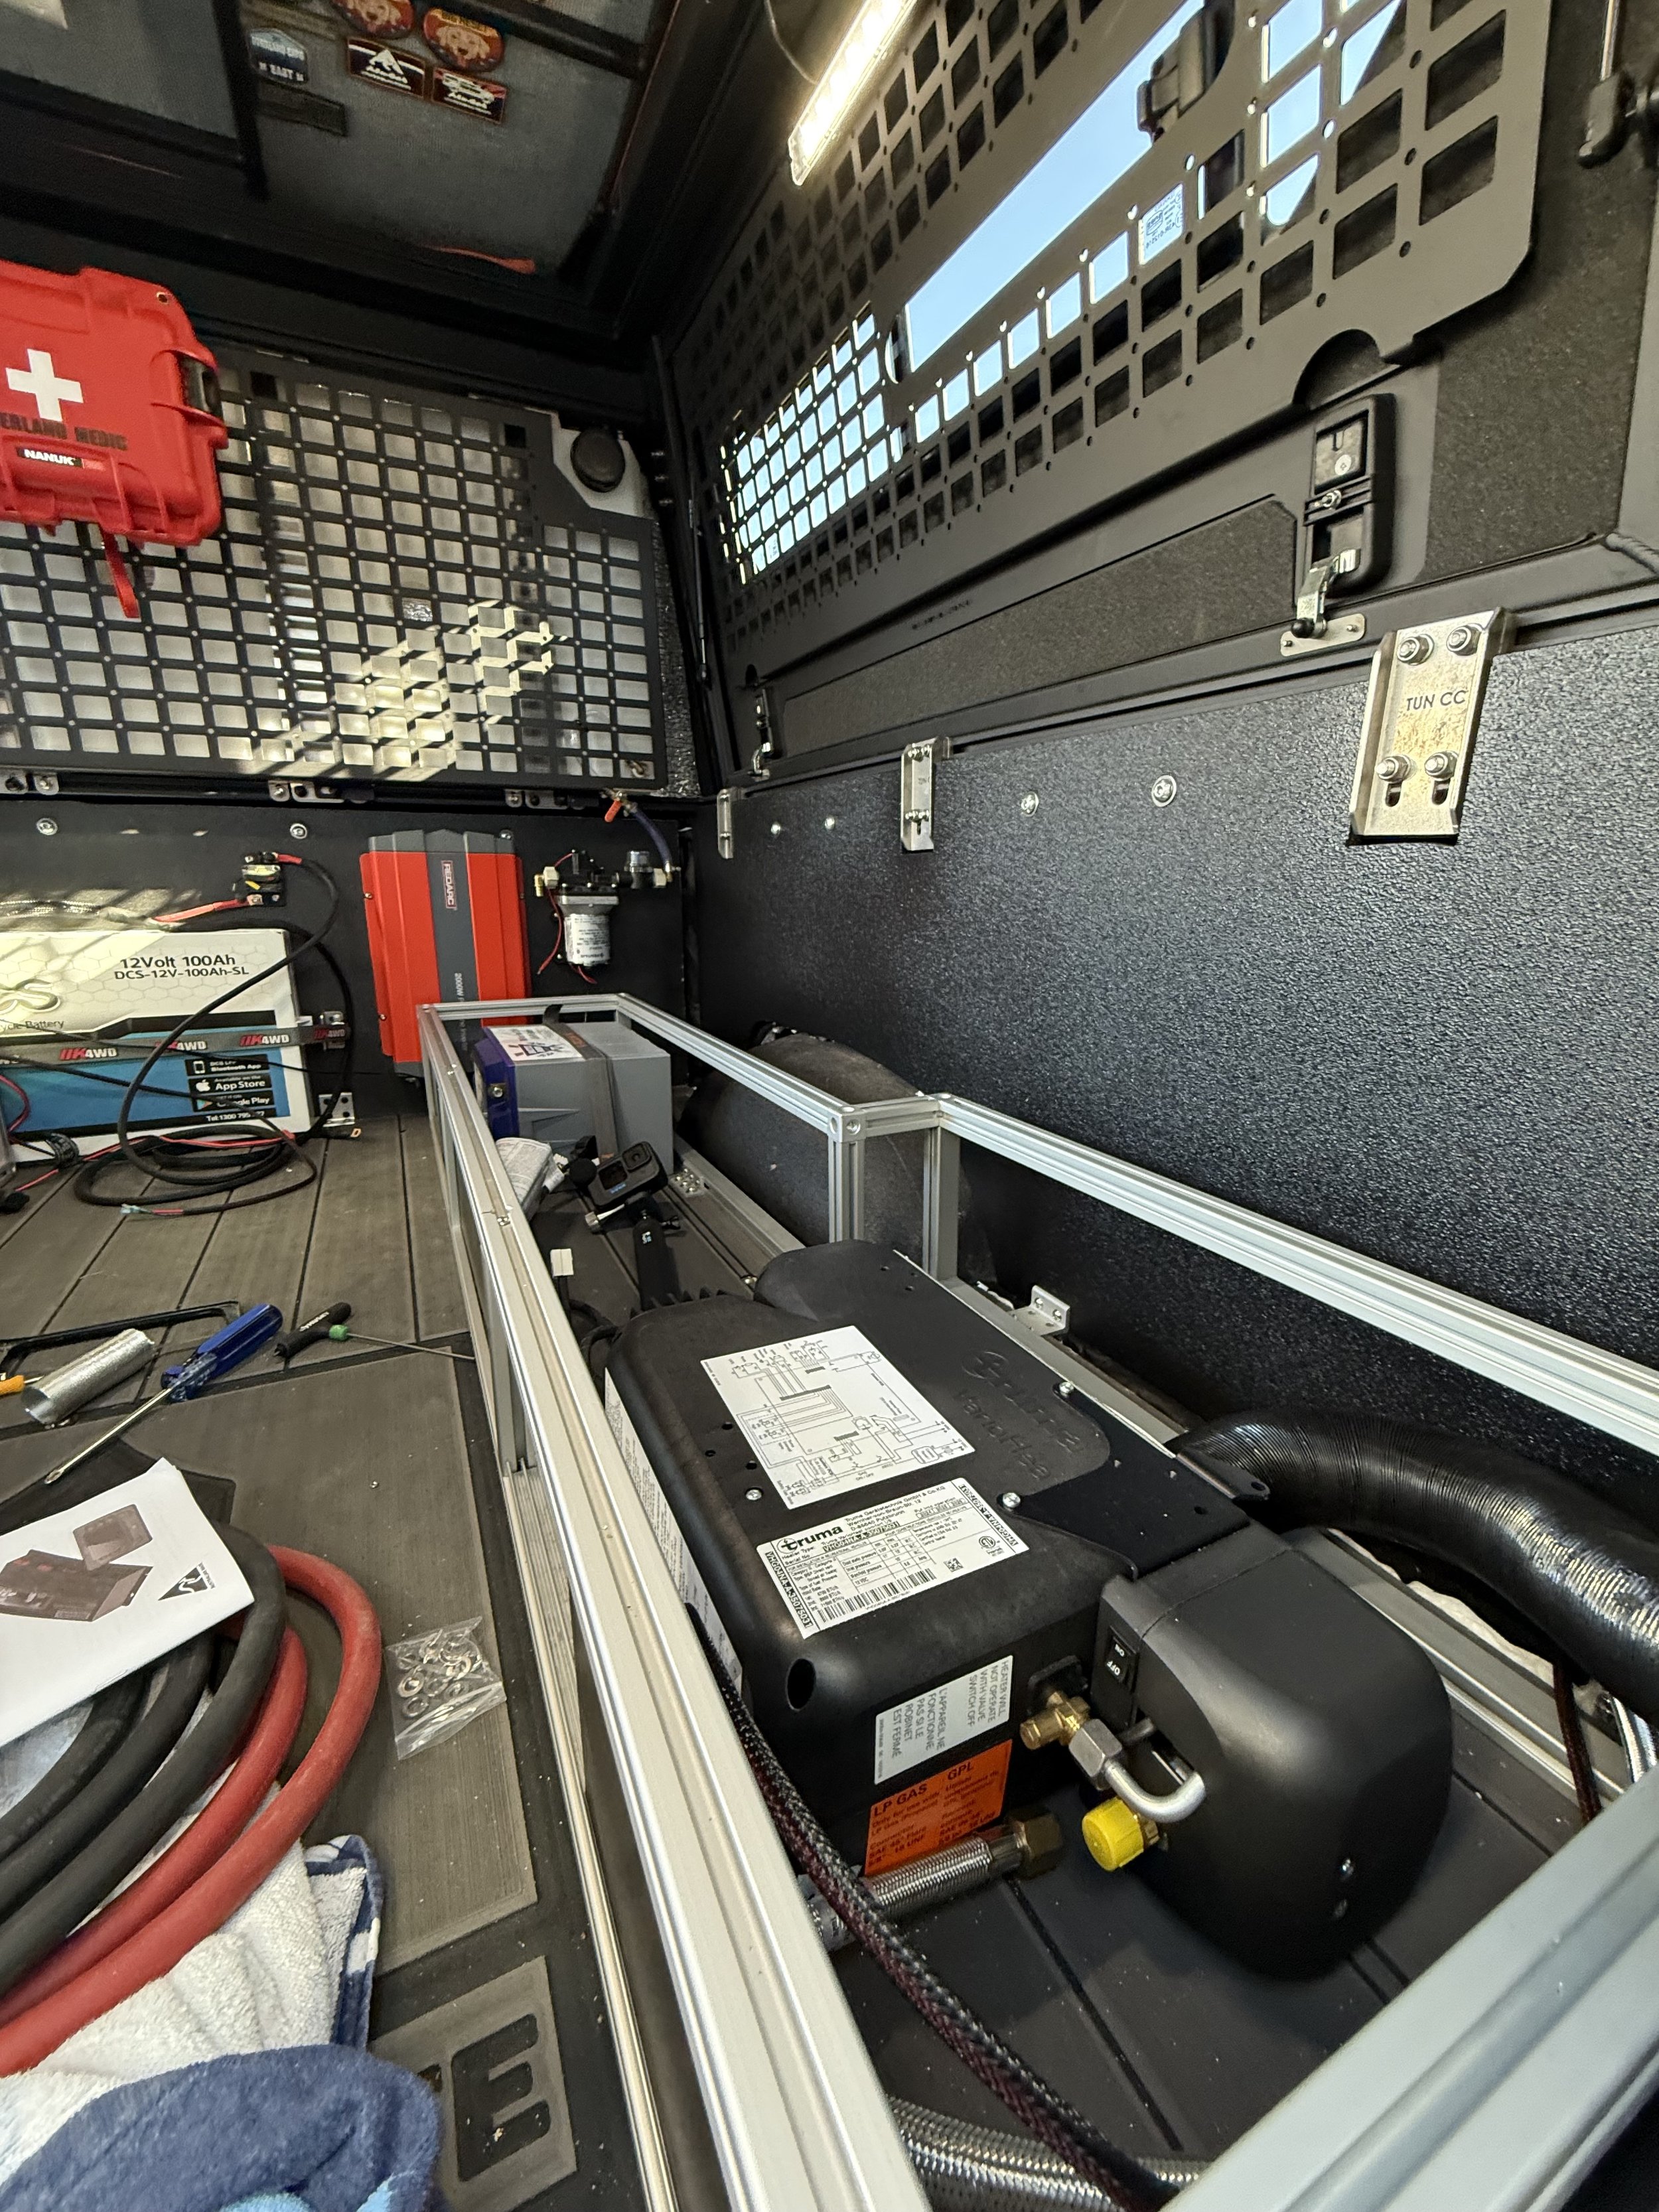
Rachael thought she might miss the fireplace a little. It had a cool, romantic vibe. But we hoped the Truma would do a much better job of keeping us warm when we were camping in much colder temperatures.
Building the Floor
The floor was the first real fabrication of the interior. Everything else would get mounted to it, so it had to be really durable, really strong, and well insulated. Towels froze to the floor in the Tacoma, and we learned from that.
We cut the floor plate from 11-ply birch plywood, which is really hard, really dense plywood. We made it in three sections so it would be much easier to put in and take out. We then covered it in Hydroturf.
We insulated underneath with green foam insulation board from Lowe's.
We set the panels in. We just set them in and pounded them into place.
The plan for the walls was to build wood side panels that make a box, insulate behind them with Thinsulate, and use the front panel against the bulkhead to mount the battery, water pump, and inverter.
Running the Propane Line
The Truma runs on propane, so we needed a line from the outside to the heater.
On the outside, I cut a hole in the camper and added a quick disconnect. It also had a separate shutoff for extra safety. I did the same thing on the Tacoma.
Then we pulled up a floor panel. There was an inch of insulation under it, so we needed to cut a channel through it from the power board side to the Truma side, for both the propane line and the power cable.
This was Rachael's job, and she made a mistake at first. She thought she needed to dig a channel all the way down to the truck bed. I explained that if she did that, the insulation would move around. So she went back and fixed it and dug something more like a river channel through the insulation. Her system: cut down the middle first, then go down each side. It wasn't the prettiest thing, but it did the job. The propane line and the power cable both fit, and once the panel was back down, it looked like we never did anything.
Side Panels
Next were the side panels. They bolted to the factory bed rail with T-nuts that slide into the rail, and to the floor plate with L brackets.
We slid the T-nuts into the factory rail.
We fed the propane hose and electrical through the hole in the side panel.
We lined up the panel and the T-nuts and bolted it in. Getting the bolts in was a little tricky.
We marked the L bracket holes on the floor plate, drilled them, and installed rivnuts.
We repeated it on the other side.
We also ran all of the wiring and the water hose along the driver's side wall. I was very proud of how that looked, and it was too bad the couch was going to hide it.
Rachael's Takeaways
It had been about six months since we'd worked on the truck, and Rachael felt rusty. She thought one of the T-nuts for the rail was the wrong size, but she just needed to turn it around 180 degrees. She said making a couple of mistakes right off the bat was a good reminder to get back into the groove and think more critically about what she was actually doing. I didn't think she messed up at all. Figuring stuff out like that is messy anyway.
Tips, Tricks, and Resources
Wrap your truck before you hit the trails if you want to protect the paint.
Put Starlink on its own switch outside the master switch so it can stay on.
Think about weight balance early. It might flip your whole layout.
Mock up the interior in cardboard before you build anything.
Insulate the floor. Towels freezing to the floor is a real thing.
Build the floor in sections so you can pull it out.
Put a quick disconnect and a separate shutoff on your propane line.
When you channel insulation for a line, don't cut all the way through.
T-nuts in the factory bed rail make a great mounting point for side panels.
Parts List:
Exterior
Gloss pearl white wrap (Show Car Auto Spa, Colorado Springs)
Diode Dynamics amber single pod chase lights
Rear lights with red brake backlight
Starlink
Wire hider
Interior
Truma VarioHeat
Truma ducting kit (about 20 feet)
Propane quick disconnect and shutoff
11-ply birch plywood
Foam insulation board
Spray foam
Thinsulate
T-nuts
L brackets
Rivnuts
Fridge
Tools
Circular saw or jigsaw
Drill
Rivnut tool
Utility knife (for the insulation channel)
Up Next
Next up was building the bottom platforms on one or both sides. Then we could put the heater and water pump underneath and figure out the dimensions of the drawers we needed to order. We also had a new fridge waiting under some towels in the garage.
You can watch this whole episode on the Mountain State Overland YouTube channel. And if you want to see a build like this out on the trail, come join us on a Mountain State Overland guided trip!