The Plan
We recorded the intro to this one on March 12th, a year to the day from when we started the build, which honestly blew our minds. This was the last build episode of the series. (One more video after it was a full walkaround.)
Where we left off: the floor and side panels were in. Since then, we finished most of the insulation, insulated the side doors, and added MOLLE panels on both sides. This episode covered the rest of the interior: the platforms, couch, drawers, utility cabinet, Truma heater, and cushions.
The Passenger Side Platform
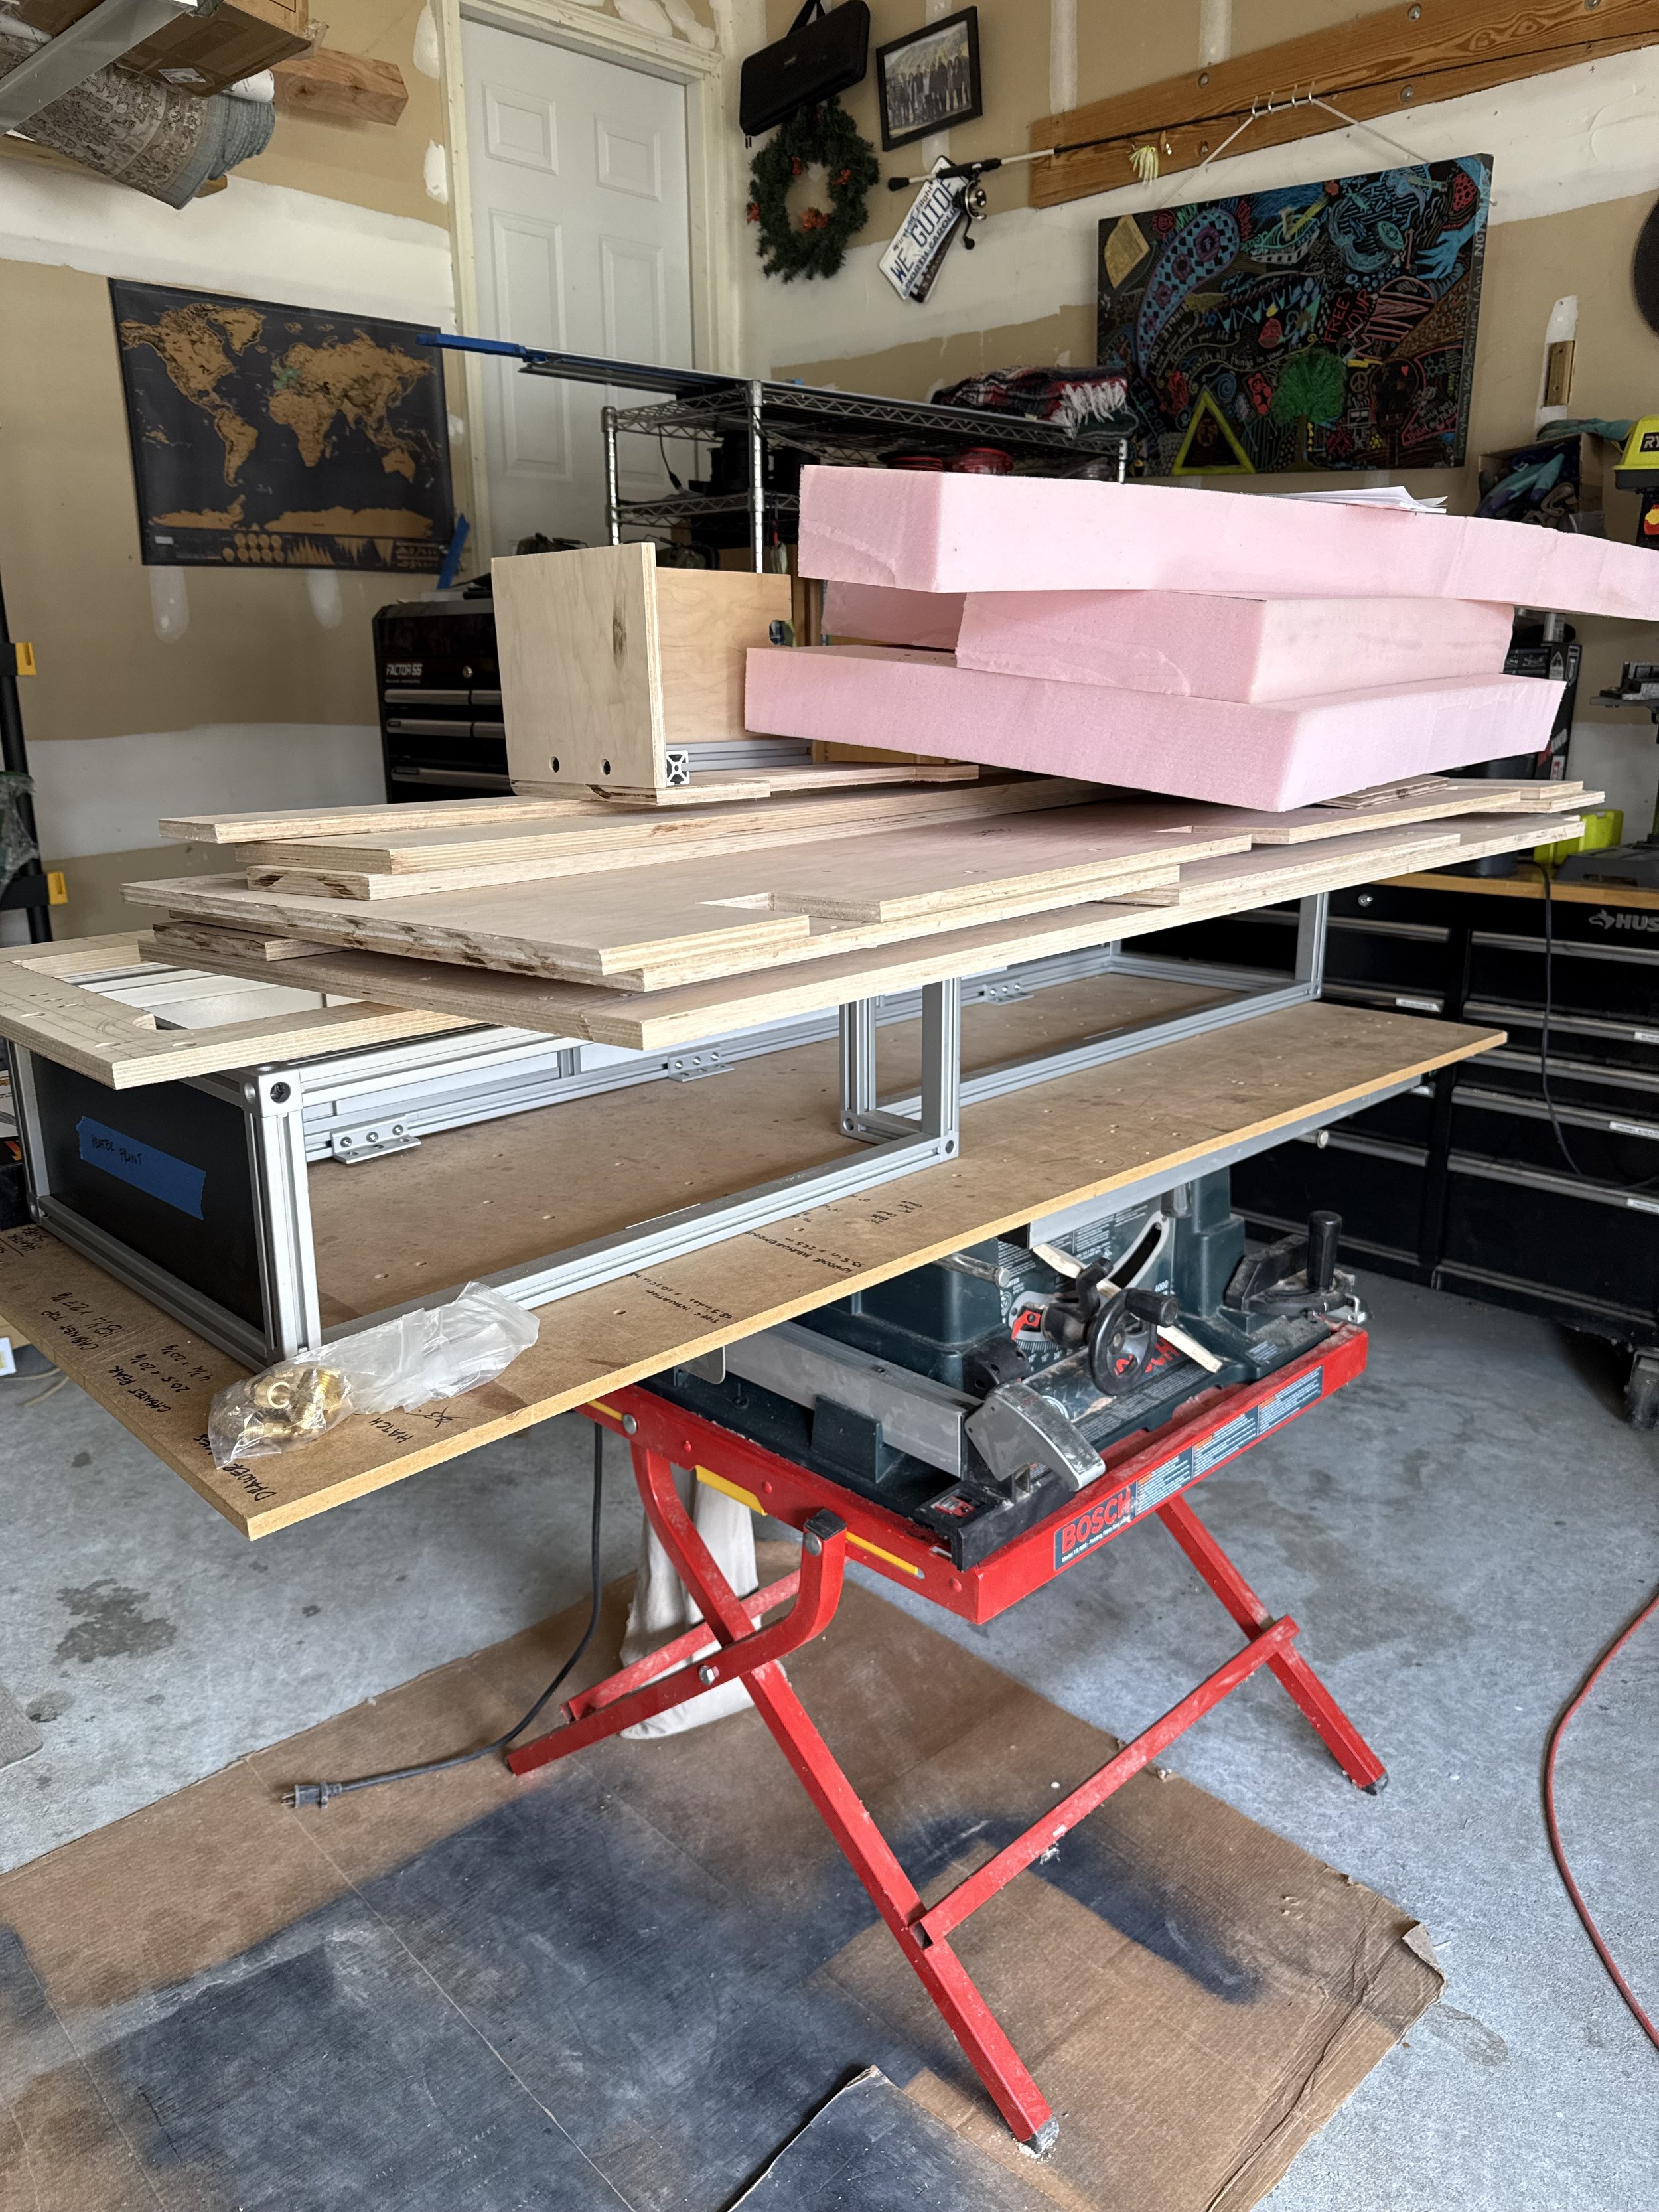
The passenger side platform would hold the heater and the inverter underneath, and the fridge and drawers on top. We built the frames from aluminum extrusion and wood.
We cut and tapped the corners. We cut the four corner pieces and tapped them to 1/4-20 so we could secure everything with button head bolts.
We cut the supports. We needed ten 6-inch supports.
We revised the shape. Halfway through, we remembered we needed room for the heater and hadn't accounted for its dimensions. So the frame became more of an L shape.
We framed out the box and drilled holes on either side for the supports.
Every time we said a goal was "a little ambitious," we got about halfway done. This day was no exception. (Bonus: I had knee pads built into my pants.)
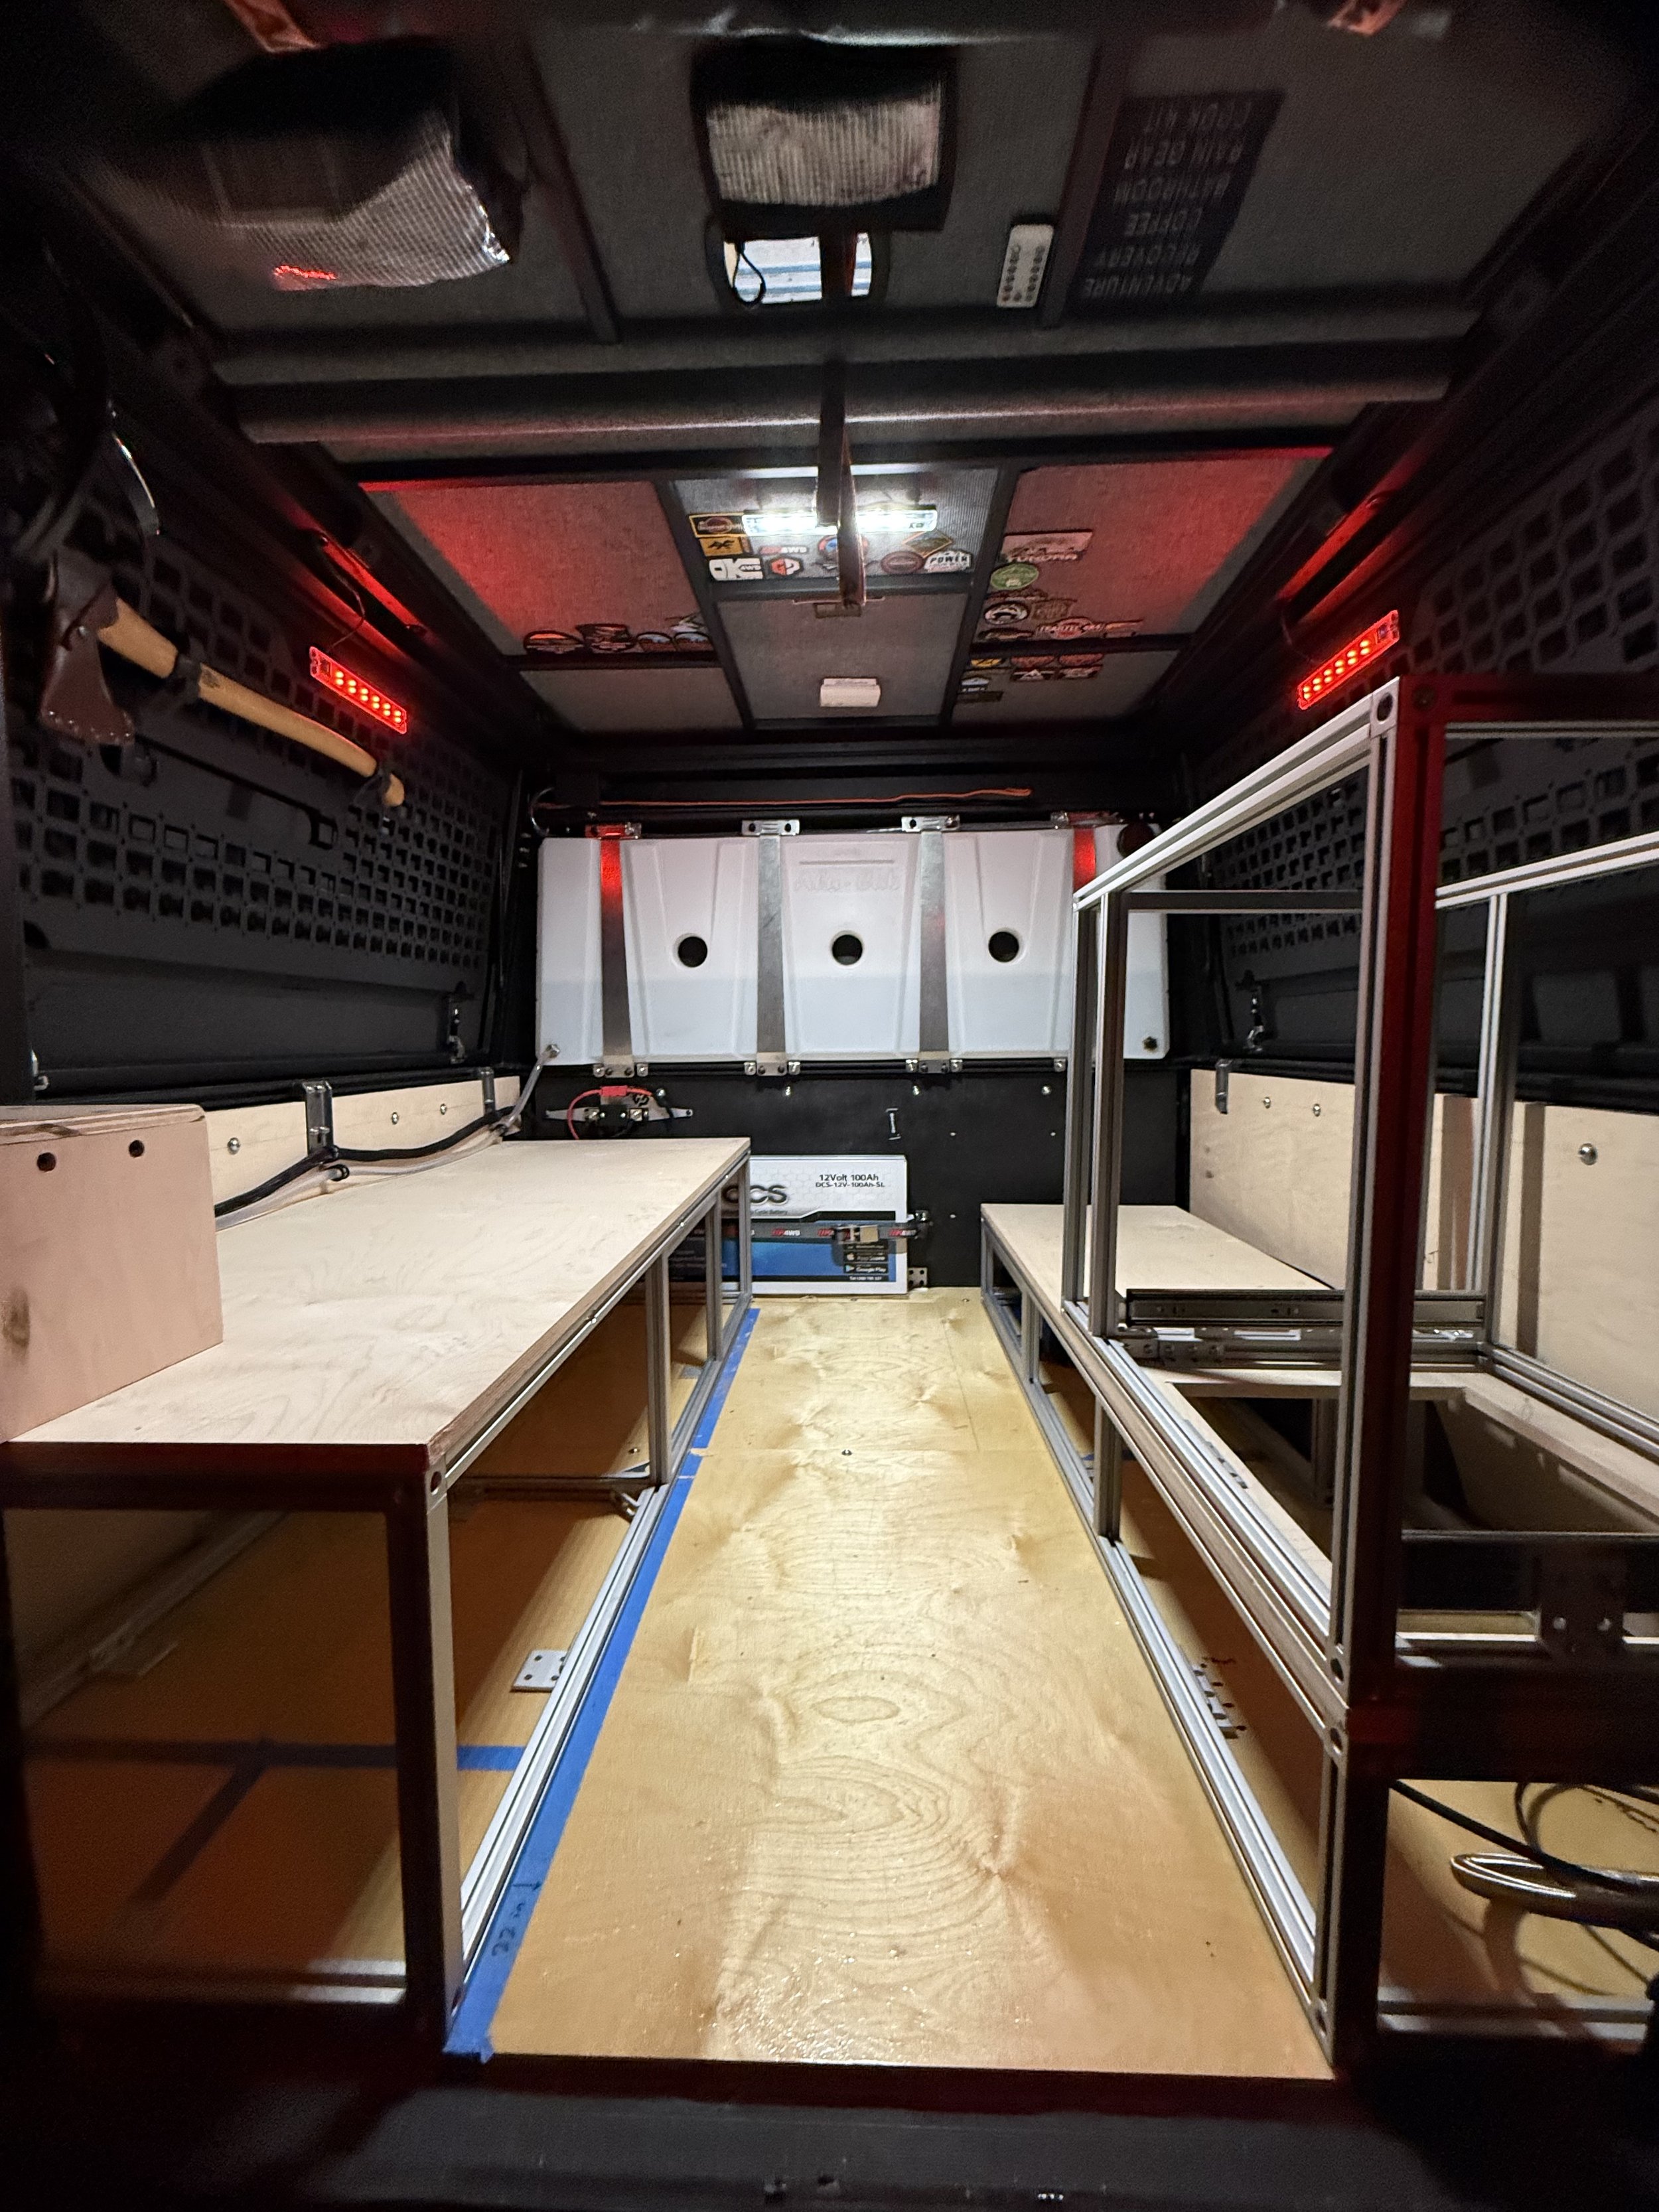
Once it was together, we test-fit the fridge. It felt a lot more spacious than we expected with the fridge in. From there, we measured for the two stacked drawers.
We were also really proud of how much storage this setup gave us. That was one of our main goals from the start. And when we were getting changed in the aisle, both dogs could hang out up on the platform instead of crowding us.
The Couch
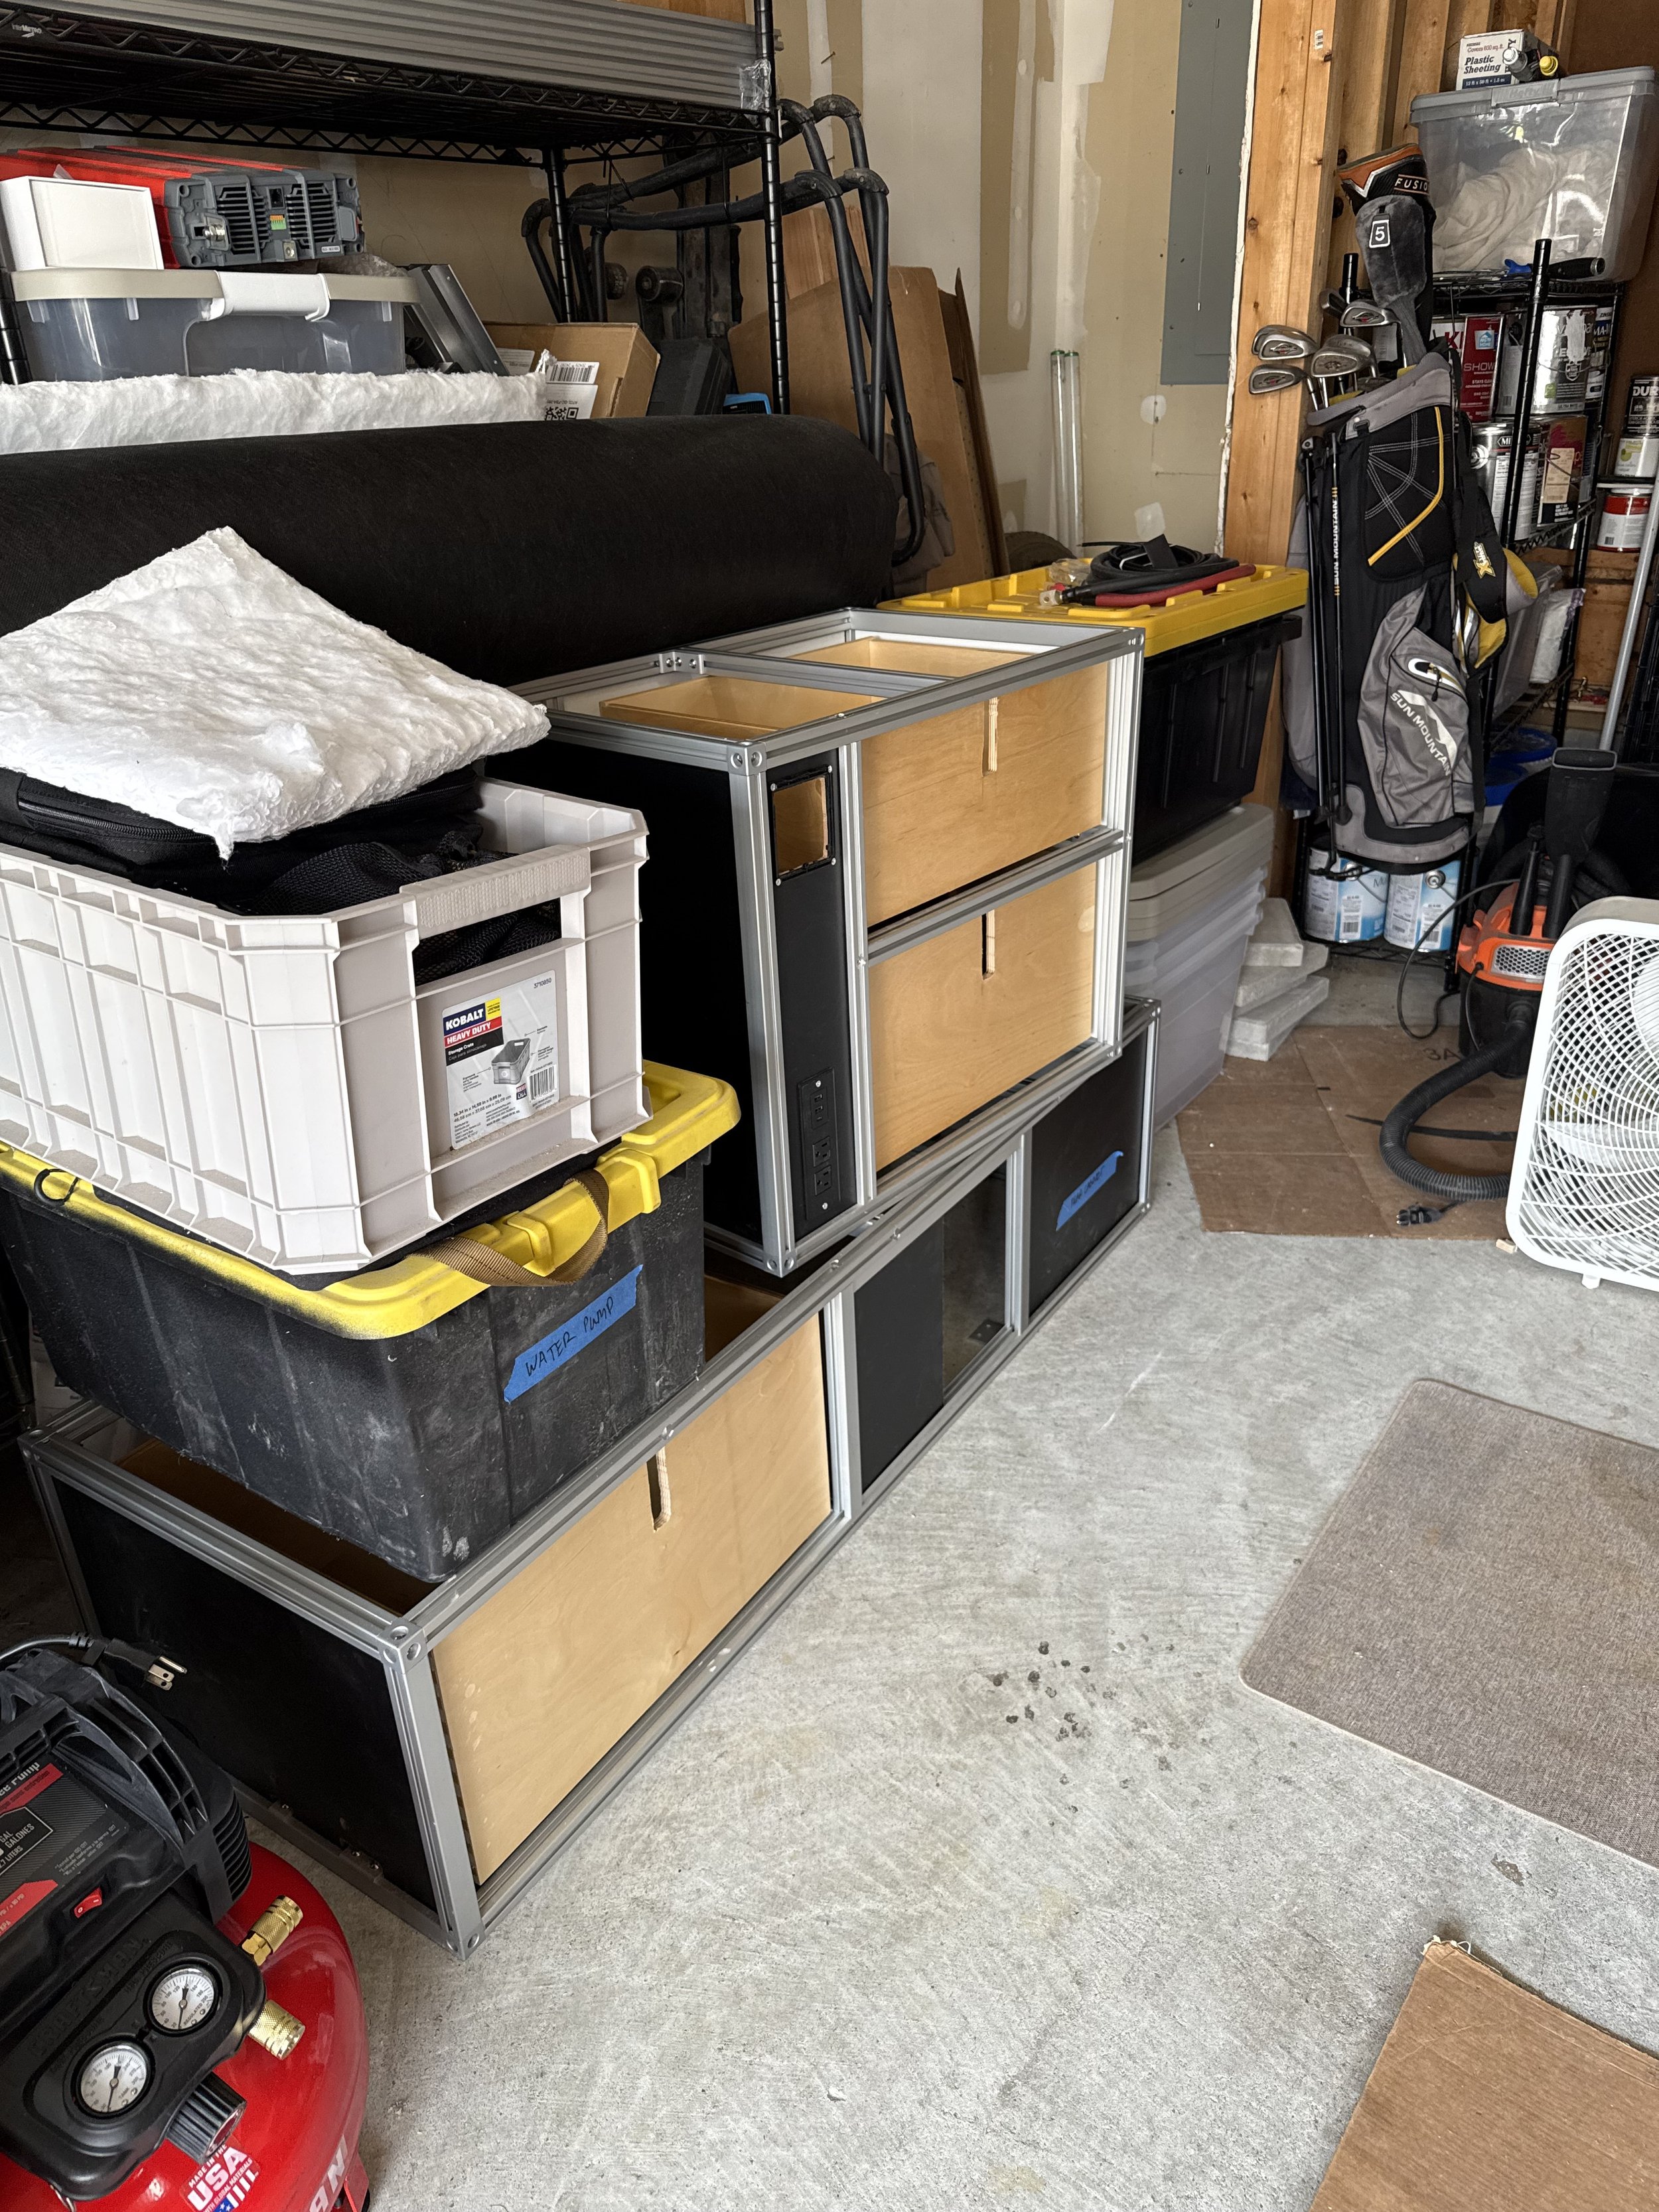
On the driver's side, we built a couch with a gigantic drawer up front (probably for all of our kitchen stuff) and a lift-up hatch for storage underneath.
Blue painter's tape turned out to be a really good prototyping tool here. We used it to mark out where the cross braces would go (so the wood on top wouldn't warp over time), where the extra battery would sit, where the heater would go, and where to put the water pump (on the wall next to the inverter).
We cut the couch seat from a scrap piece that worked almost perfectly. We just had to take about an inch off each side. When we tried it out, we could fit three and a half people easily, and Rachael said she'd actually be pretty comfortable sleeping on it, given how much she usually curls up.
Later, we built the couch back, which hid all of the water and electrical lines. I installed gas struts on the hatch, which took a little trial and error.
Rethinking the Truma Layout
The Truma mount came with a bunch of different brackets, and which ones you use depends on how you orient the heater. Before building around it, we hooked it up to test it, and my wiring worked.
We also flip-flopped the plan. Originally, the ducting was going to come up through one section with the drawers next to it. Instead, we put the drawers all together, ran the ducting up the other way, and got a big platform on top. It was a simpler solution. The exhaust for the Truma went out the back of the truck.
A note on DIYing a Truma install: Trumas are typically supposed to be installed by licensed professionals, which we are not. Dan, one of our friends, was able to get one and send it to us. I also ordered the wrong size ducting at first: I bought 65mm, and the intake and warm air outlet were 80mm. Truma's instructions were really specific, so we didn't want to jerry-rig anything. We ordered 80mm ducting and 80mm vents.
The Utility Box
On the passenger side, we built a front panel where the heater output came out. That panel also held our 110V outlet from the inverter and the Truma control panel. The armrest on the couch side was a spot to set your phone while it charged, and it also hid all of the electrical behind it.
We made face plates for the utility boxes on both sides with sliding doors, so we could very quickly get to what was underneath. On the passenger side, that was the gas connection and the kill switch for the Truma. The sliding doors rattled a little bit, so we planned to Sikaflex the inside to quiet them down.
Insulating Behind the Water Tank
Next, we pulled the water tank to put insulation behind it, and immediately ran into trouble. Two of the bolts were cross-threaded, and we couldn't get them off with a breaker bar. So I came in with the big guns: the cut-off wheel.
This was hard for Rachael. The perfectionist in her really came out, and it was frustrating when something didn't go perfectly. But almost everything on a build like this is fixable. Nothing is really permanent, except Sikaflex. Sikaflex is forever.
With the Thinsulate behind the tank, we reinstalled it and mounted the Alu-Cab MOLLE panel on top. That took way longer than expected.
Drawers, Bulkhead Panel, and Cushions
The next day, we finished the drawers and put the faces on. We also cut a wood panel for the bulkhead to cover up the batteries and the inverter. It protected everything and gave a nice clean line that matched the Alu-Cab MOLLE panel.
The Cushions
Rachael made the couch cushions from our old Alu-Cab mattress, since we upgraded to a much more comfortable one. It turned out a Hamilton Beach electric knife cut the foam perfectly.
My parents came to visit in North Carolina and jumped right in. My mom taught Rachael to sew. They used a weather-resistant indoor/outdoor fabric for the bench and seat back cushions, with zippers so the covers could come off to be washed. They also made some flannel throw pillows. (One of the pups was very helpful and stood right on the fabric.)
Meanwhile, my mom helped me mark out and drill the holes to mount the wood to the aluminum extrusion frames. My dad helped me pull everything out of the camper, drill all the mounting holes in the floor plate, and mount the HydroTurf. We drew lines to mark the center aisle, with the modules on either side. For the module mounting holes in the HydroTurf, I poked through with a small flathead and then used a leather punch, which cut a perfect hole.
The Bulkhead Panel
On my parents' last day, I mocked up the bulkhead panel, which is where all of our utilities would live. The inverter and the water pump mounted to it, and I stapled Thinsulate to the back. My hope was that it would expand over time and fill the gaps.
By the end of the day, the floor plate looked really awesome, the bulkhead panel and its insulation were in, both batteries and the Redarc were mounted, the water pump was mounted, and the Truma and the extra battery for the inverter were bolted down.
Raptor Liner
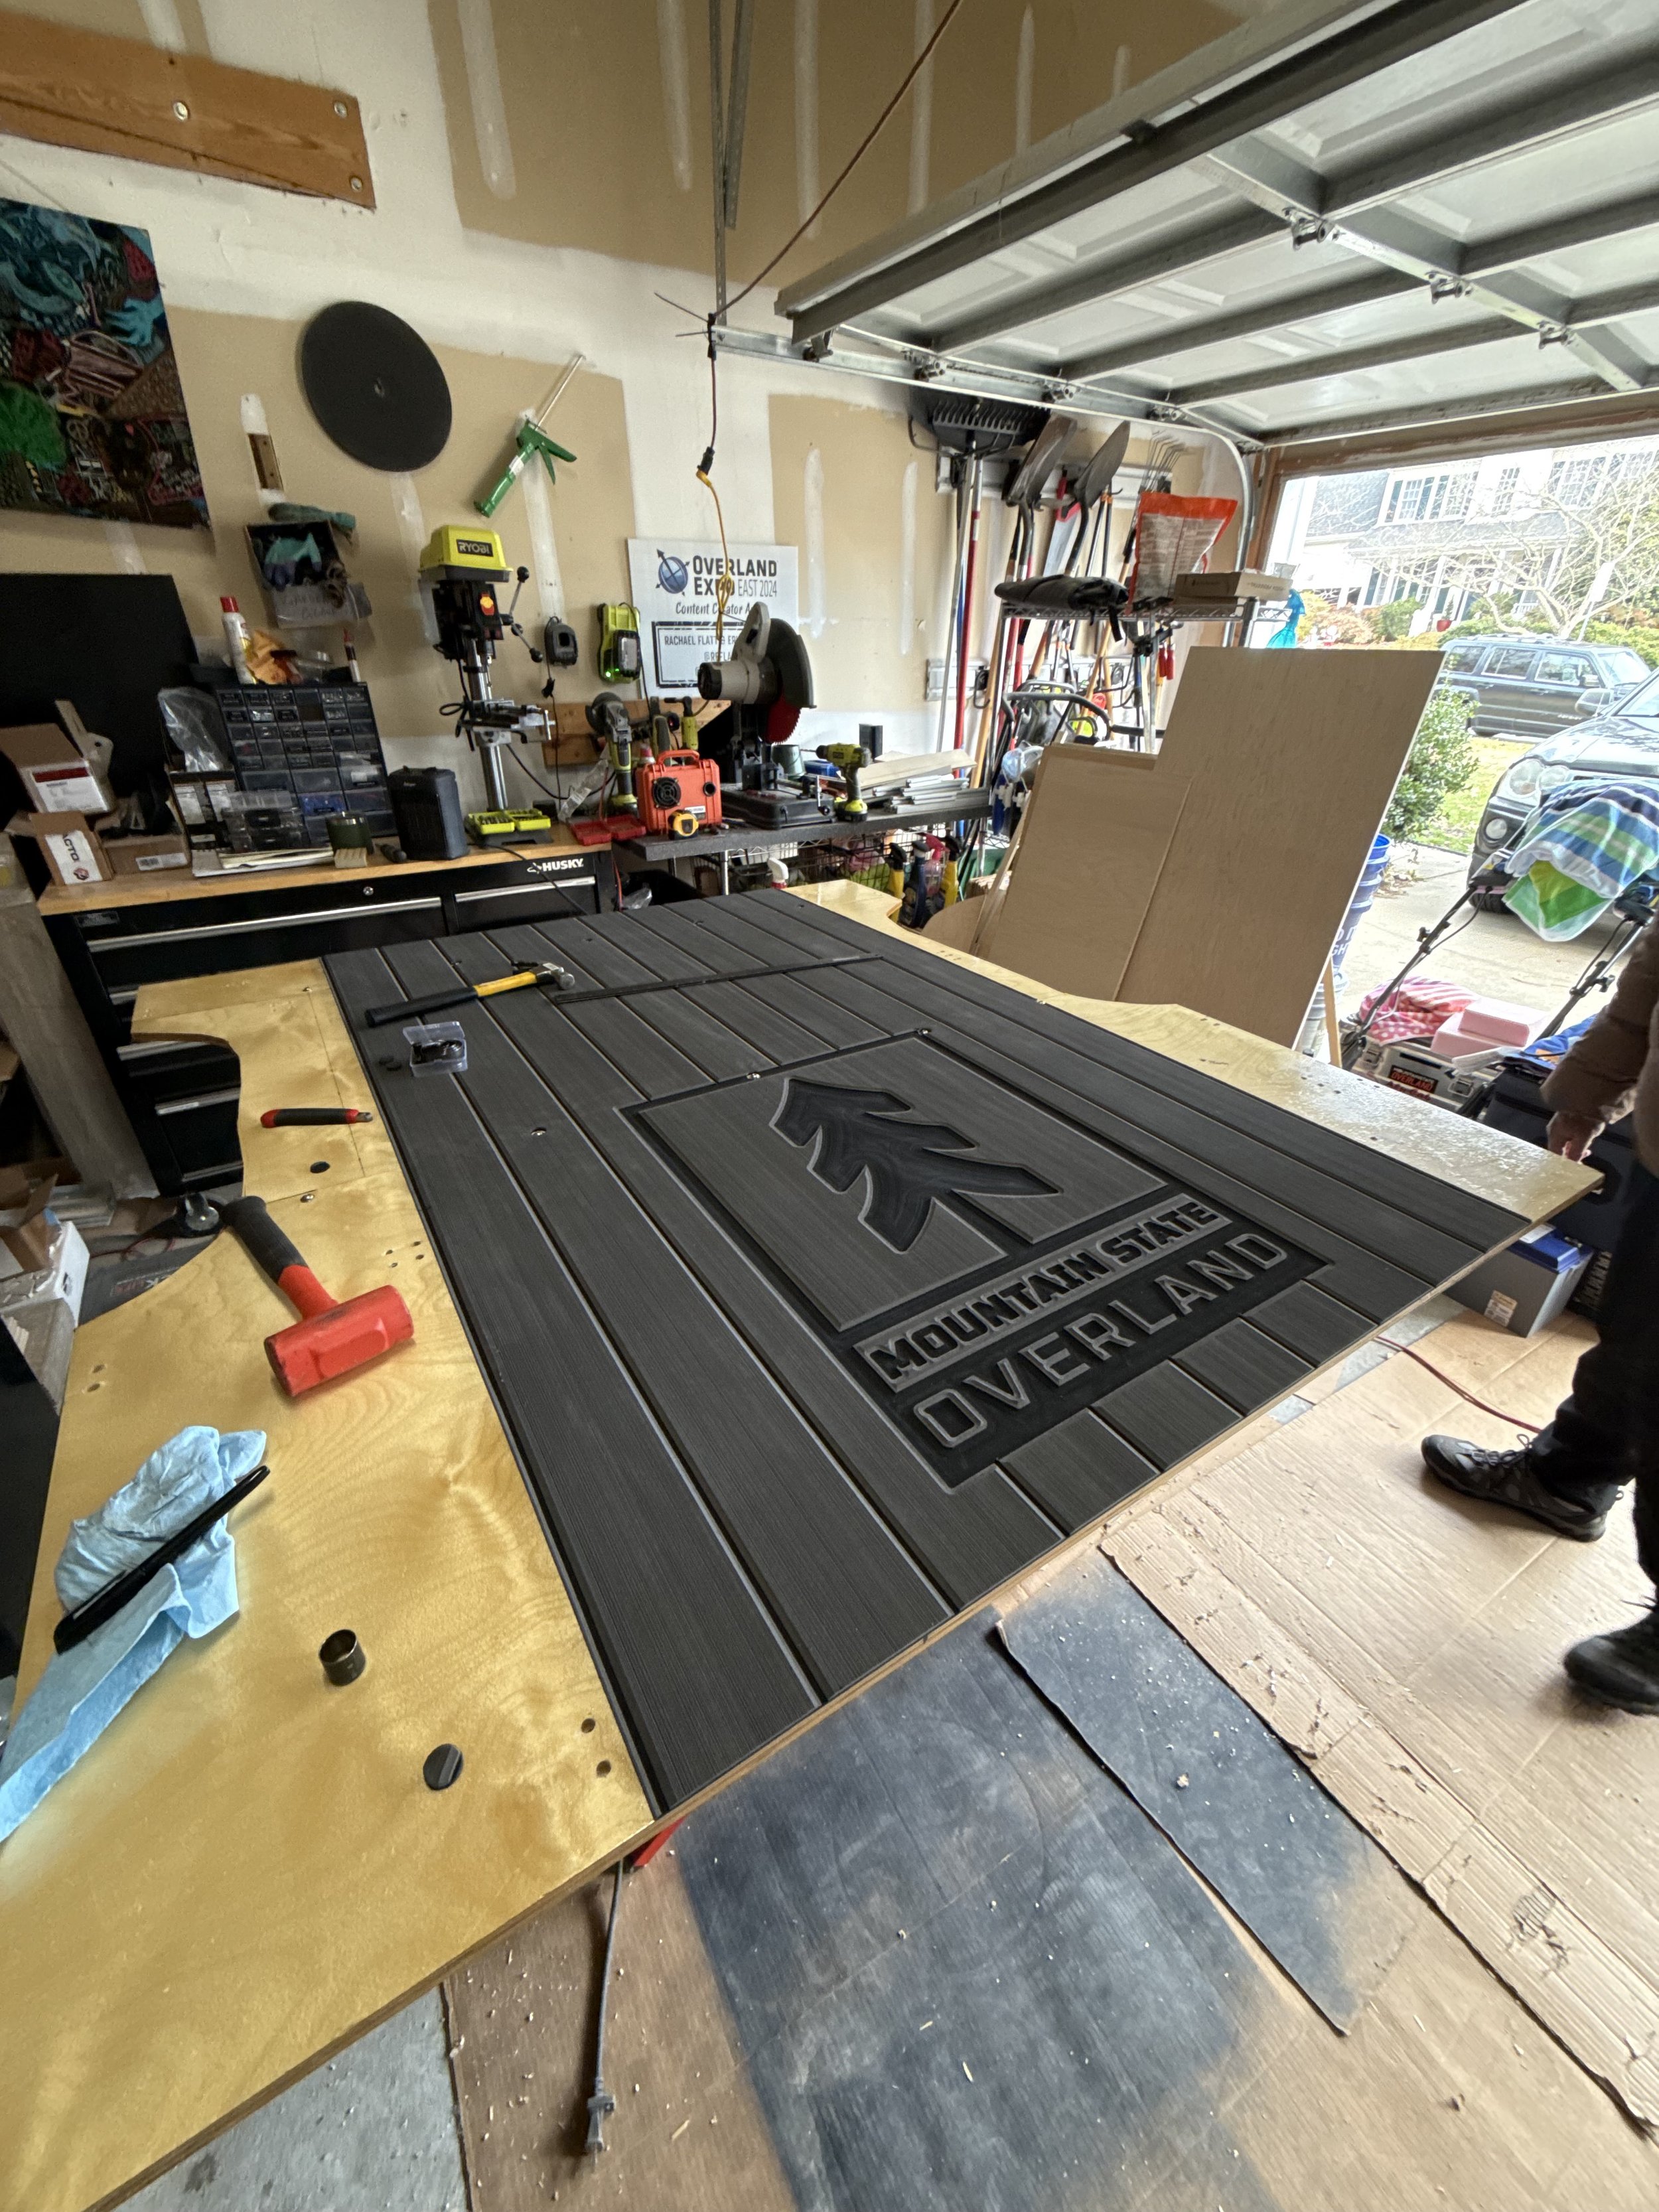
Then it was time for the murder room (otherwise known as the garage, where I spray painted all of the panels with Raptor Liner). I tried to get as fine a texture as I could by cranking the air compressor gun as high as it would go, which was 60 PSI. It came out with a pretty nice finish.
Installing Everything
Once the Raptor Liner hardened up, we could finally start installing everything in the truck.
Water Pump and Couch Module
The water pump mounted through the bulkhead panel. I added a small ball valve before the pump so we could shut off the water, which would help with winterizing. Then the couch module went in. It fit!
Finishing the Couch
On New Year's Day, I set out to finish the truck. I attached the couch back with Velcro so we could lift it off to service the plumbing or the wiring loom. All the wiring went behind it.
Before installing the armrest, I ran the remaining wires (the fridge power cord, the RJ45 cable for the inverter, and the power cable for the water pump), zip tied them together, and tucked them behind the couch. The armrest was held in with a single screw, so it was easy to get to everything electrical behind it. The Velcro worked really well to hold the couch back in place.
The Utility Cabinet and Truma Exhaust
The utility cabinet had to go in next, because I needed to wire the batteries and work around the aluminum extrusion. The Truma exhaust had to be installed with the cabinet in place, too.
The Truma has an internal exhaust and a separate intake. We drilled the hole for the exhaust on the outside of the camper, and drilled a pass-through in the cabinet panel so the exhaust could run through it. Then we installed the cabinet and ran all the exhaust plumbing through the holes. (The cowl cover went on after.) The exhaust flue and clean air intake were both in, with plenty of room for the plumbing.
With the utility module bolted in, the Truma was fully installed. Between the Truma and all the insulation, we were hoping to camp more often and in much colder weather.
Power
Inverter: The Redarc inverter was set to remote mode. When I flipped on the 110V switch, the inverter turned on. I tested it with our 1500W space heater, and it did just fine.
Batteries: A breaker connected the positives of the house batteries to the extra battery, and a fuse block sat between that and the inverter.
Truma intake filter: We have crazy hairy dogs, and the back of the utility cabinet was open, so it would be a natural spot for hair and dust to collect. To keep hair out of the Truma, I added some ducting and a cheap air filter from Amazon to the intake. I still needed to find a way to strap it down, but it would give the heater clean, filtered air.
Fridge
Next, the top plate and fridge plate went in. Before closing it all up, I mounted the water pump hose, since we couldn't get back there afterward. Then we plugged in the fridge. When the compressor kicked on, it was pulling about 3.7 to 3.8 amps (call it 4), which was a little less than our old Dometic.
Truma Temperature Sensor
The last wire for the Truma was the temperature sensor. The Truma has a thermostat, so you set a temperature and it holds it based on that sensor. Truma recommends mounting the sensor above the door, so that's what I did. The wire ran straight down into the drawer cabinet.
Before putting the drawer module in, we tested the heater. I set it to 68 degrees, and the air coming out was really hot.
Rachael's First Look
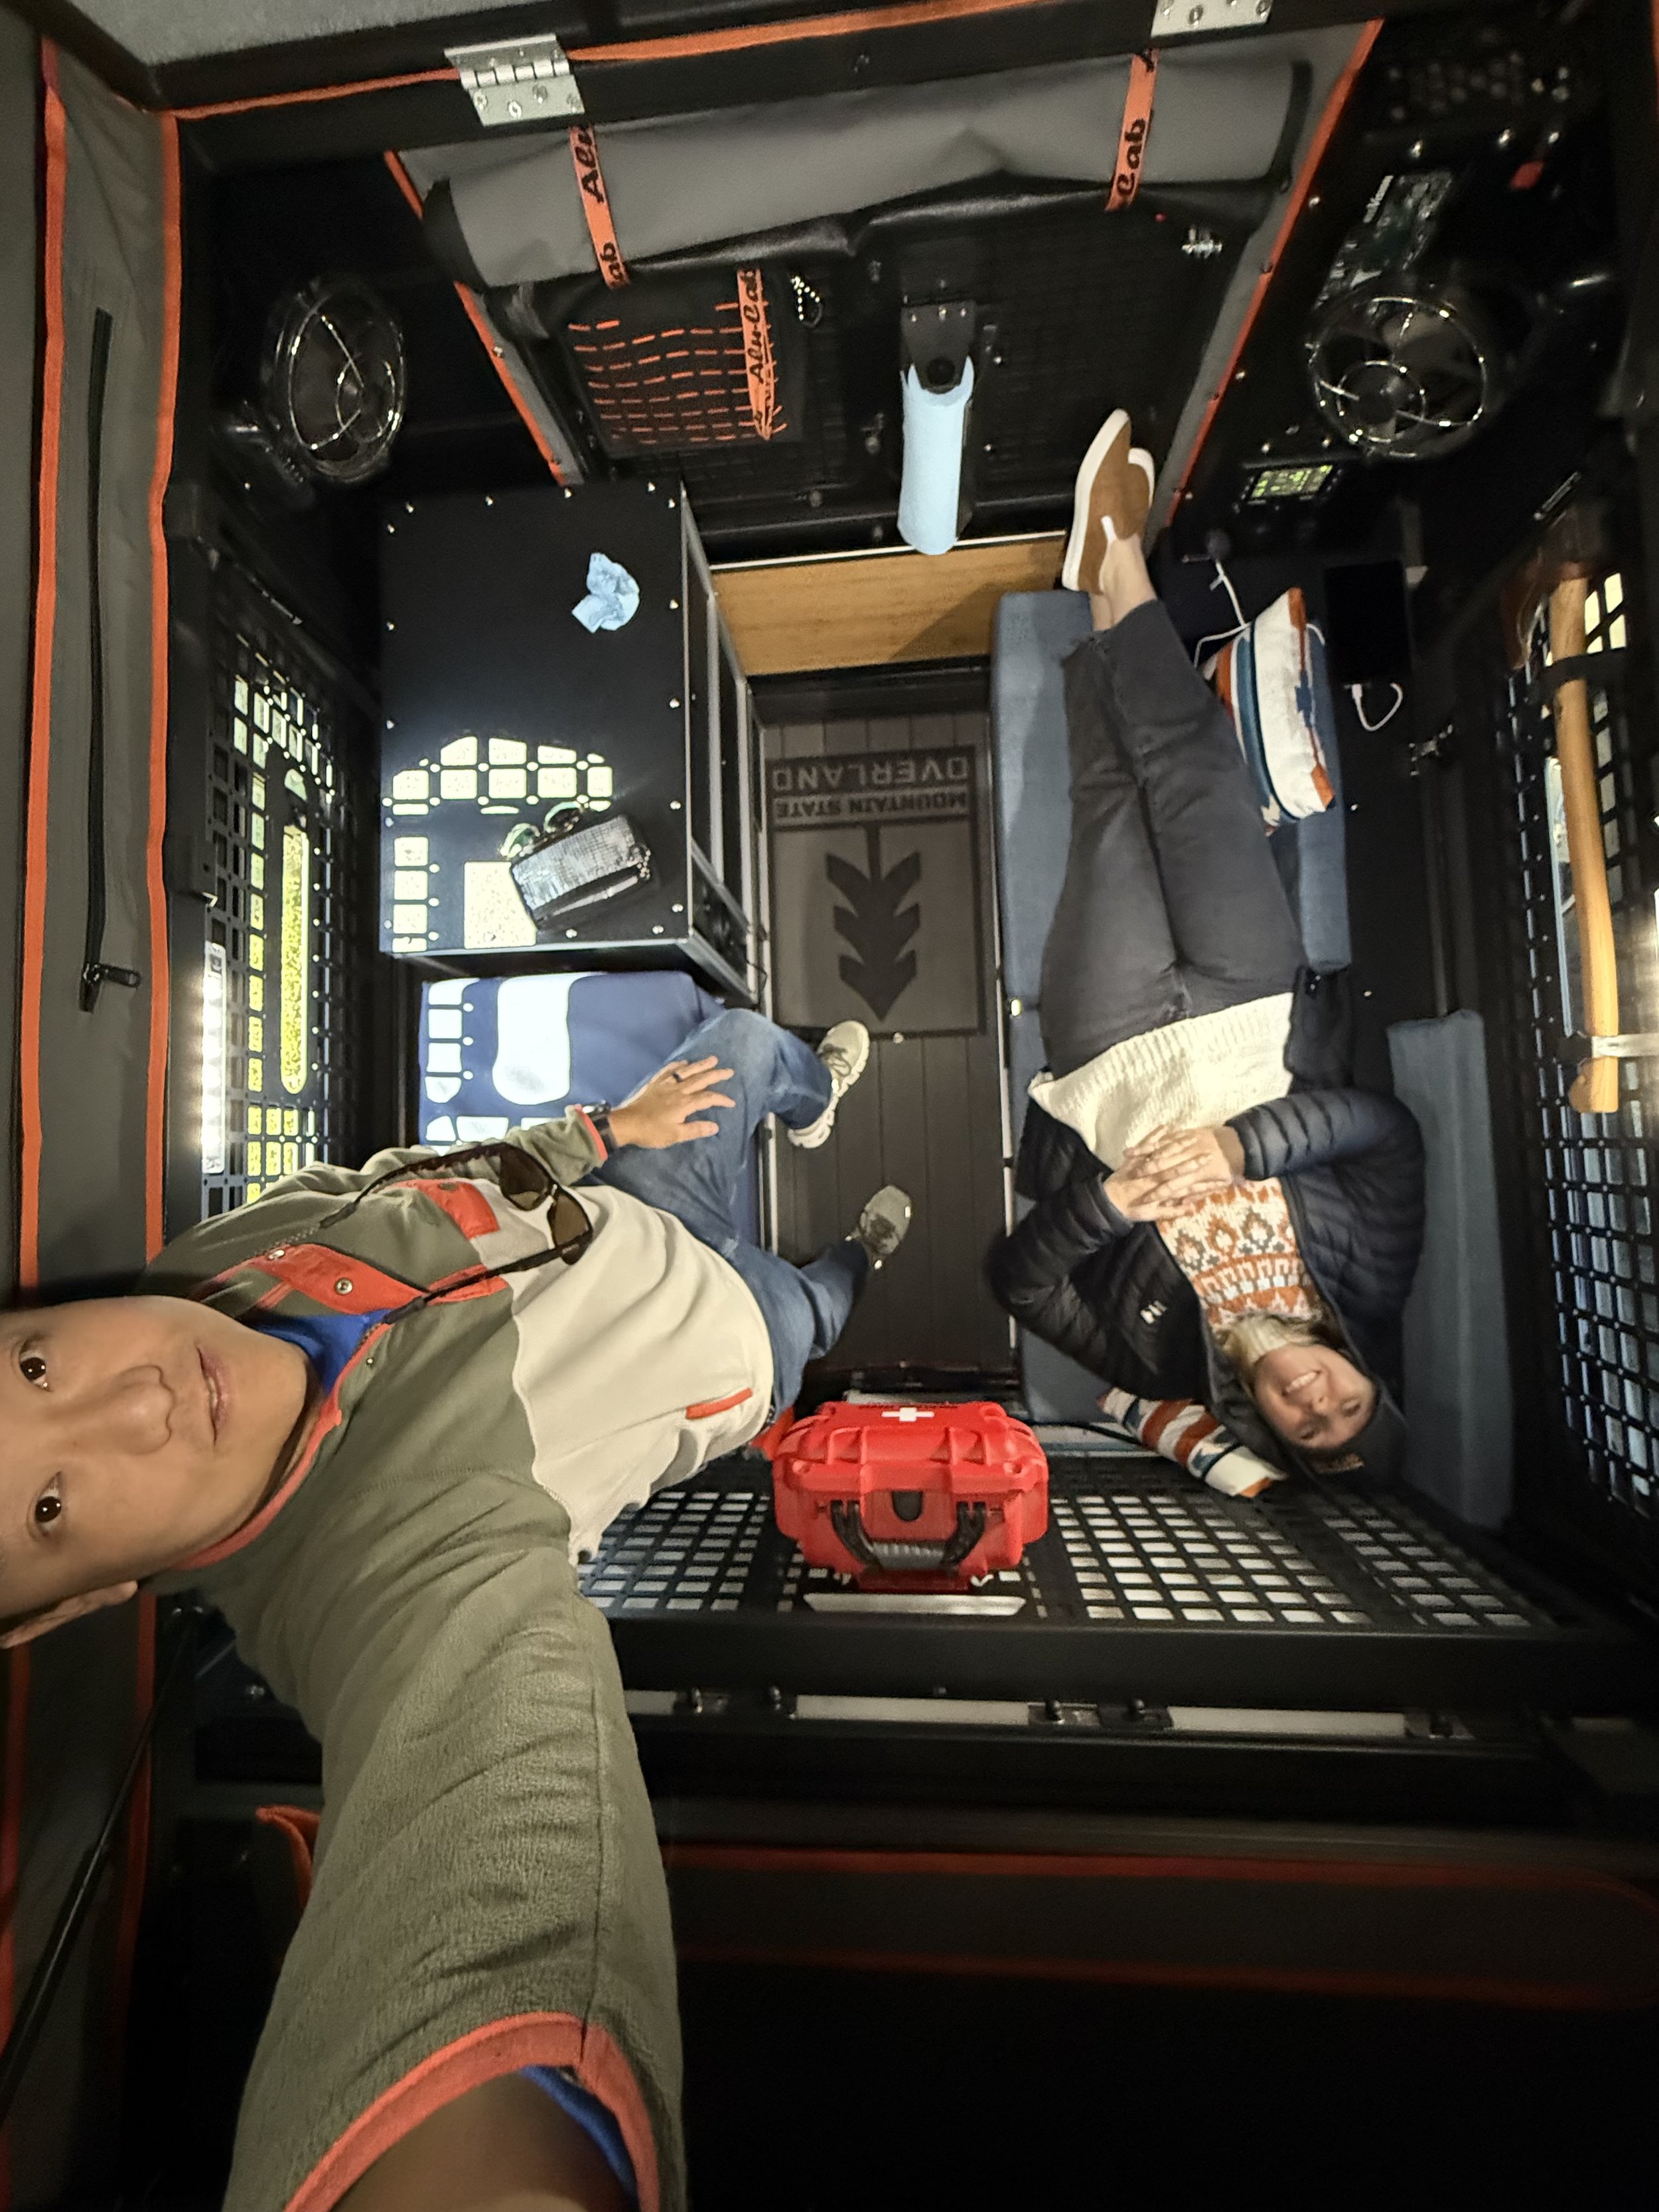
Rachael finished the last cushion (a wonky one) and the throw pillows, and it all fit. I'd asked for the cushions to be tight, and they fit really well.
Then she got to see it all put together, with the fridge running and the heater on. It was set to just 65 and felt so good. Her reaction: "this actually makes it feel like a tiny home." There was a lot of room in there, and with the soft-close drawers and a central outlet panel, it really did feel like a little apartment. We were both really happy with how it turned out.
Finishing Touches at Blue Ridge Overland Gear
For the final touches, we went to Blue Ridge Overland Gear in Bedford, Virginia, to fill out some of the MOLLE panels in the back. We brought all of our Blue Ridge gear so we could talk through options with Rick, Logan, Matt, and Brandy. We decided to put a couple of pouches on the windoor organizer, where small or medium pouches would fit well.
They also helped us with a custom problem: our dogs kept climbing into the front seats. Cam built us a custom K9 containment fence:
Top corners: A loop of fabric goes around each headrest post, with Fastex buckles.
Bottom corners: Webbing with a G-hook and a three-bar slider to take up slack. It clips in and pulls against itself, so you get a taut mount with adjustable height.
Plastic hooks by design: If someone slams a seat back into recline, or there's an accident, the plastic hook pops instead of breaking a stitch or, even worse, a component on your truck. It's an engineered failure point.
It was so fun to see their shop and how their products are made and packaged. Then we drove home in the snow.
Tips, Tricks, and Resources
Use blue painter's tape to prototype your layout before you cut anything.
Add cross braces under large wood panels so they don't warp over time.
Account for every appliance's dimensions (heater, fridge) before you build the frame.
Order the right size ducting. The Truma's intake and warm air outlet are 80mm.
Truma recommends professional installation. Follow the instructions to the letter if you do it yourself.
An electric knife cuts mattress foam perfectly.
Use removable, zippered covers on cushions so you can wash them.
A leather punch makes clean mounting holes in HydroTurf.
Add a ball valve before the water pump for winterizing.
Use Velcro and single-screw panels anywhere you'll need to service wiring or plumbing.
Filter the Truma intake if you have dogs and raise it so that it’s not blowing on them on the floor.
Mount the Truma temperature sensor above the door.
Run the air compressor high (we used 60 PSI) for a finer Raptor Liner texture.
Parts List:
Heat
Truma VarioHeat
Truma 80mm ducting and vents
Truma control panel and temperature sensor
Air filter and ducting (Truma intake)
Power
Redarc inverter
Extra battery (inverter)
Breaker and fuse block
110V outlet
Water
Water pump
Ball valve
Interior
Aluminum extrusion
Plywood
1/4-20 button head bolts
T-nuts
Gas struts
Soft-close drawer slides
HydroTurf flooring
Thinsulate
Raptor Liner
Velcro
Fridge
Indoor/outdoor fabric, flannel, and zippers
Foam (from our old Alu-Cab mattress)
Blue Ridge Overland Gear pouches and custom K9 containment fence
Tools
1/4-20 tap
Saw
Drill
Cut-off wheel
Leather punch
Electric knife
Sewing machine
Air compressor and spray gun
Up Next
That was the last of our build footage. Everything was in its place, it was all tailored to how we use the truck, and we'd already spent a couple of nights in it. Next up was a full walkaround of the interior and exterior, including how we've packed everything and why we put it where we did.
Thanks again for coming along on this journey with us. It's been a great one.
You can watch this whole episode on the Mountain State Overland YouTube channel. And if you want to see a build like this out on the trail, come join us on a Mountain State Overland guided trip!