The Plan
This was the one we'd been waiting more than a year for: the Alu-Cab ModCAP. I drove straight from leading MSX 33 to OK4WD in Stewartsville, New Jersey, still covered in West Virginia silt, to install it over two days. We had a great crew: AJ, Ben (in his Taco), and Ryan, plus Ren, John, and Tim.
Rachael couldn't make it because of work, which she was bummed about. It was the only install in the series she missed. AJ more or less project-managed the whole thing, making sure everyone always had a task instead of standing around waiting for instructions. Ryan was on camera the whole time and still somehow knocked out a ton of work.
Day 1: Prep, Wiring, and Building the Camper
Prepping the Truck
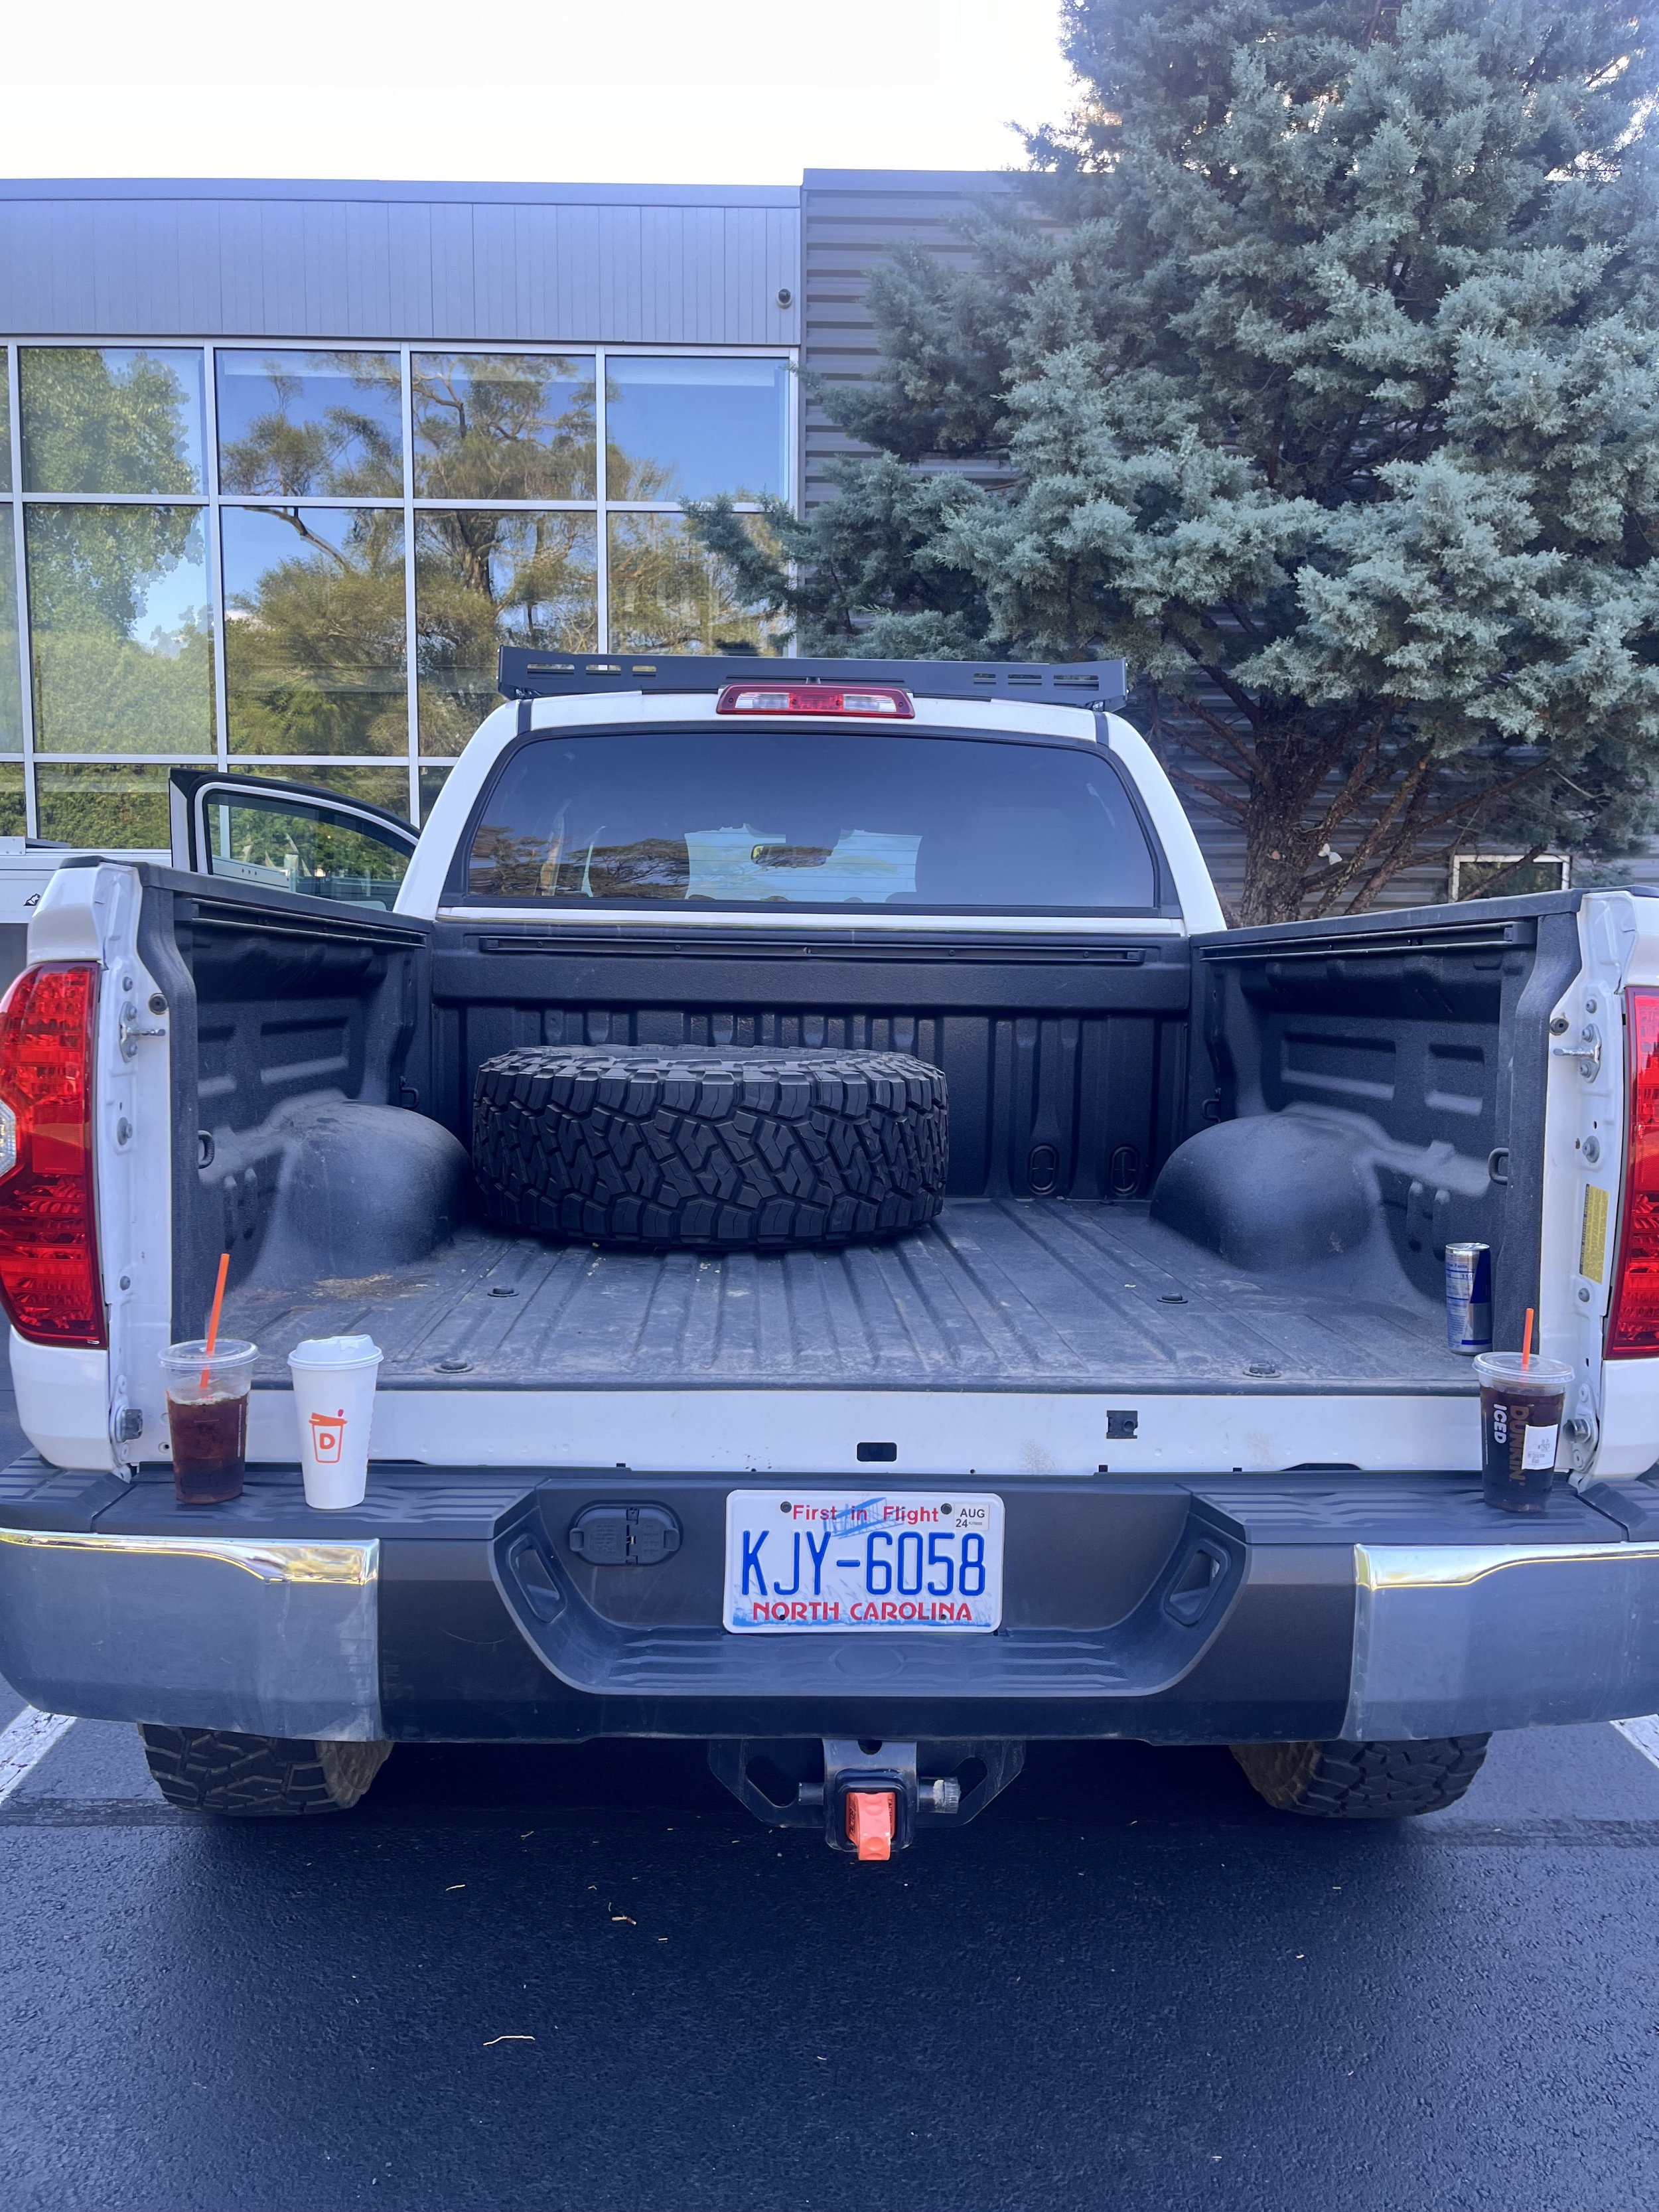
First, the tailgate and the tonneau cover mount came off. I planned to reuse the factory rear view camera (more on that below), so Ben carefully disconnected it from the tailgate. We left the tailgate at OK4WD with John who split the profit with me when he sold it. He sold it for $500!!!
Wiring Power to the Bed
This was the whole reason we built the under-hood electrical panel in Part 1: to make it really easy to wire in the camper.
We added a 60A MIDI fuse at the SafetyHub 150 for the camper circuit.
We ran 6-gauge copper wire, power and ground, from the SafetyHub down through the engine bay, keeping it on the inside of the brake lines to stay away from the exhaust.
We followed the frame rail to the back of the truck, zip tying it the whole way. We tucked it behind the rubber trim along the frame rail.
We drilled the bed for a flush-mount Anderson connector on the inside of the bed and wired it in. That's what the camper plugs into.
Mounting the Batteries
The house batteries were two big, flat 100Ah batteries, which was a lot of weight. We wanted them mounted somewhere safe and efficient and absolutely not rattling around the bed.
We made a template. I went dumpster diving for cardboard and made a template for lining up the battery mount, so we didn't have to measure and drill the wrong hole.
We bolted the brackets together. Fitz and Ben ran to Lowe's for hardware. The two brackets bolted together on either side of the batteries.
We mounted them to the bed bulkhead with rivnuts.
We strapped them down with ratchet straps so they were secure.
AJ mounted the fuse and shunt. He flush-mounted the auxiliary battery fuse and the shunt on the back of the battery mount (they normally sit on top of the battery), so they were out of the way.
Unboxing the ModCAP
This was the biggest Christmas present I've ever gotten. The camper came on a single pallet, with the lower section (windoors and rear door) flipped upside down on top of the pallet and the tent underneath it. Along with it came all the accessories: the filler kit for the top of the ModCAP, water tank, awning bracket, and spare tire mount. All of it needed to be on the truck by the end of the next day.
Bench Building
The great thing about the ModCAP was that it was modular. The tent came separately from the lower section, so we could do a ton of the work on the ground instead of seven and a half feet in the air.
MOLLE panel and table: AJ mounted the MOLLE panel on the rear door and the table. Like the Alu-Cab canopy campers, the ModCAP has slotted doors, so the trick was to bench build it: put all the screws through the slots, then run the nuts on from the outside. We also mounted our first aid kit from Overland Medic on the door.
Solar: We bolted down the load bars and mounted the Redarc solar panel on top of the tent portion while it was on the ground. As with any rigid solar panel, we just drilled four holes and it mounted right in line with the load bars.
Joining the Tent to the Camper
The tent portion attached to the ModCAP with 54 bolts. We lined up all the bolts, put the rubber seal on, and ran a thin bead of Sikaflex all the way around so it was completely waterproof. (Pro tip from the crew: spit in your hand before you tool the Sikaflex. Otherwise, don't waste your time.) Then we used OK4WD's forklift to lower the tent onto the ModCAP.
The Fit Kit
Under the camper, there were a bunch of punch-outs. The instructions told us which ones to punch for our bed length, and that's where the front spacers bolted in. We also installed the secondary fitment kit for the front. The fit kit was really important. Without it, the camper would sit on the truck, but it wouldn't really fit. (That's why they don't call it a sit kit.)
The Redarc and GP Factor Power Board
Redarc set us up with their Total Vehicle Management System (TVMS) and the Manager30, on a GP Factor power board. It was probably one of the biggest upgrades we planned. The Manager30 takes in solar and converts it to charge the batteries, like our old setup did, but it can also plug into shore power. That was a big deal for us. It meant we could leave the truck plugged in at Rachael's parents' house for a couple of weeks before Hammer Down, run Starlink, and just not have to think about power.
AJ prepped all of the wiring. The Anderson connectors interlocked, so once he figured out the configuration, he locked them together and plugged them in as one. By the end of day one, the board was installed and running off solar, and the tent was mounted to the ModCAP.
Day 2: Accessories and Mounting
Water Tank
The water tank was the most tedious install, because everything had to line up perfectly. Alu-Cab made a nice improvement here: the tank came with carriage bolts this time. On the Tacoma's Canopy Camper, I had to reach behind the mount with a wrench to tighten everything, and no joke, on the very last one I dropped my wrench behind the water tank. Not anymore.
We plugged the two outlets on the back of the tank so water wouldn't drip out, and left the one on the driver's side for the water line (maybe a water pump someday). AJ mounted a gravity-fed faucet in the back filler panel.
Shore Power Inlet
Next was a NOCO shore power plug-in, which is how we'd plug the camper into the house. It was a really easy install: we drilled one hole, and it mounted with three screws. It came with a waterproof seal for the front and back.
Table Slide
We sized up the table slide under the front overhang of the camper, marked it, and drilled it out. We put a little Sikaflex between the mount and the camper before riveting it in, which helped dampen rattles. Yes, I drilled holes in my brand new camper. Yes, they were permanent. And no, the last one wasn't perfect. But nothing beat a fresh table. It was never going to be that clean again.
Shower Cube and Awning
We mounted a shower cube bracket on the front of the camper. Instead of the standard Alu-Cab location, we used Kaya camper brackets that mounted it right over the passenger door. That way we could open the door, pull out the shower cube, and still change and get to things inside.
On the driver's side, we installed the bracket and deflector for the 270-degree Shadow Awning. Everything came with mounting holes, so there was no need to open up the tent and drill new holes. We got the awning on before the camper went on the truck. Awnings are heavy, and doing it seven and a half feet in the air would have been really difficult.
While that was happening, Ren and AJ ran Sikaflex underneath the bedsides, and we drilled and riveted in the gussets and support brackets.
Onto the Truck
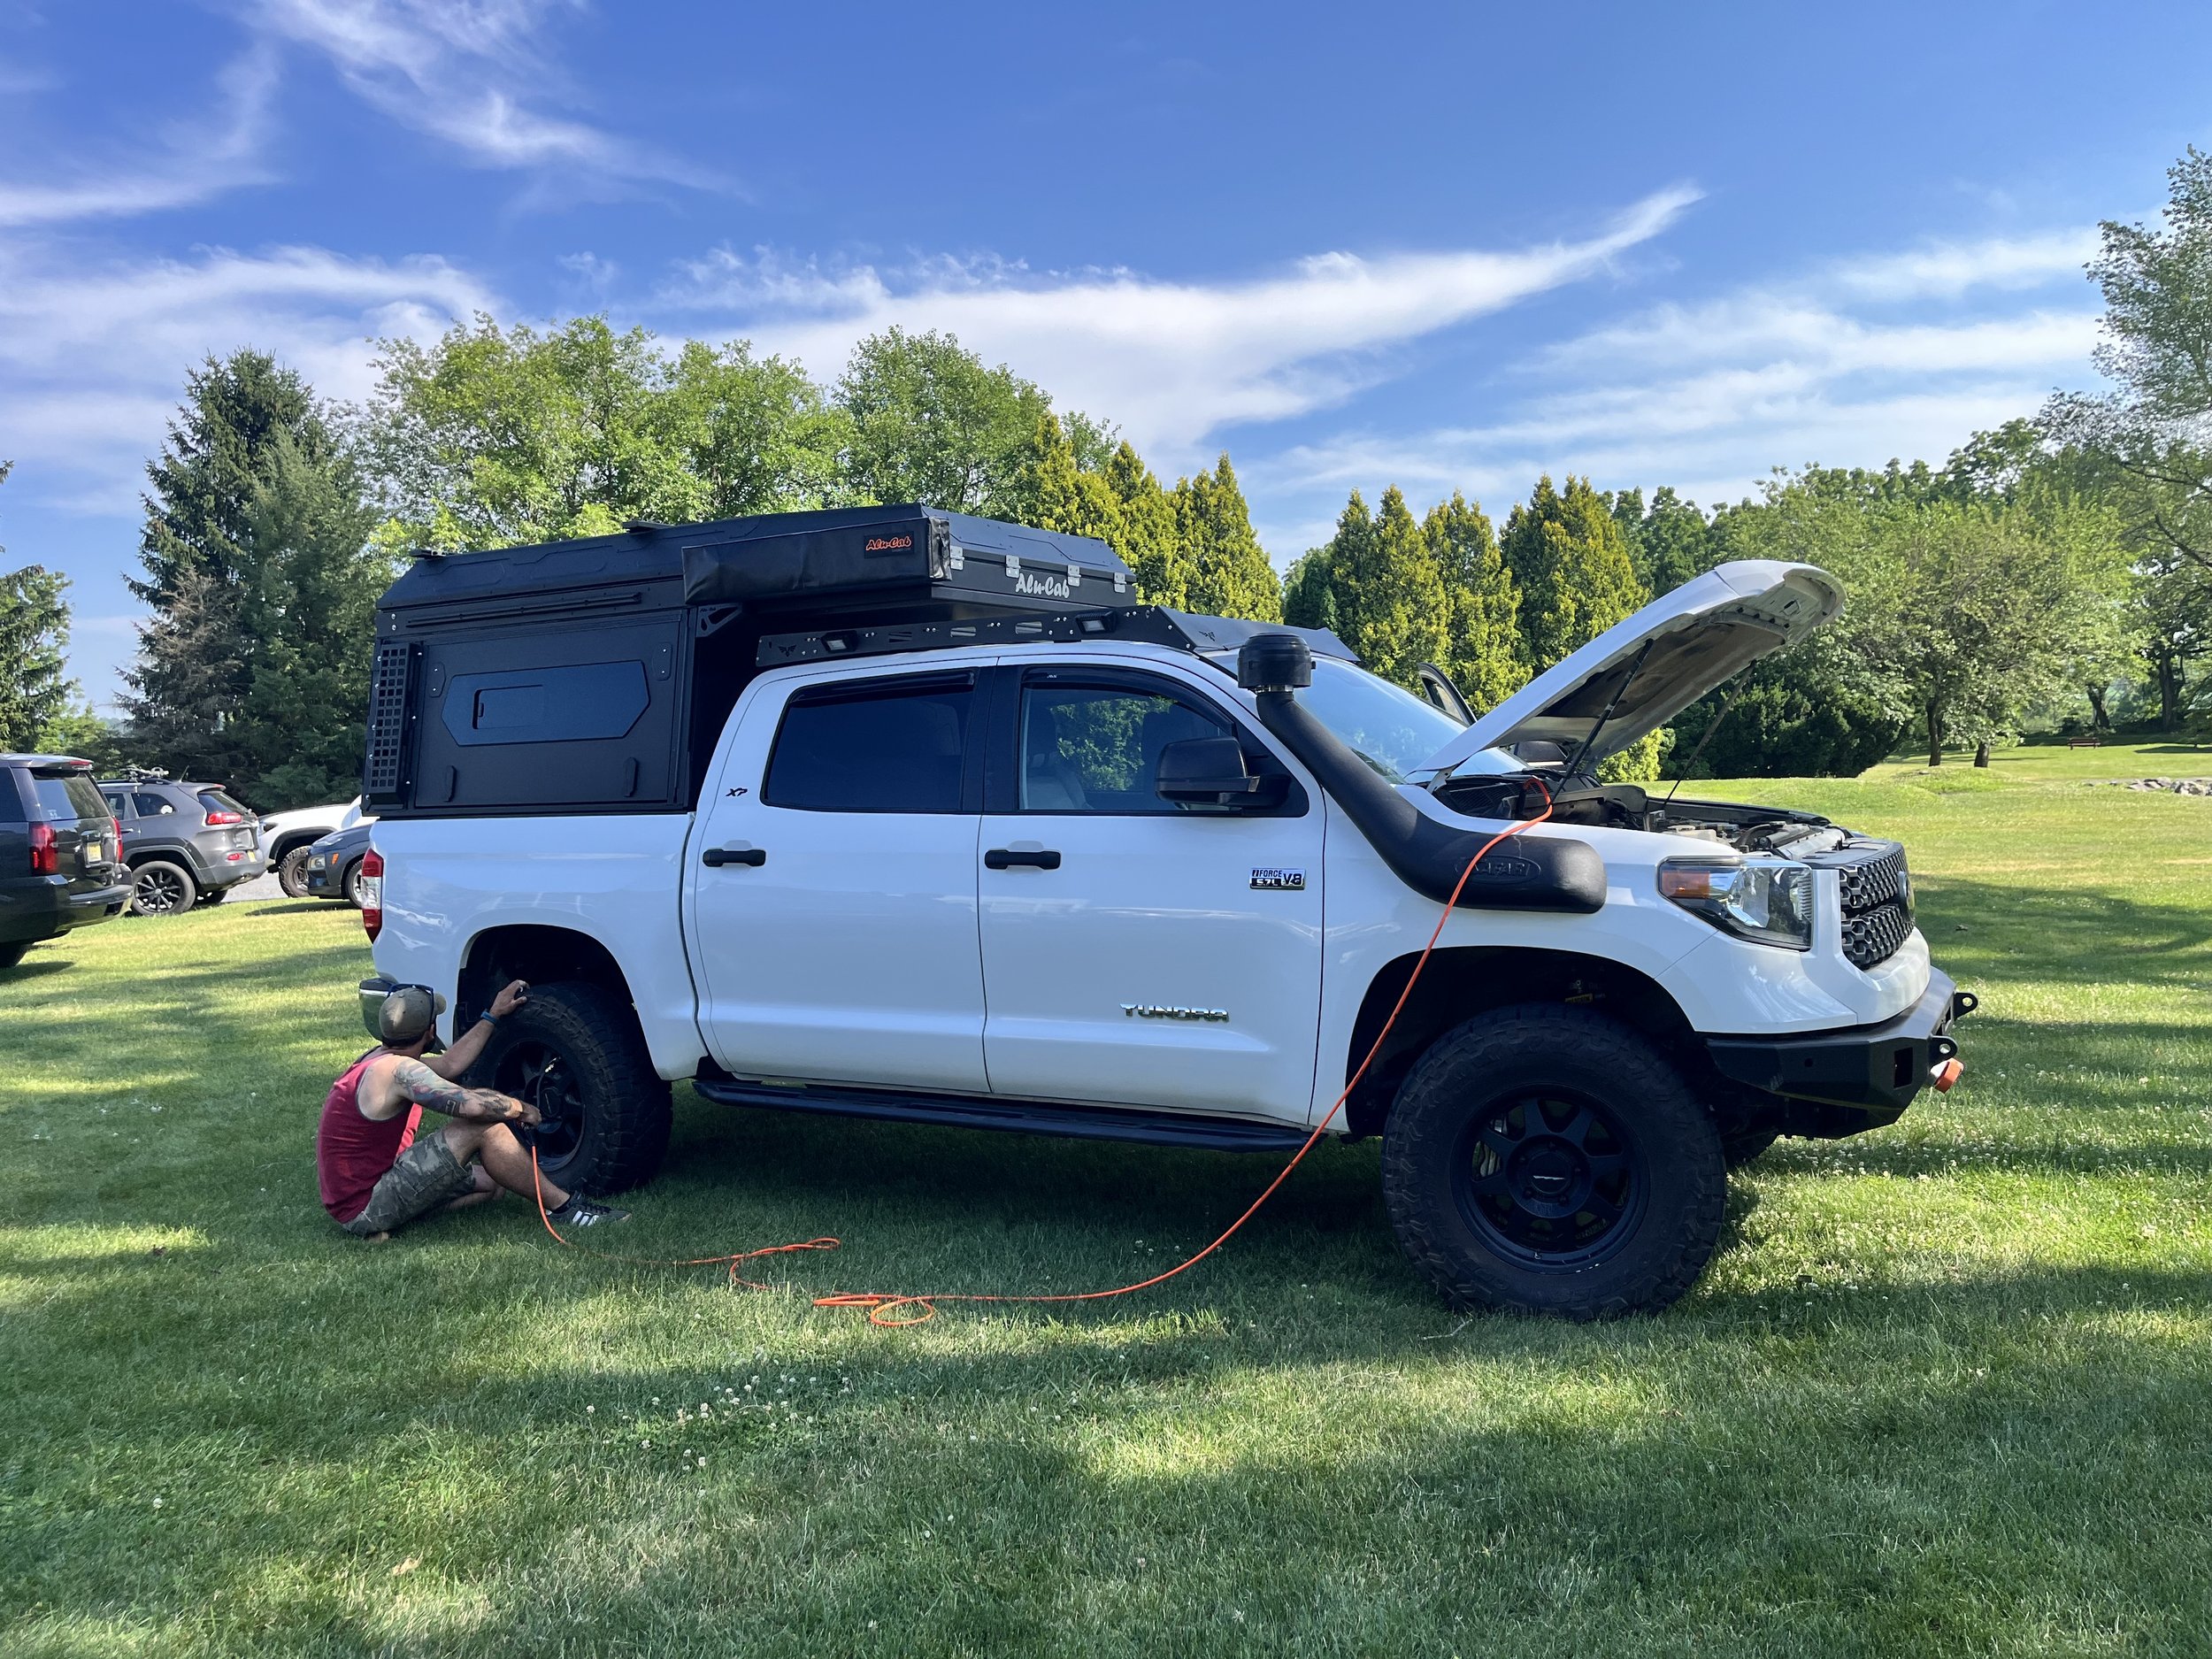
Then it was time to put the camper on the truck. It was really tall. So tall that we had to let air out of the tires to get it out of the building.
MOLLE and Tire Mount
We mounted MOLLE panels on the back of the camper for propane tanks and other gear. Threading nuts into the slots was a struggle until we used blue painter's tape as a backstop: we stuck it in the slot and the nut rested against it, so it didn't keep sliding down the track.
Then we pressed the studs into the rear tire mount, installed the locking hinges, and hung the spare. It was official.
Rear View Cameras
After it got too dark to film, we did two more things:
Always-on Wolfbox camera: We mounted it on top of the camper. We hid the wiring along the headliner and down the pillar. I couldn't find a plug in the floor on the driver's side like the Tacoma had, so we went through the firewall instead. The cable ran along the frame rail, next to the cables that go from the house batteries to the starter, then up behind the Redarc system and out through the channel. Pretty clean install.
Factory backup camera: We pulled it out of the tailgate and mounted it with a GP Factor rear camera bracket, so we still had a backup camera.
On the side of the camper, we mounted some prototype MOLLE plates. We accidentally put them on upside down (the open end belongs on the bottom), so we planned to flip them once we got home.
By Wednesday morning, the build was pretty much done. Then I drove home to North Carolina to pack, because two days later we were headed to Colorado with Rachael's family.
Rachael's First Look
Rachael's reaction when she saw it for the first time: it was so tall (she was wearing heels, and figured she'd need a step stool every time). Her favorite details: she could turn on the lights from her phone, and the doors now caught instead of just hanging on a limit strap. It was also the first of these campers in the world, which was truly such a treat. We'd been waiting more than a year for it, and it was so worth the wait.
Our first night in the ModCAP was at Selby Farm, a farm for retired racehorses about 20 minutes outside of Columbia, Missouri, that we found on Hipcamp the night before. Waking up to the horses swishing their tails was the best. (One also farted very loudly.)
Thank You
Huge thanks to the whole crew. Ryan and Ben, you put in so much work filming and installing everything. AJ, I couldn't have asked for a cleaner wiring install. And Ren, John, and Tim, thank you, too. Thanks as well to the whole OK4WD team.
Tips, Tricks, and Resources
Build your electrical panel before the camper. It makes wiring the camper a simple, fused run back to the bed.
Run your camper power cable on the inside of the brake lines, away from the exhaust, and zip tie it the whole length of the frame.
Use a flush-mount Anderson connector in the bed so the camper unplugs easily.
Make a cardboard template before drilling battery mounts.
Bench build as much as you can: MOLLE panels, table, solar, and awning brackets are all easier on the ground.
With slotted doors, put the screws through the slots first, then run the nuts on from outside.
Use blue painter's tape to stop nuts from sliding down MOLLE tracks.
Spit in your hand before tooling Sikaflex. Seriously.
Put a little Sikaflex behind mounts that might rattle.
Don't skip the fit kit.
Install the awning before the camper goes on the truck.
Measure your clearance. You may need to air down just to get out of the shop.
Parts List:
Camper
Alu-Cab ModCAP
Alu-Cab filler kit
Alu-Cab water tank
Alu-Cab 270-degree Shadow Awning, bracket, and deflector
Alu-Cab spare tire mount
Table and table slide
Kaya camper shower cube brackets
MOLLE panels
Overland Medic first aid kit
Power
Redarc Manager30 and TVMS
GP Factor power board
Redarc solar panel and load bar mounts
2x 100Ah house batteries
Battery brackets, rivnuts, and ratchet straps
Shunt and auxiliary battery fuse
60A MIDI fuse
6-gauge copper wire
Flush-mount Anderson connector
NOCO shore power inlet
Cameras
Wolfbox rear view camera
GP Factor rear camera bracket
Sealants
Sikaflex
Blue painter's tape
Up Next
You can watch this whole episode, and the rest of the 10-part series, on the Mountain State Overland YouTube channel. The series is free to watch thanks to OK4WD, with additional support from Bilstein, Toyo Tires, Blue Ridge Overland Gear, GP Factor, and Midland. And if you want to see a build like this out on the trail, come join us on a Mountain State Overland guided trip!